How I Made My Walk In Closet (pt 2)
As an Amazon Associate, I earn from qualifying purchases. This means I may earn a small commission when you click my linked images, at no extra cost to you. Clicking these links helps support my site and allows me to continue providing content. Thank you!
I’ve been hyping this up for a while, and now the time has come for the debut of my hall office turned walk in closet. I have to admit, I’m really proud of this project. As I mentioned in part one of my post, my intention for this space started off with a healthy budget and proposed custom woodworking and light demo. Real life got in the way, and this turned into a full on DIY with a shoestring stipend. I hate to say it but I had my doubts. Could a DIY possibly come close to what I first envisioned the space to be? And would I have to sacrifice any functionality to save money?
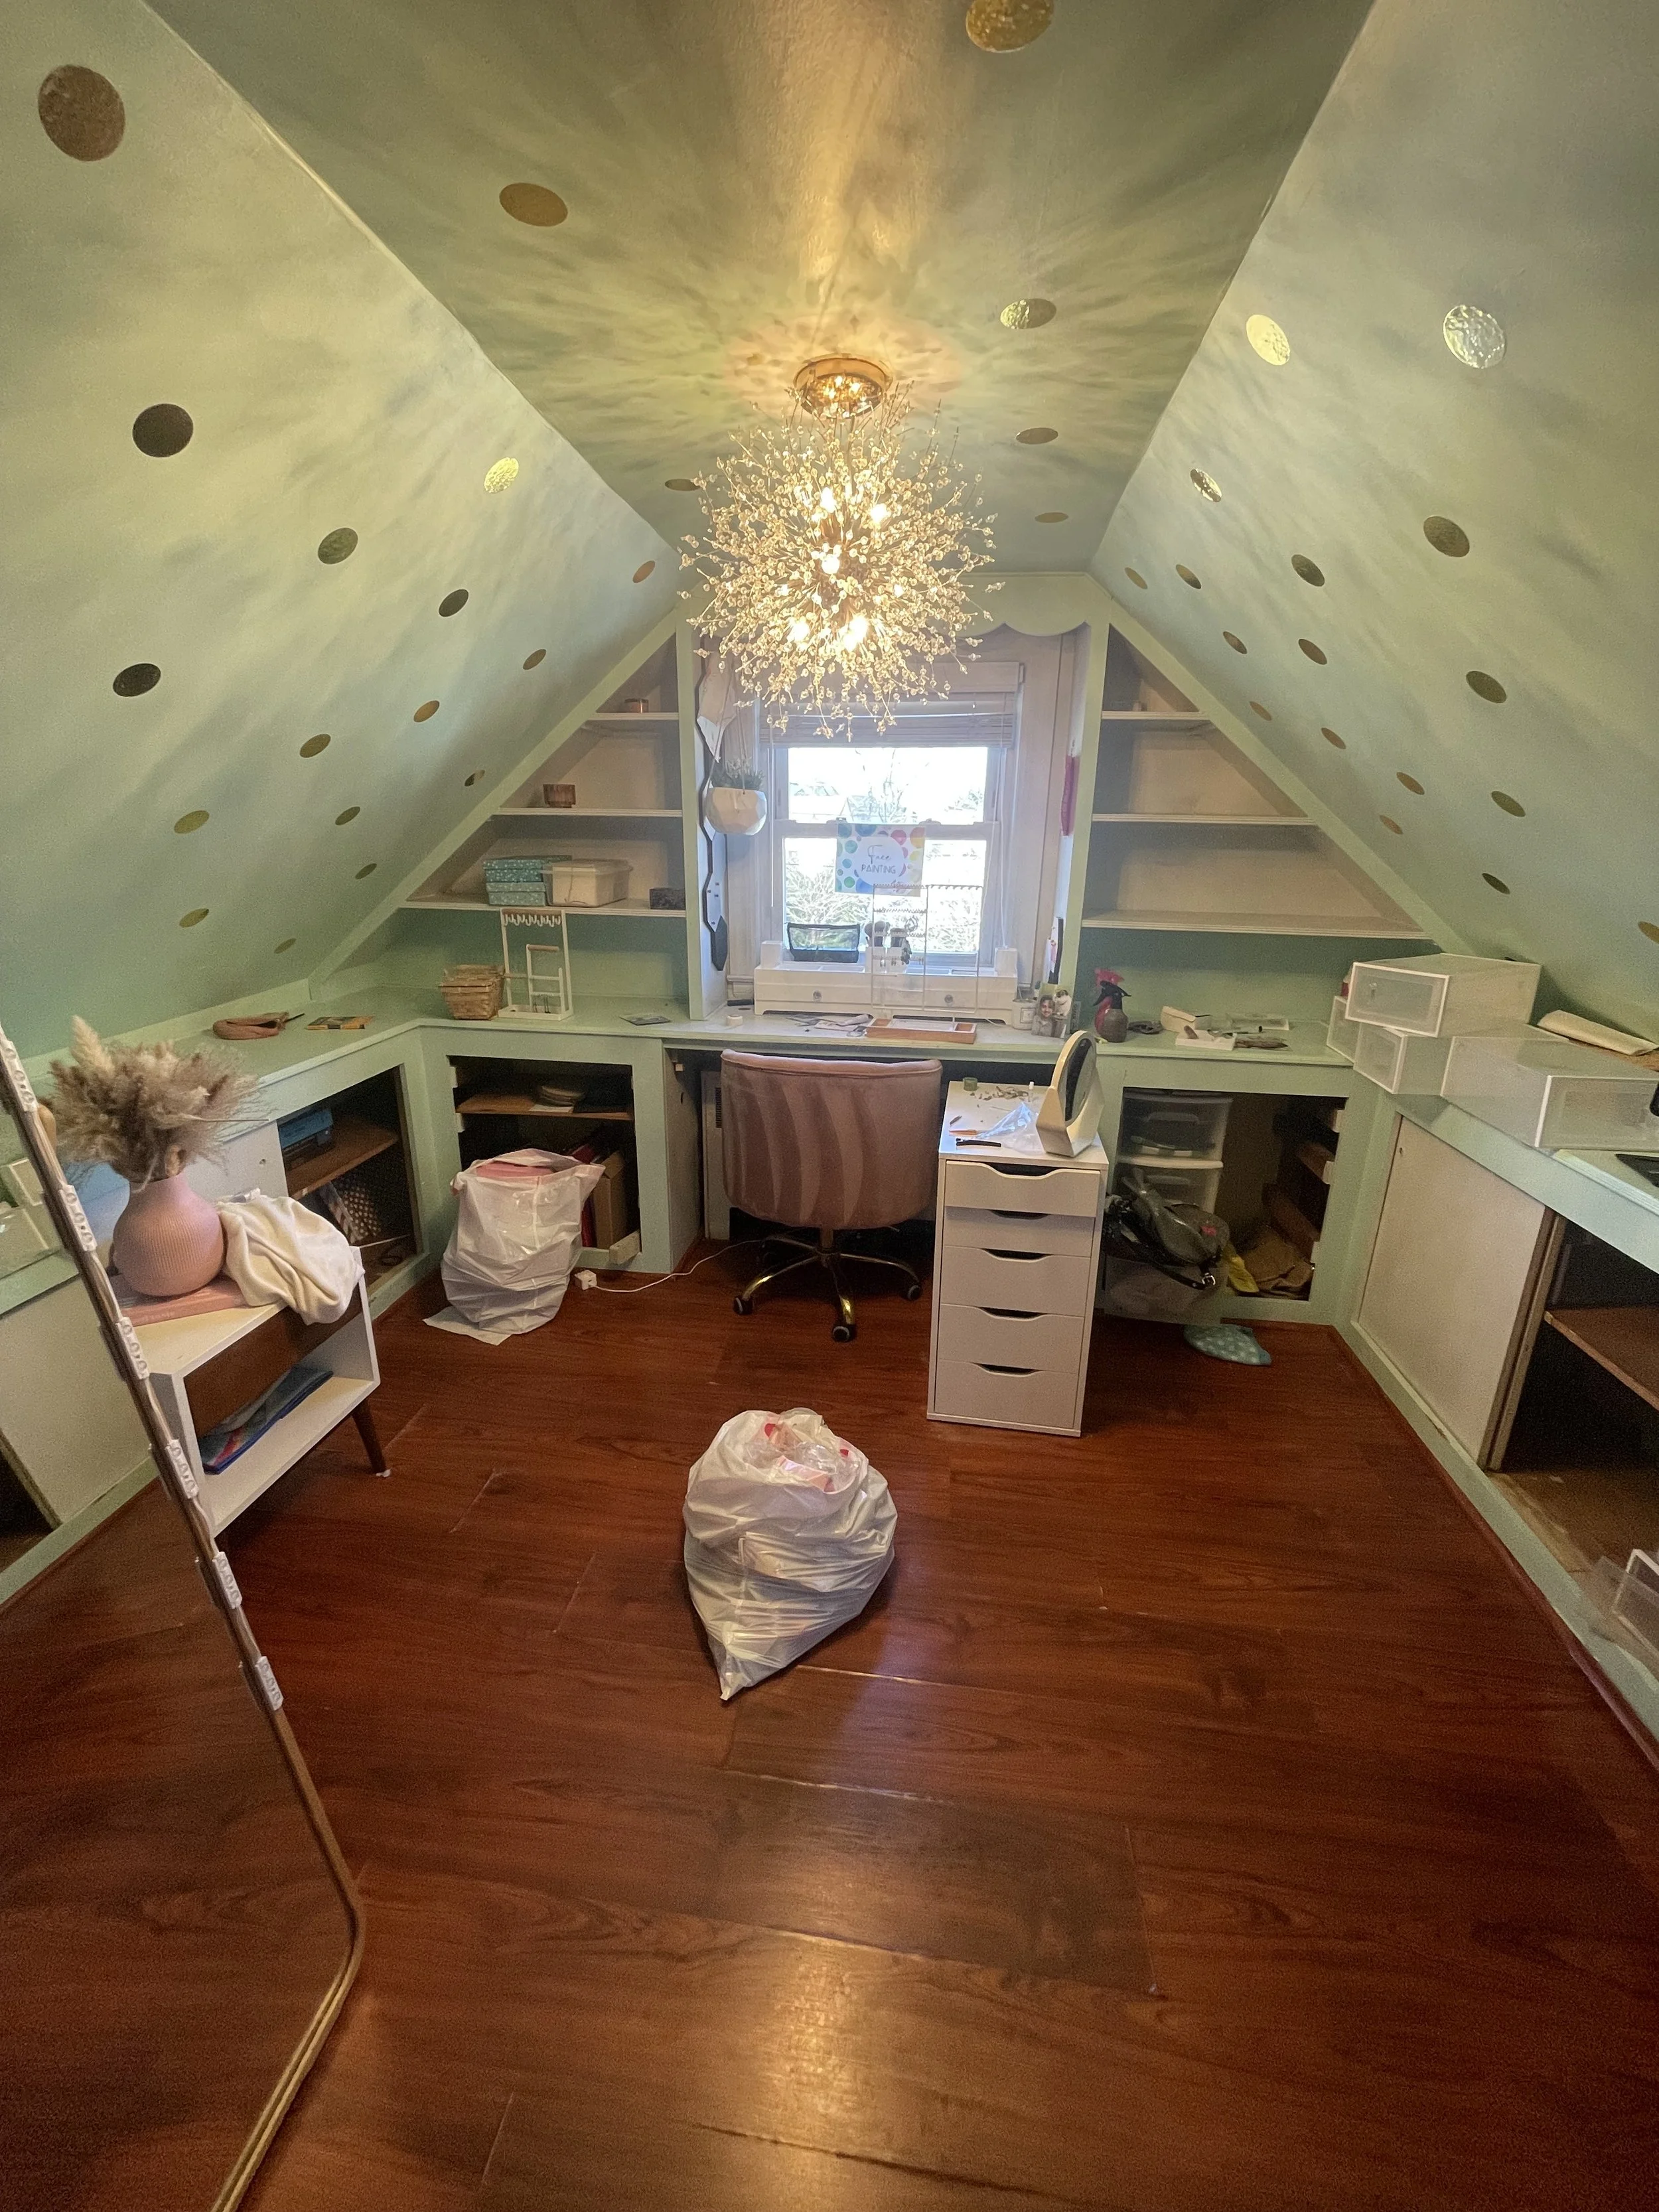
The before
The functionality was the key here. This closet had to work differently than other closet solutions in the past, or it would end up being pretty but inefficient. I needed certain things from this space; a way to easily find, sort, display and put away clothes. I had to remove multiple obstacles that prevented me from seeing what I already owned, because not seeing it meant that I wasn’t wearing it, or even remembered that I had it. I wanted a space that I could completely get dressed in, from outfit to jewelry to shoes, bags, perfume, even a spot to place laundry. Everything stored together, easily accessible, and all while curating a beautiful space.
This project became my hyperfocus, and after a few short weeks of nonstop work, the space was officially ready. Let me now introduce you to my new walk-in closet. She’s functional, she’s beautiful, she’s practical, and she’s more than I ever hoped it would be. I’d like to walk you through my closet, and talk about the lessons that can be learned from each element. Let's take a look.
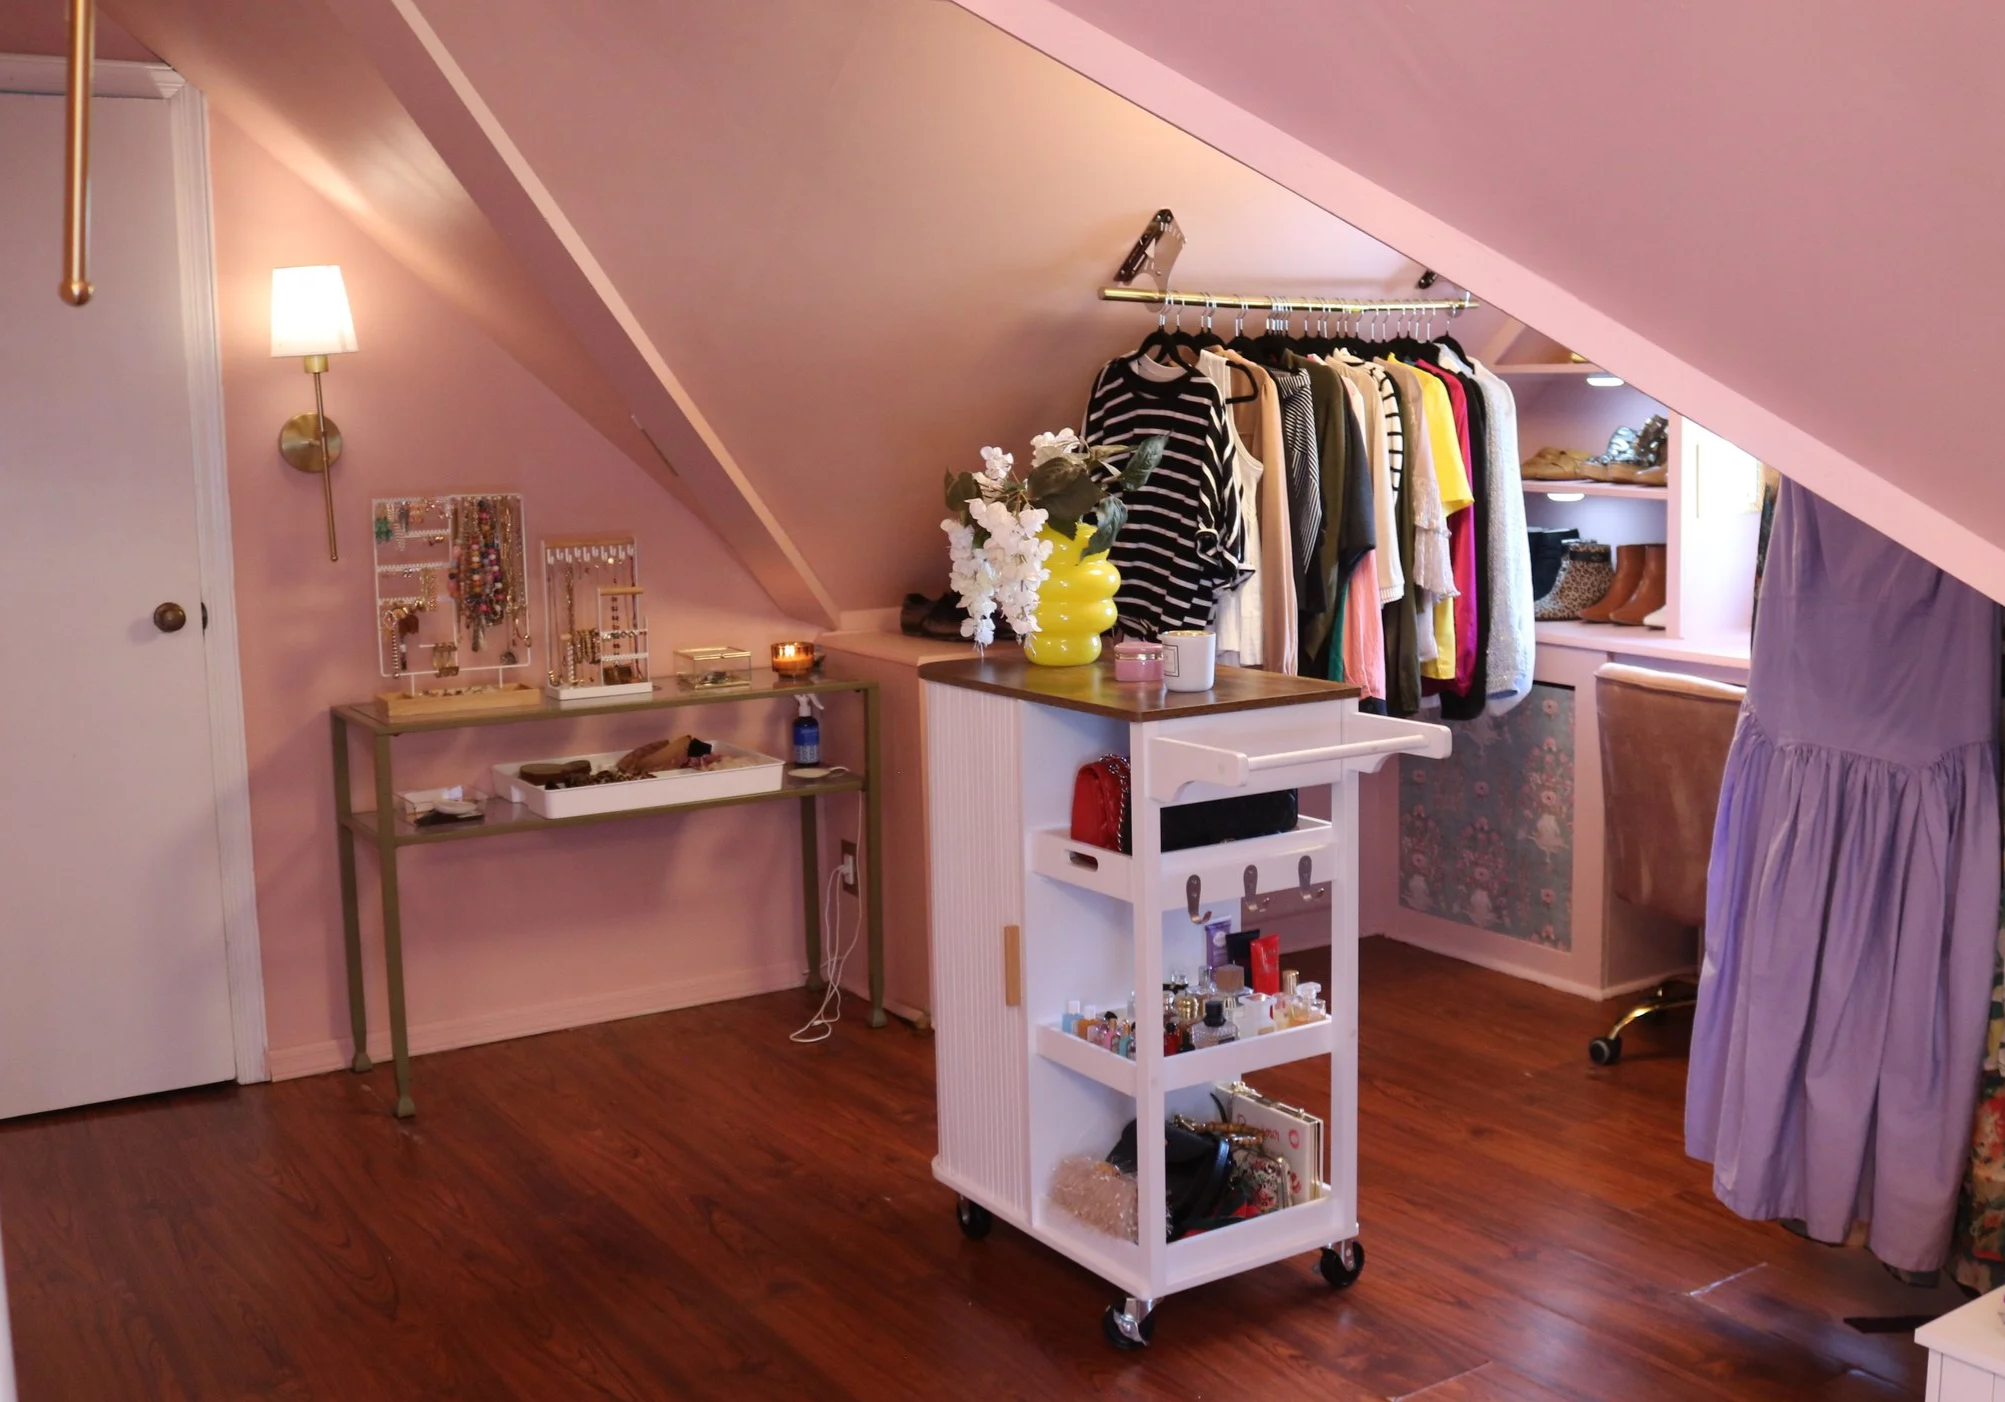
The glorious after!
This is more than just a glamorous dressing room, this is storage, organization, function, all tailor made to how my brain works. There is a place for everything, and those places make sense to me, meaning there is less work to maintain and keep up the space. Which immediately brings us to the first lesson: Your space has to function first and foremost, for YOU. Not instagram or pinterest, not for what worked for your third cousin twice removed. YOU. If you implement methods that you are unable to consistently use day in and day out, you are setting yourself up to fail. Example: you know the file method of folding clothes? The way that makes it look super aesthetically pleasing? Well that look doesn’t just happen. You have to fold everything a certain way, every single time you put your clothes in a drawer. If you take out two options to wear, pick one and put the other back, you can’t just throw that back in the drawer. Are you able to truly see what the clothing item is from that small file fold, reach in to take that and only that article of clothing, without messing up or sifting through its neighbors looking for something specific? That’s a lot to maintain, all for the sake of aesthetics.
Let’s take a closer look at how I made my dressers, and what I did to create clothing storage that is easy to sustain, and best works for my needs.
The Dressers
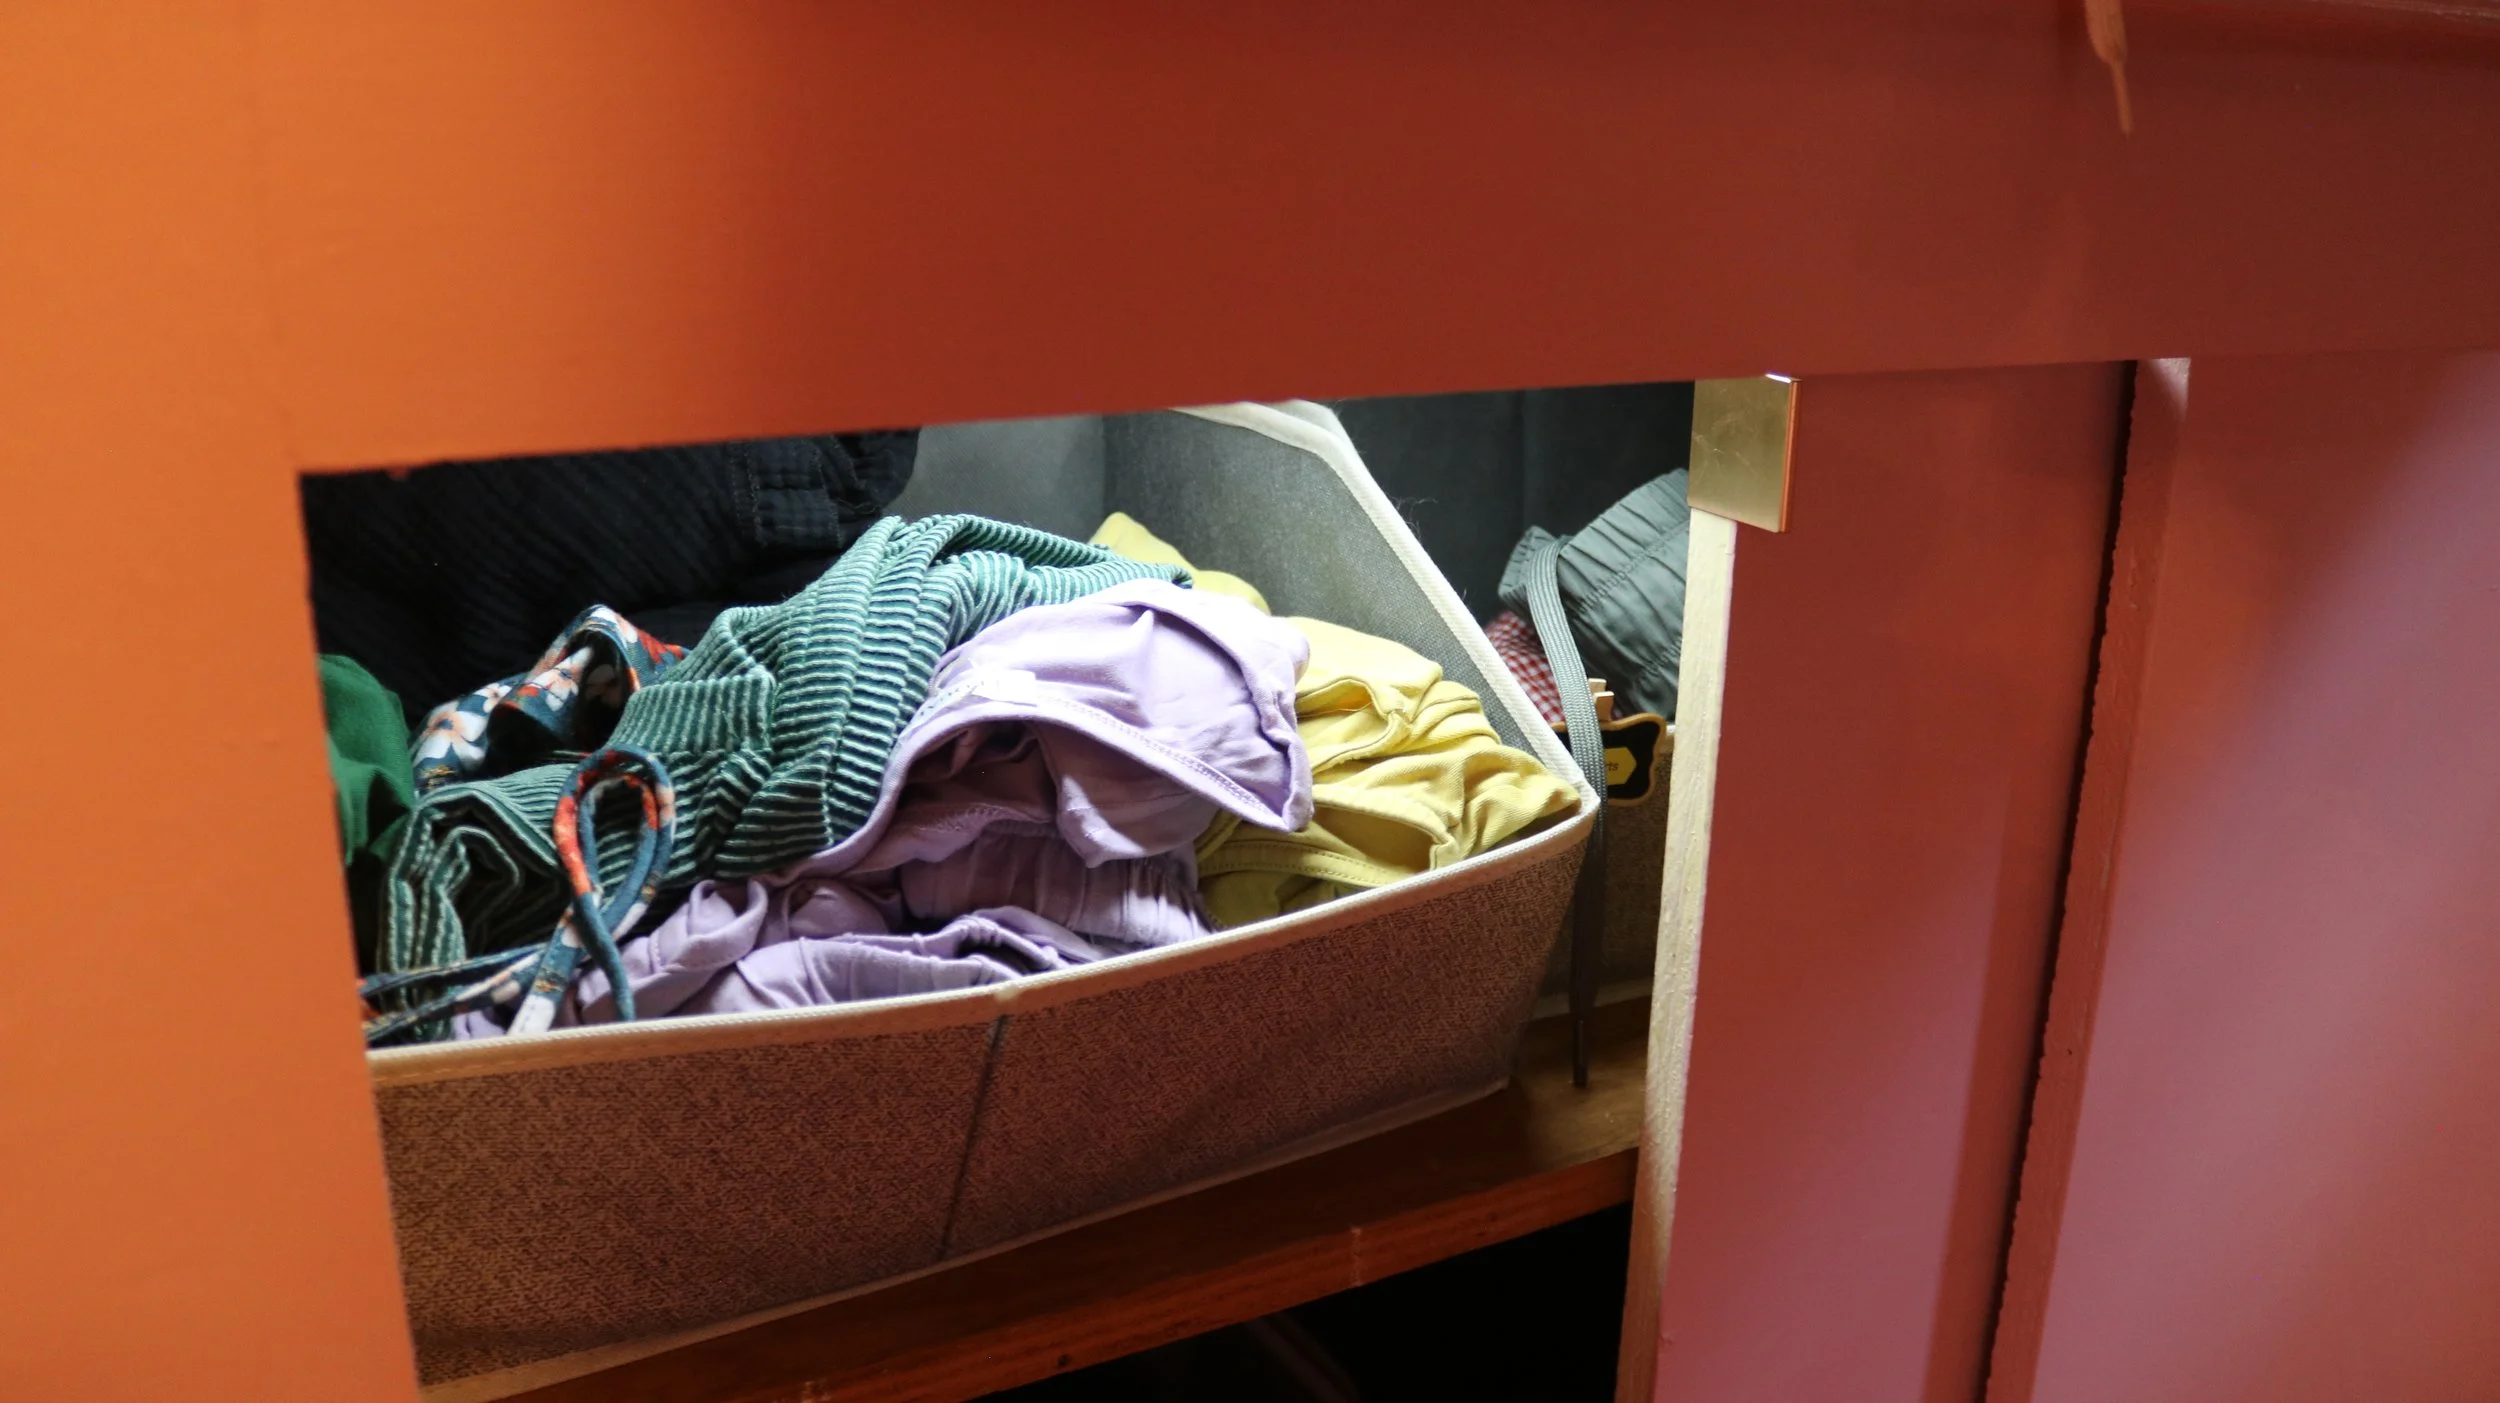
These built-ins were originally meant to hold office supplies; notebooks, printer paper, storage boxes of scissors and tape and glue, etc. I had to keep the units as is, so I needed to find a way to store clothing in these cabinets in a way that would allow me to quickly see, find, sort, and put away any item of clothing I would need. I couldn’t just mix everything together and put them on the shelf. How could I instantly reach in and grab exactly what I needed each time without throwing everything out to find what I was looking for? The answer seemed incredibly obvious once I thought about it.
This was a job for storage bins. Very specific storage bins. These ones to be exact:
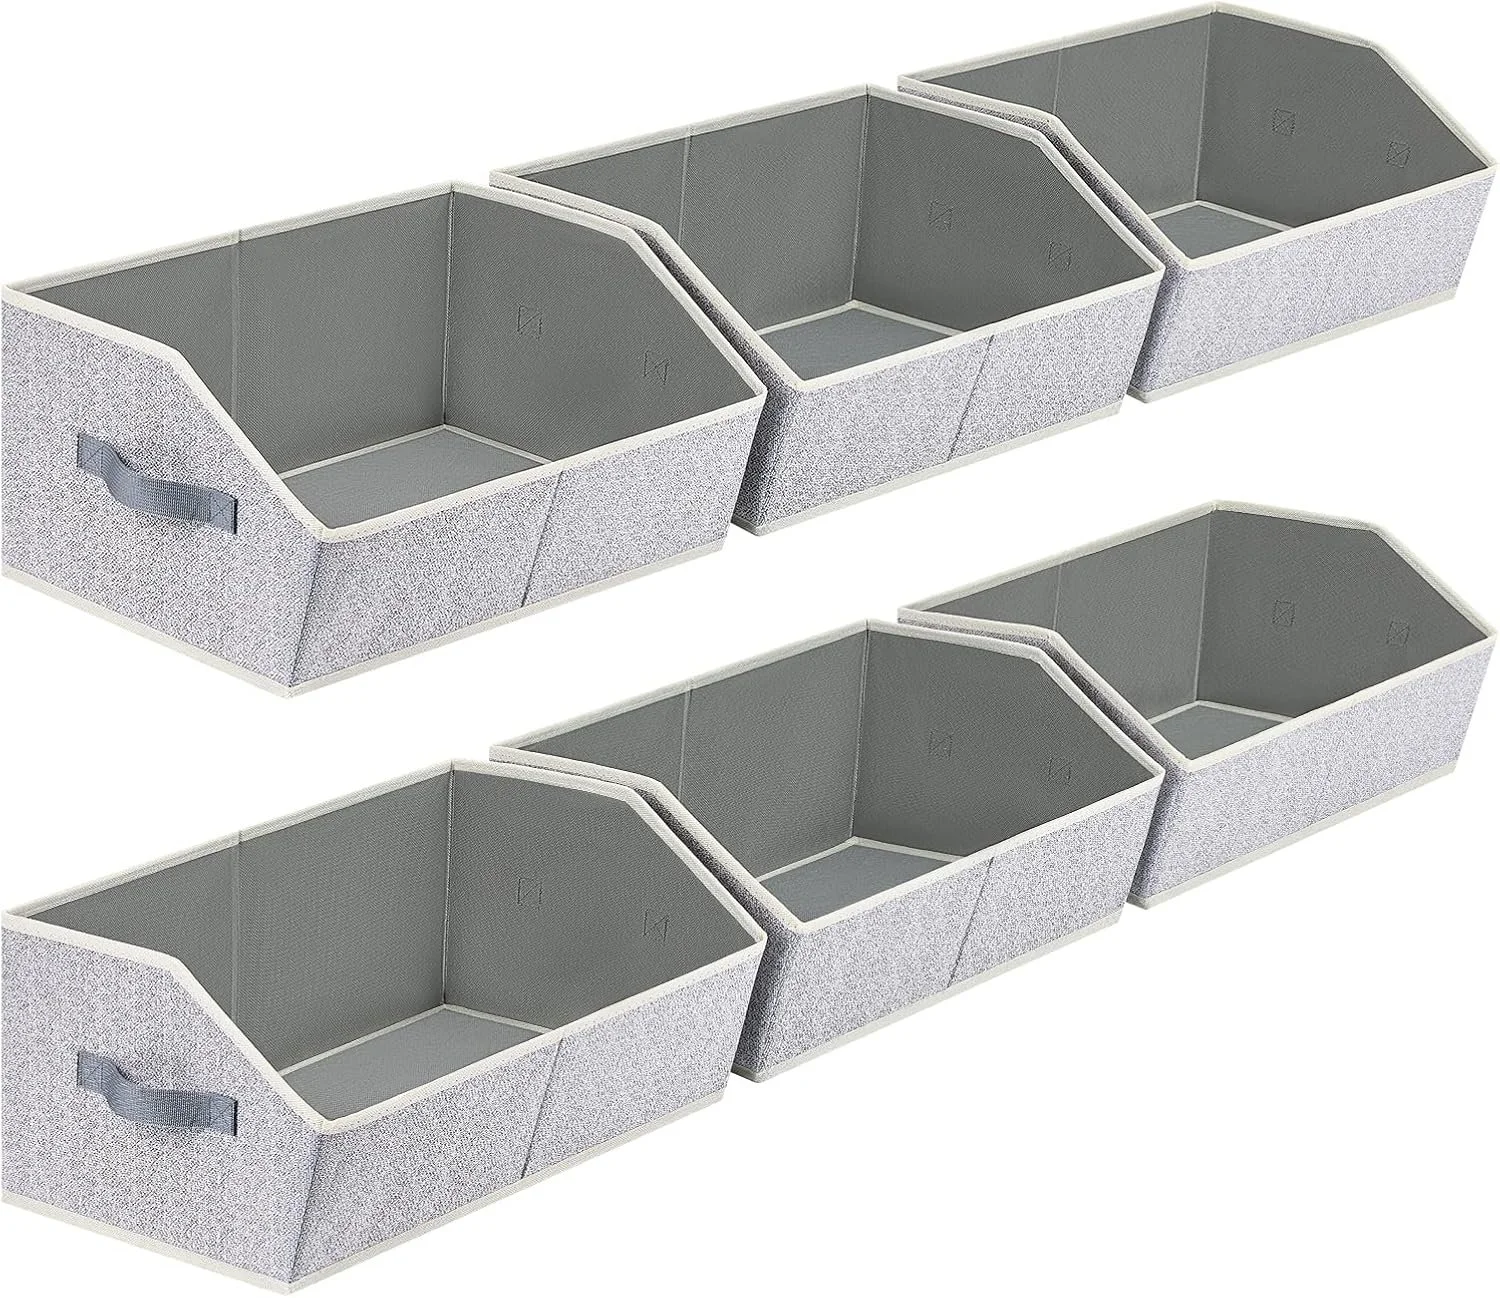
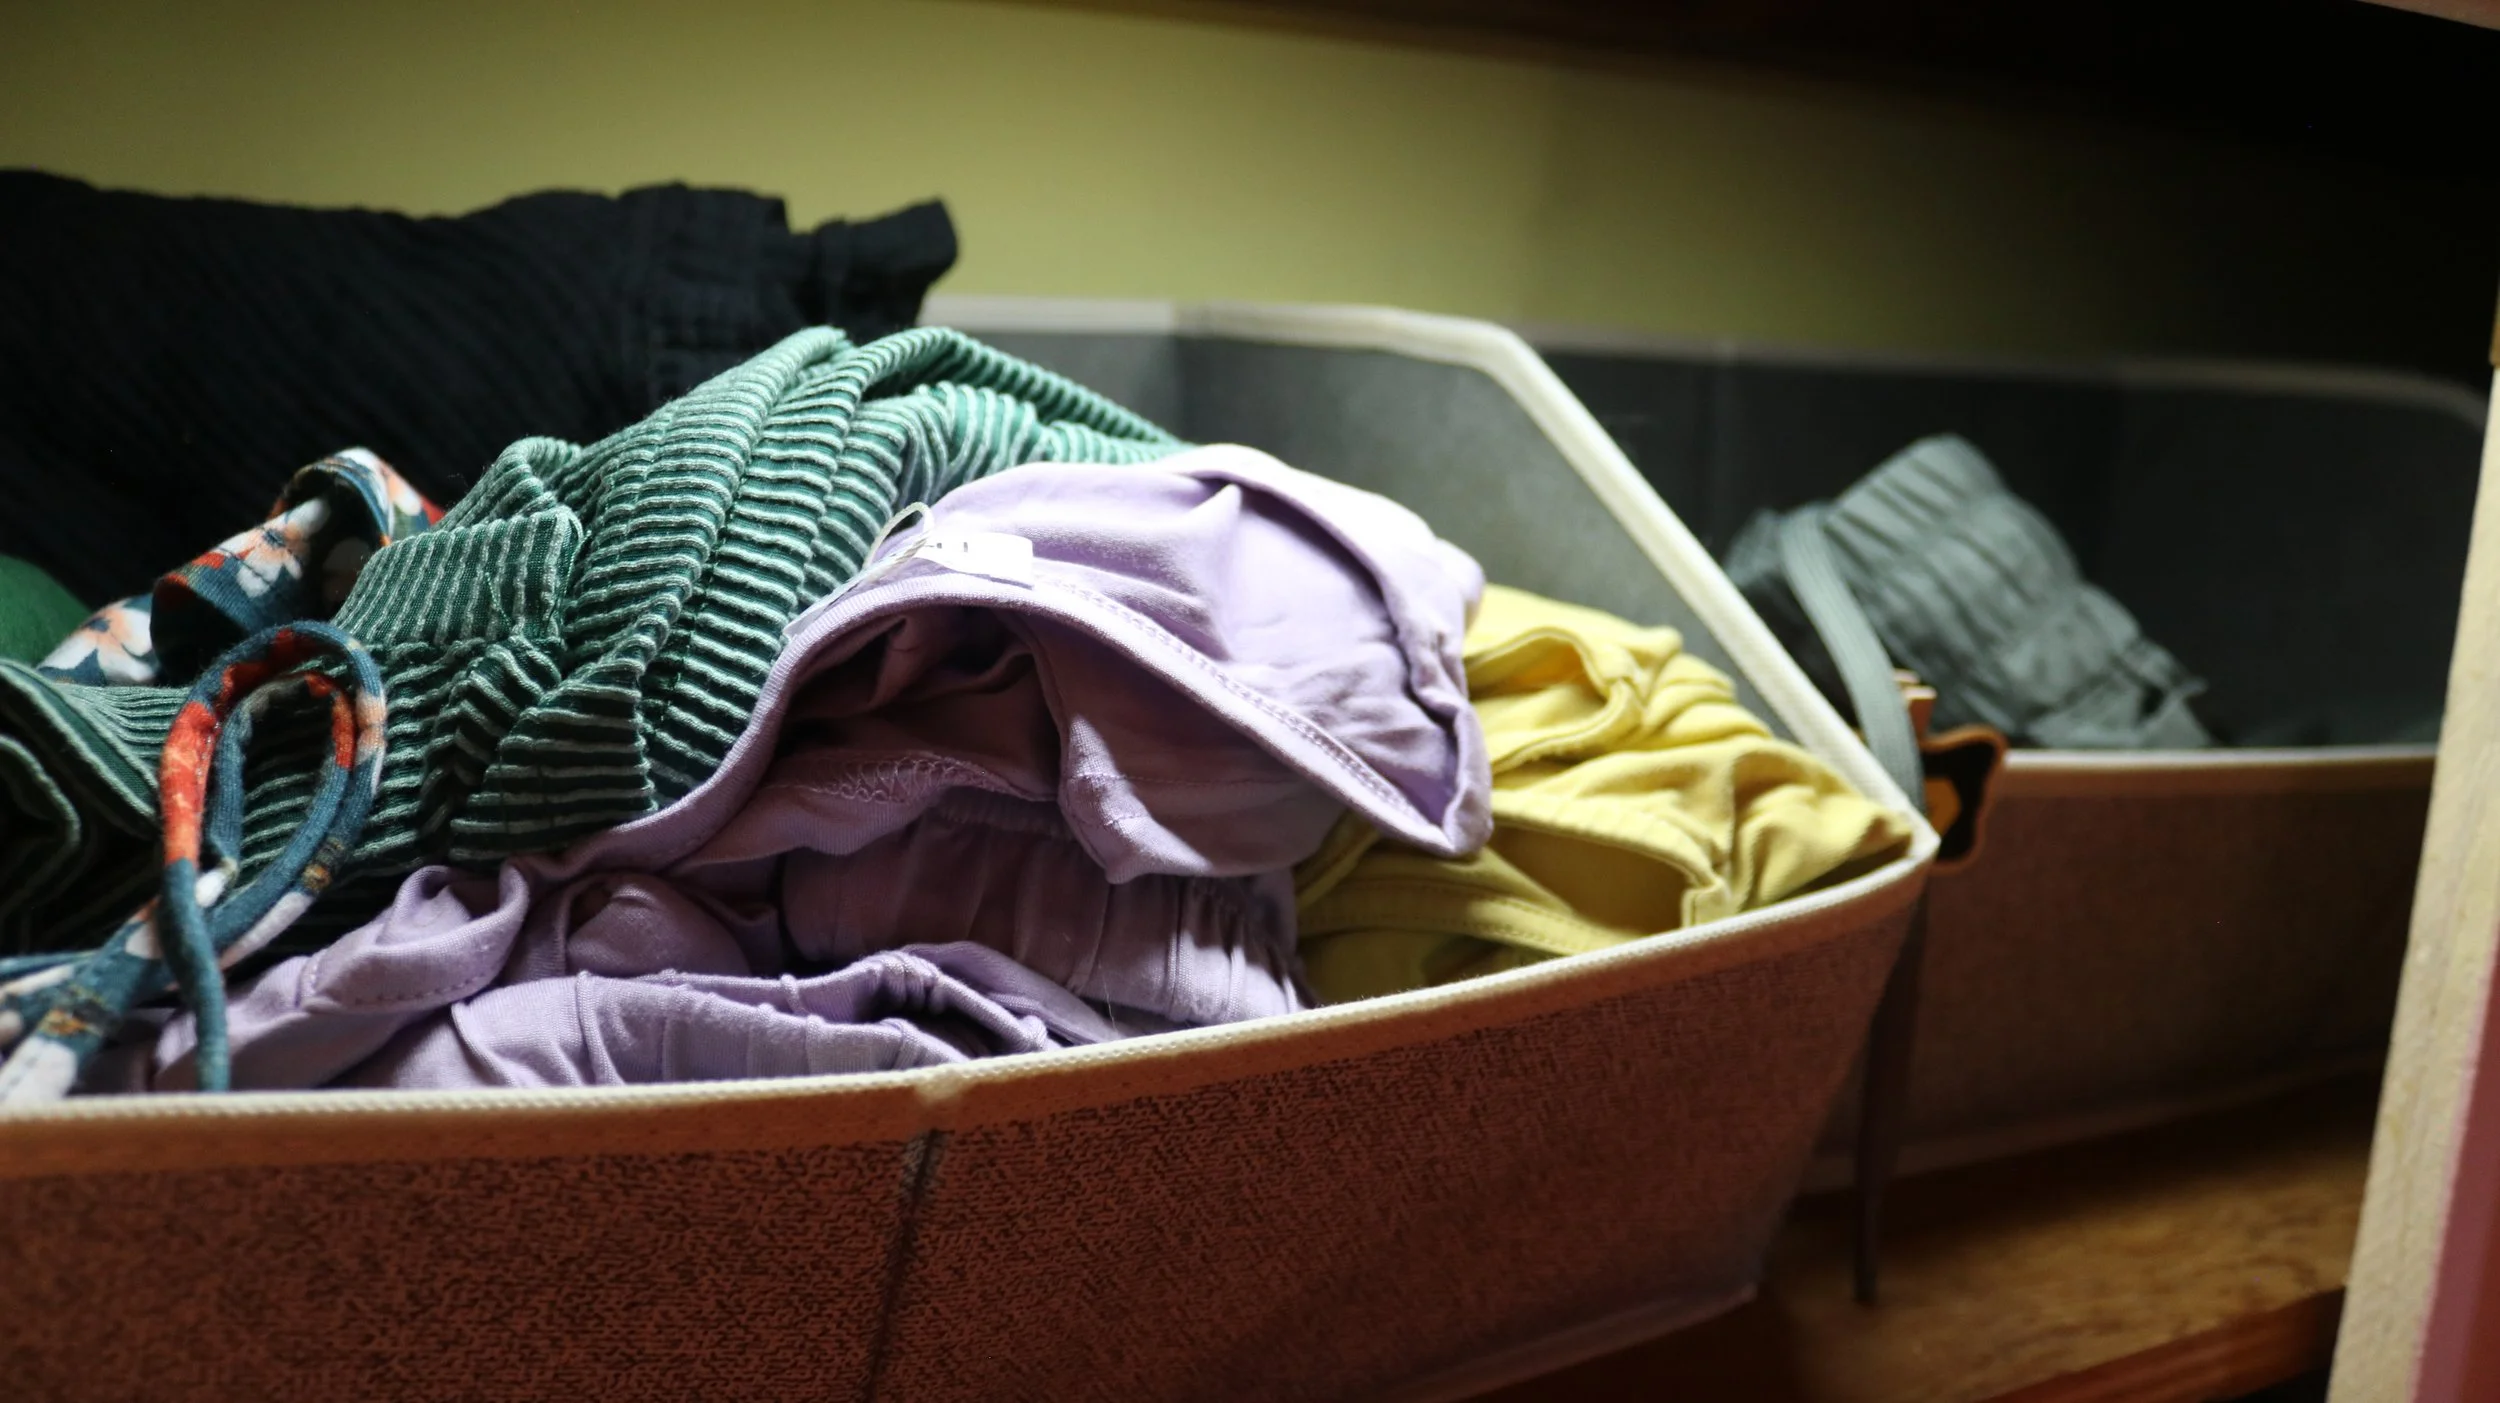
The low profile front allowed easy view of everything in the bin, and the side handles make it easy to take out and put in to either sort through or put laundry away!
To best suit my needs, I was going to break down all my clothing into multiple, very specific categories. Each category of clothing received its own bin. Each category is only allowed one bin. If I have more items than space in the bin, that category would need to be decluttered. My categories became the following: Basic Tank Tops, Basic Short Sleeve Tee Shirts, Basic Long Sleeve Tee Shirts, Joggers, Jeans, Work Pants, Leggings, Shorts, Everyday Pants, and Sets. Some of these are more seasonal, like the everyday pants, which include all pants that aren’t leggings but aren’t jeans but still aren’t work attire, and shorts. Sets are for all outfits where there is a specific bottom to go with a specific top. After some decluttering, I was able to get each category to fit into its own bin with plenty of room to spare.
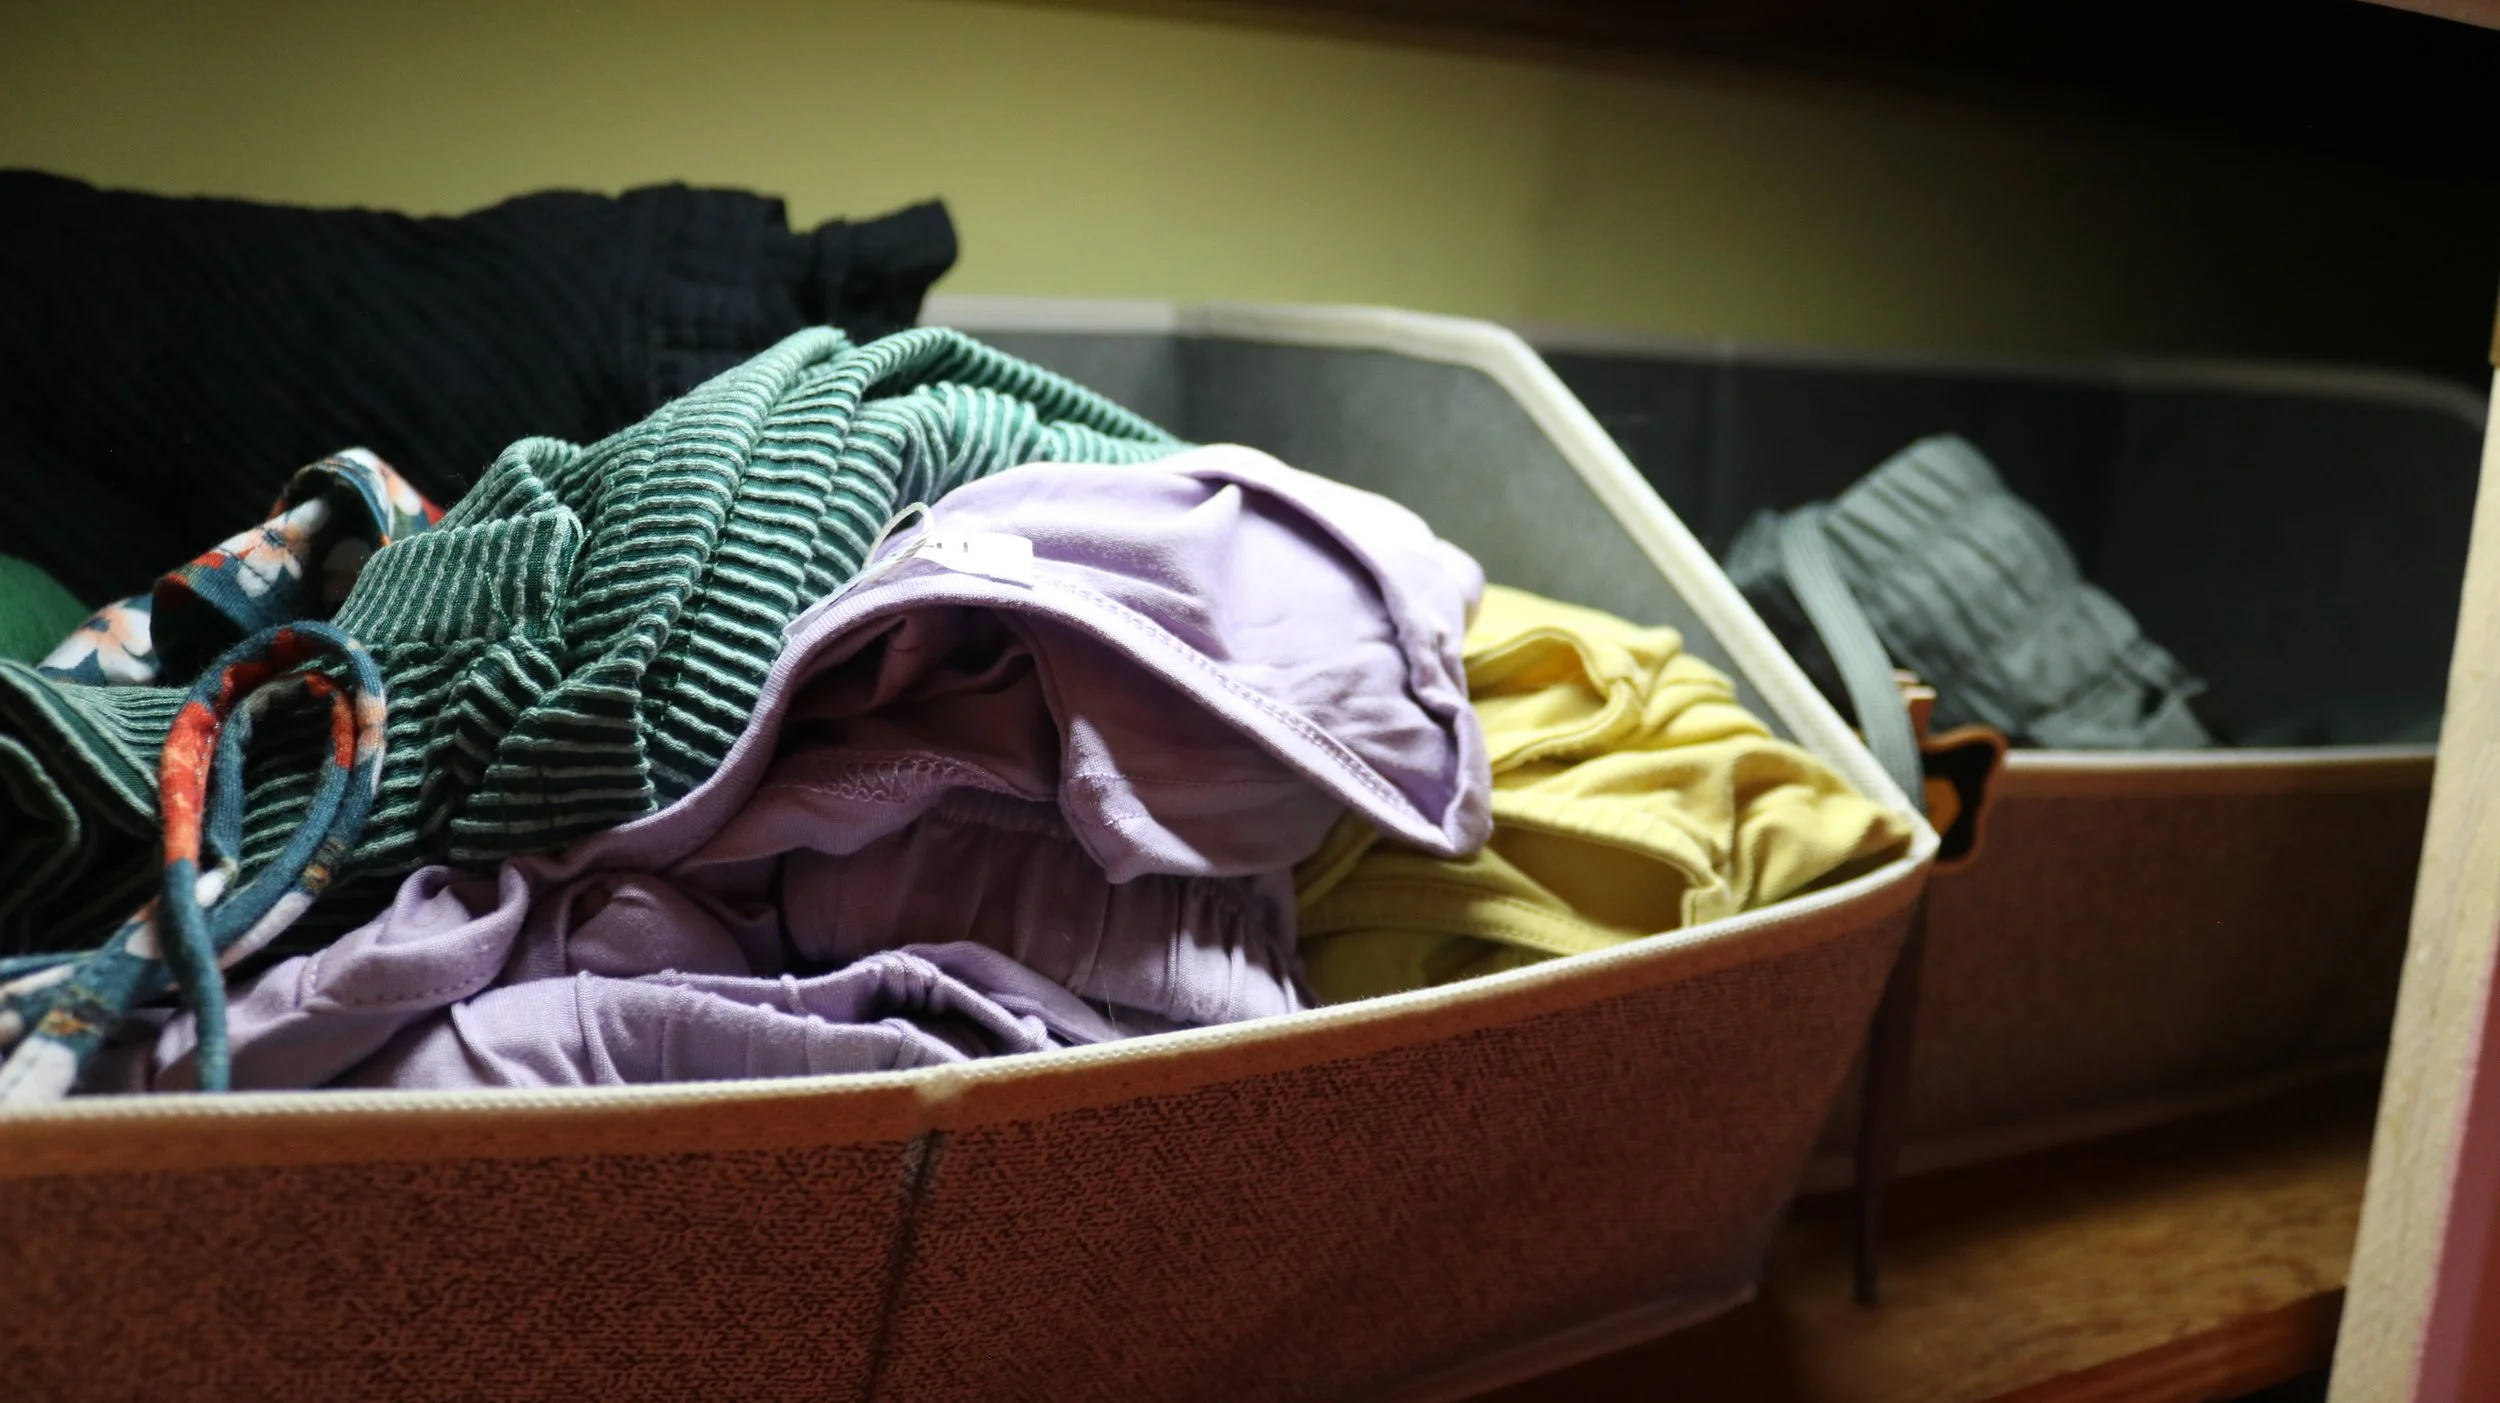
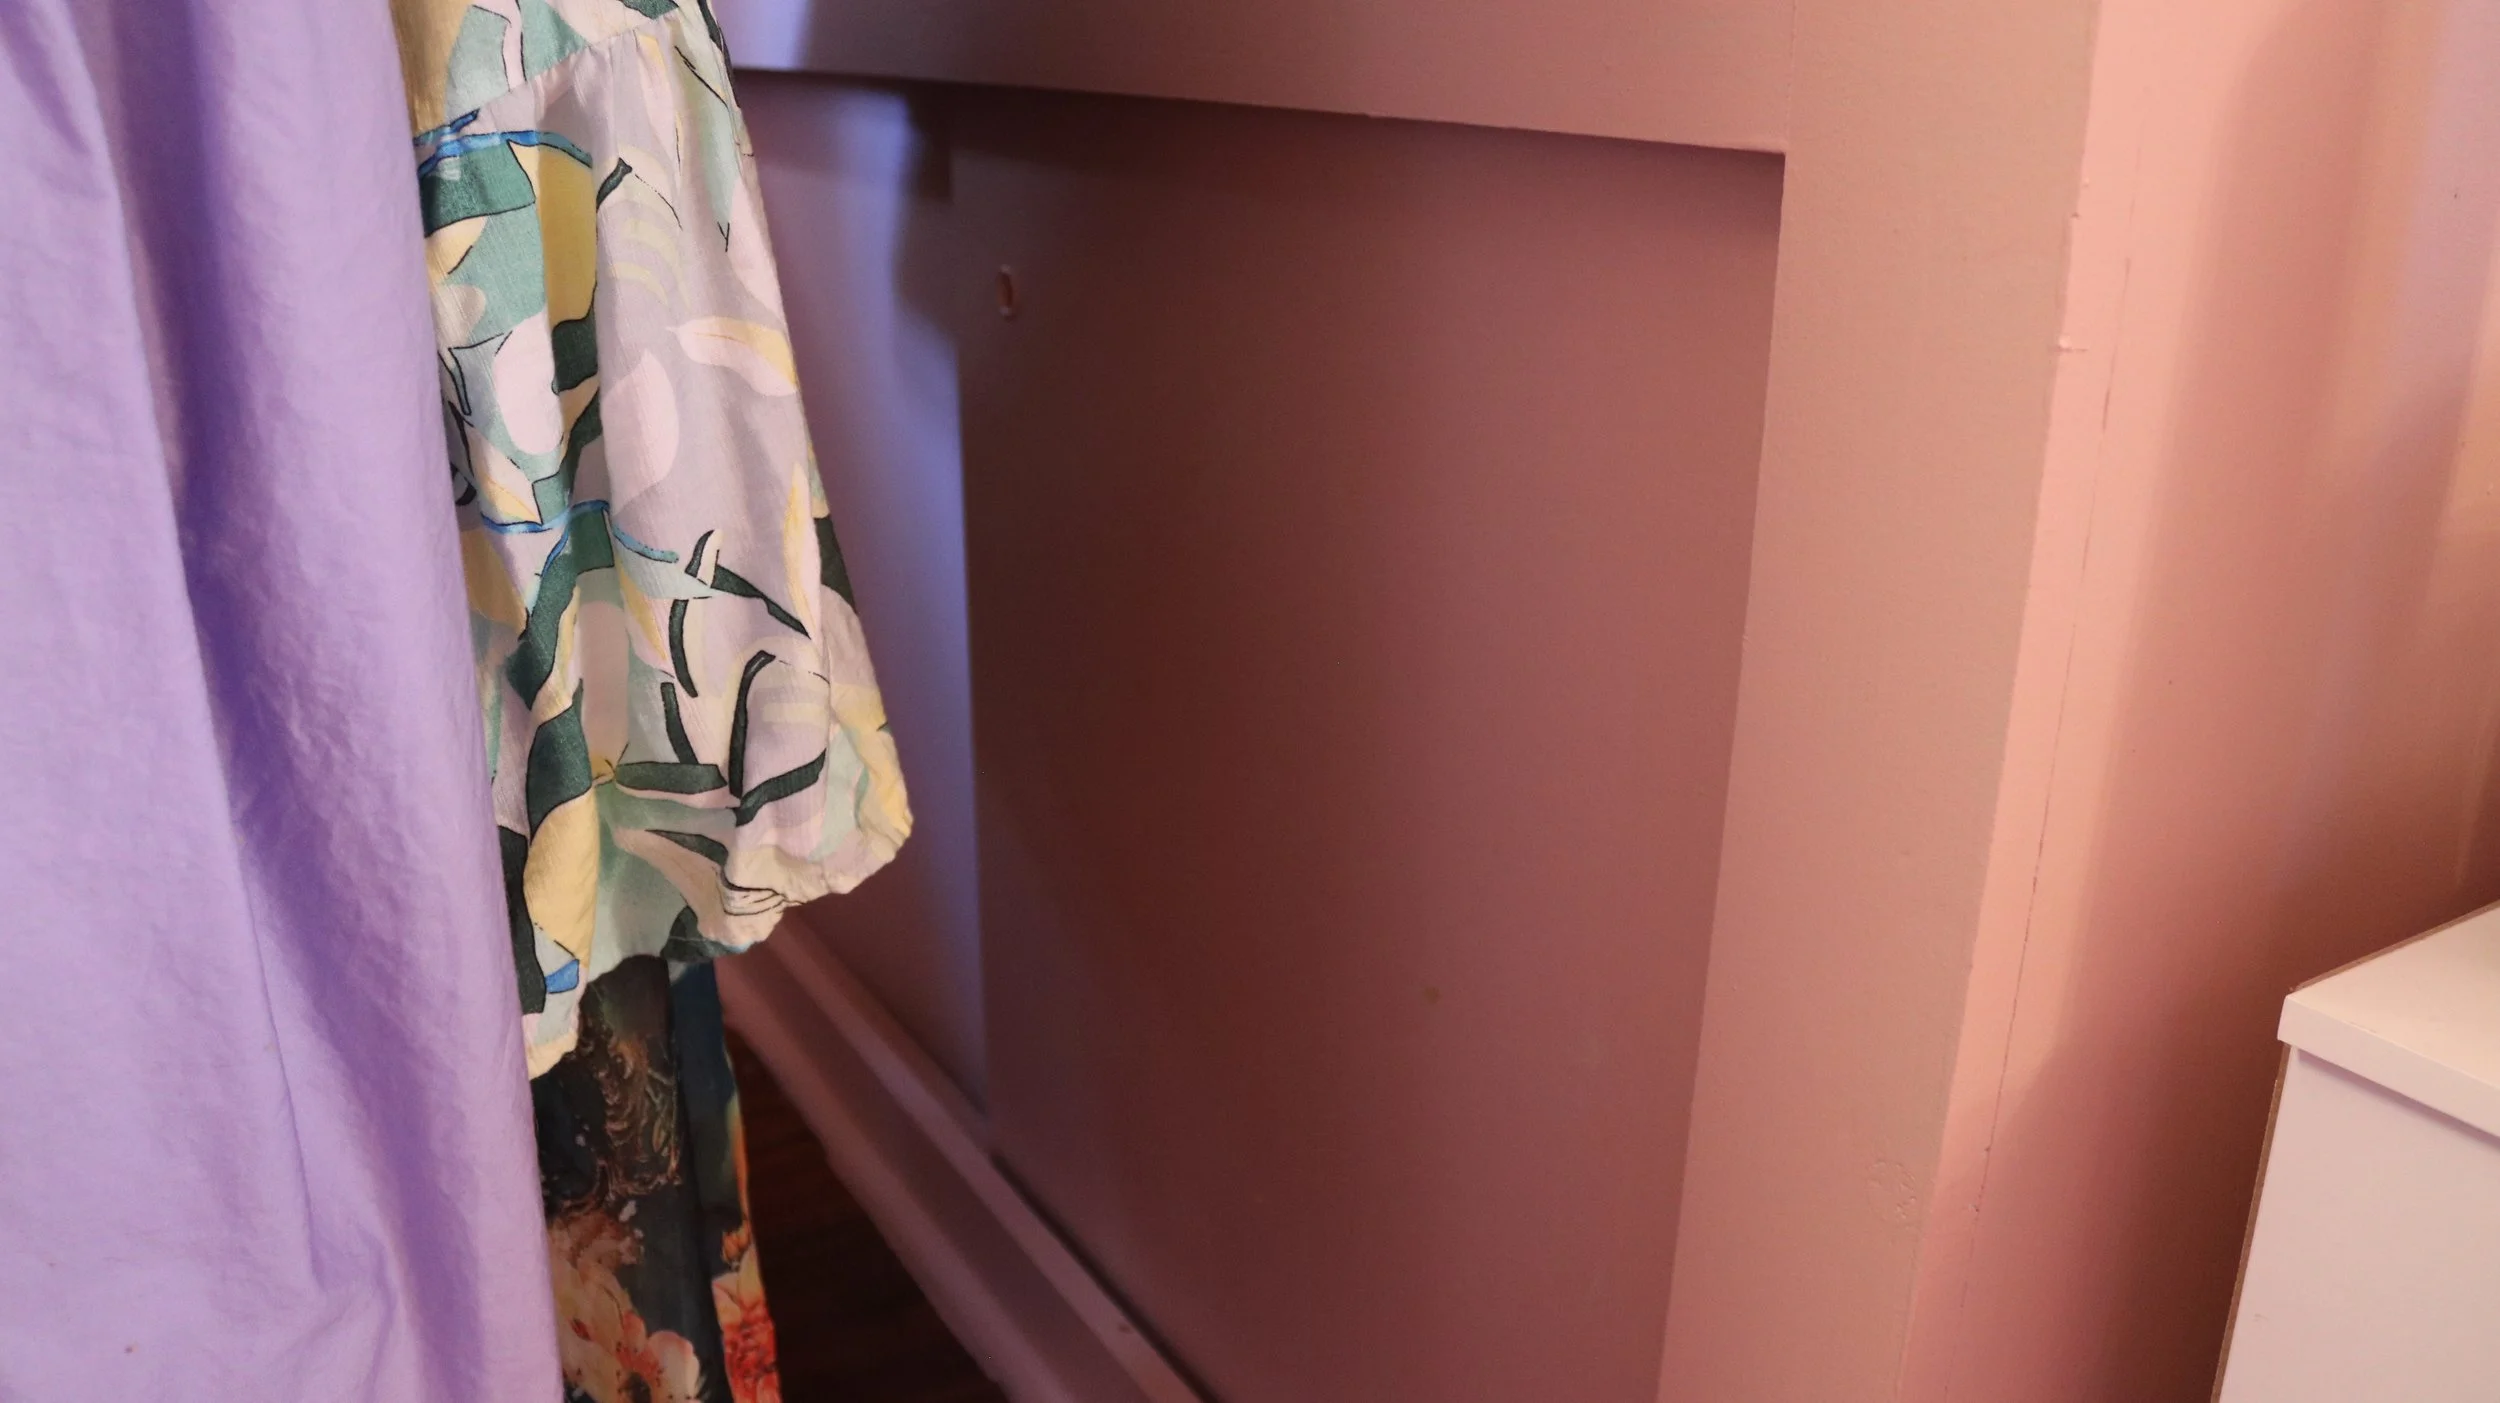
All very specific seasonal items (heavy sweaters in the summer, shorts in the winter) would be stored on separate shelves behind a paneled door.
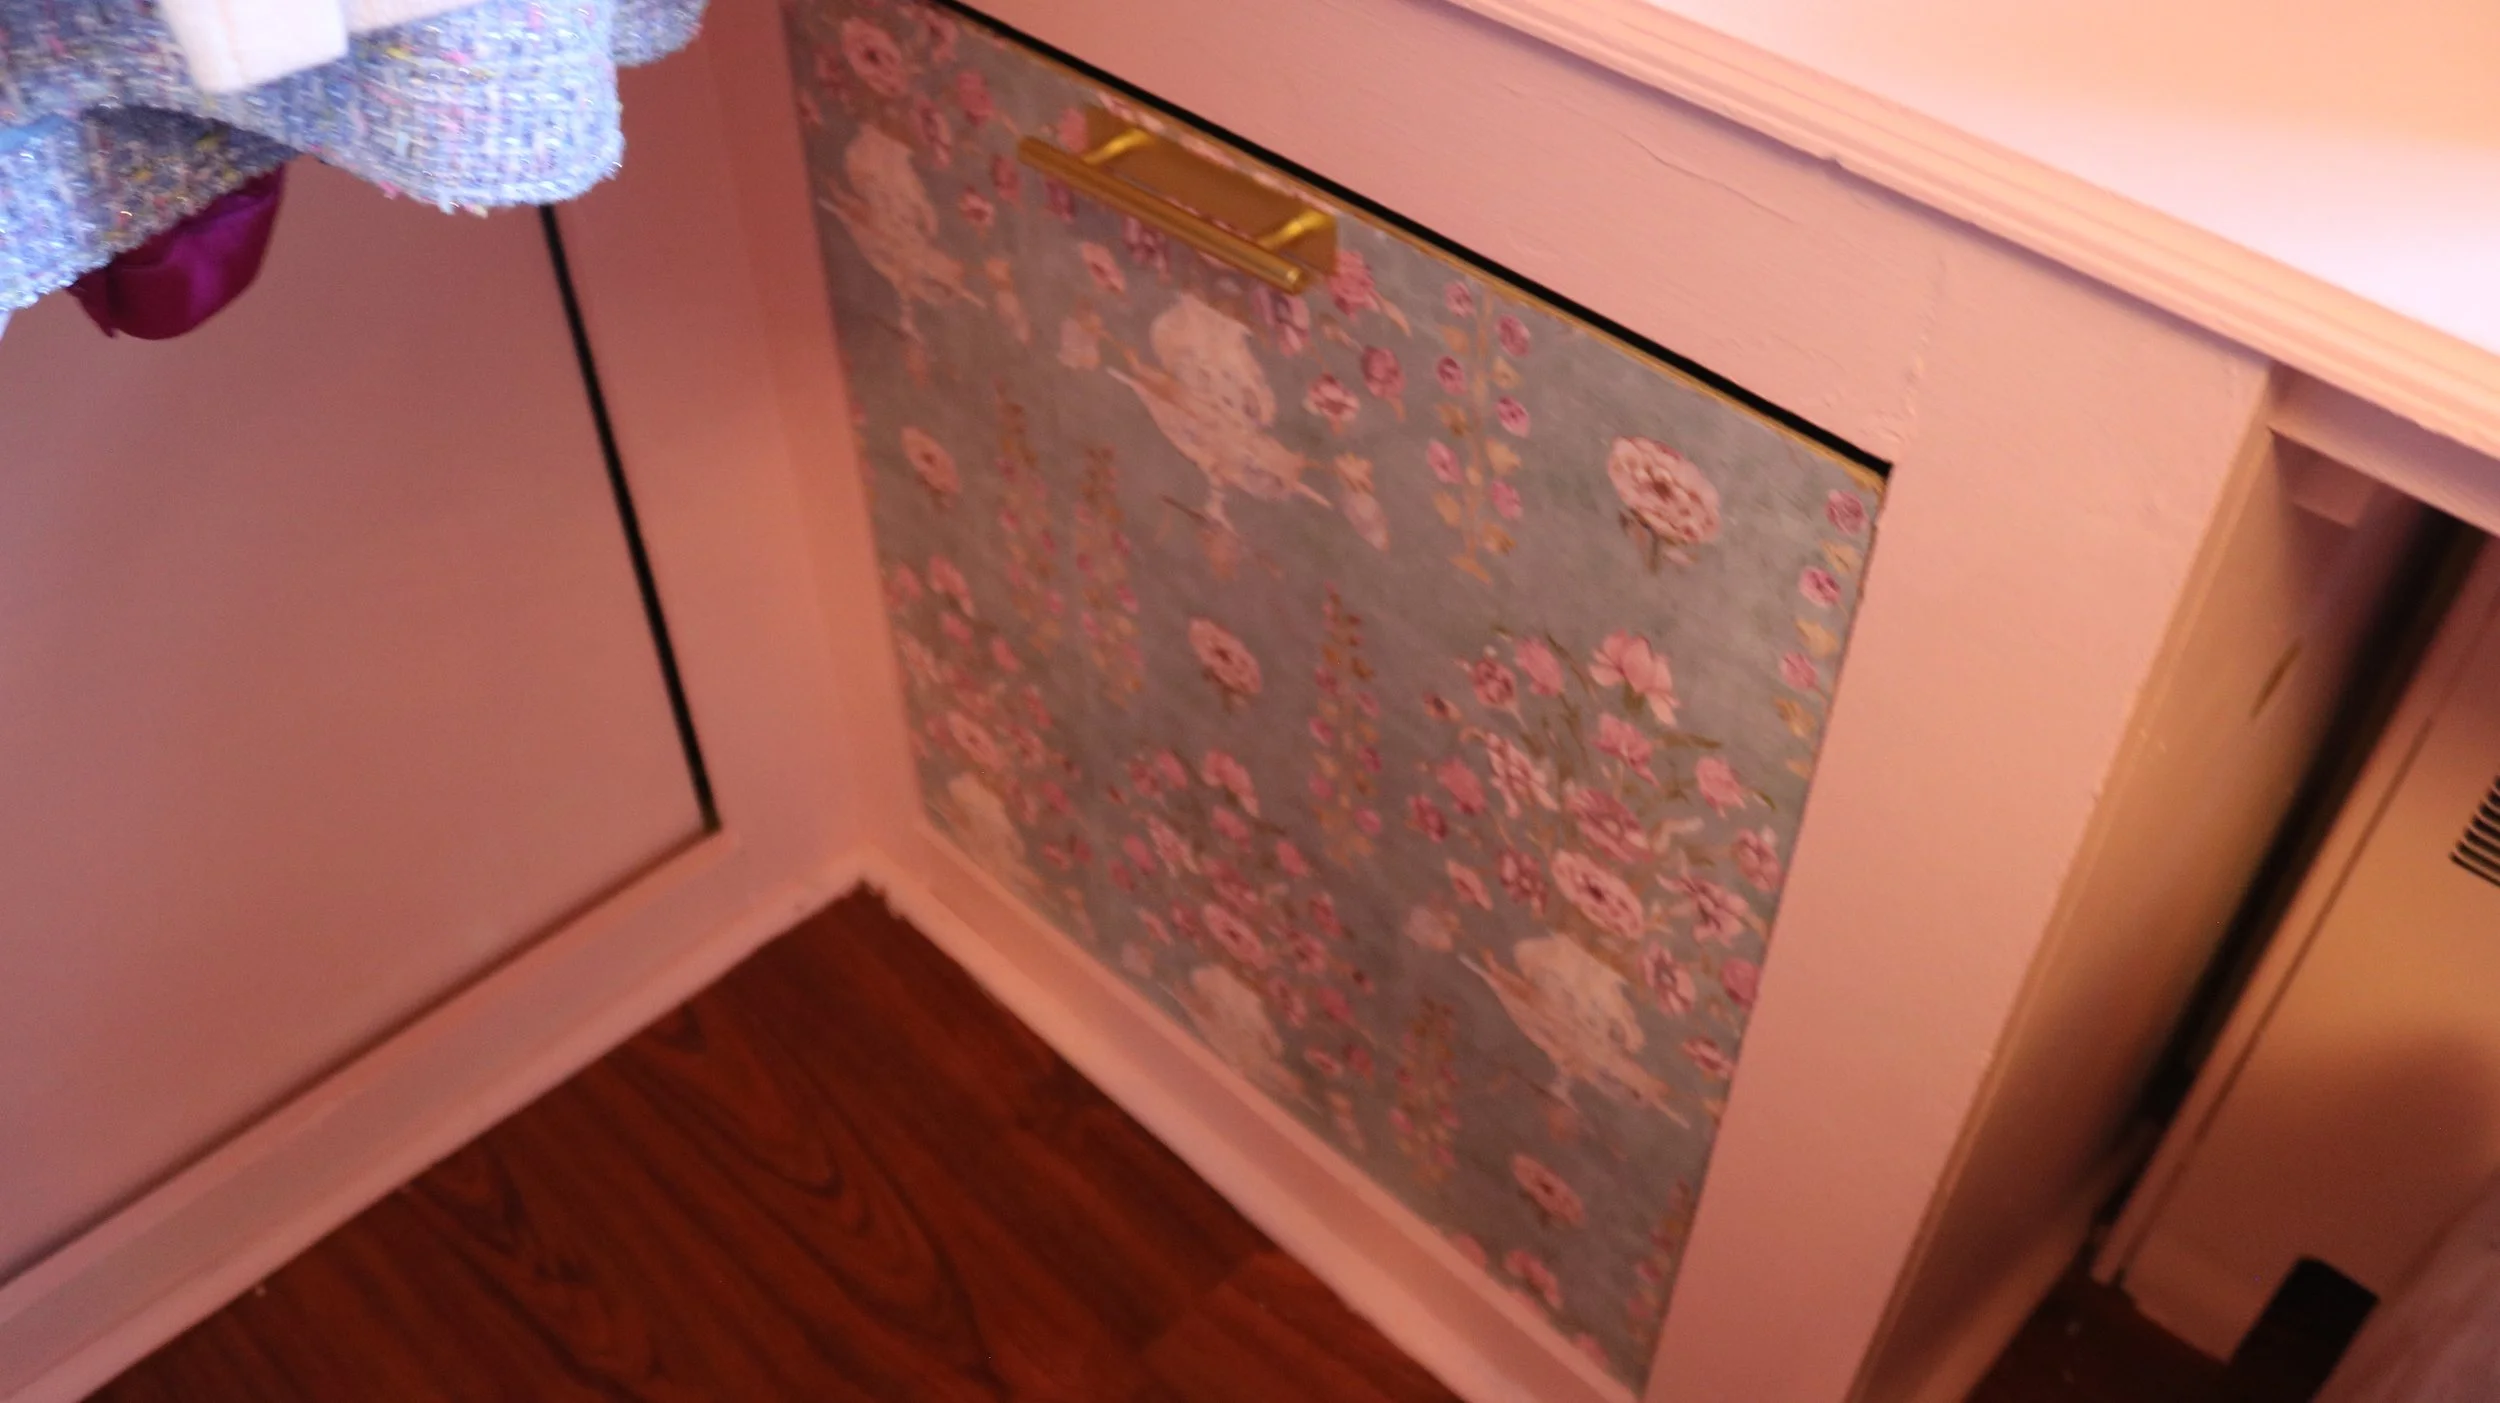
Fun fact, these doors were made by wallpapering MDF, adding stick on handles, and gluing magnets to the panels and the inside edge beams. The magnets hold the panel in place while it rests on the bottom ledge, and when it's time to remove the panels to access what's behind there a few times a year, simply grab the bottom and the handle, and gently pry away from the wall.
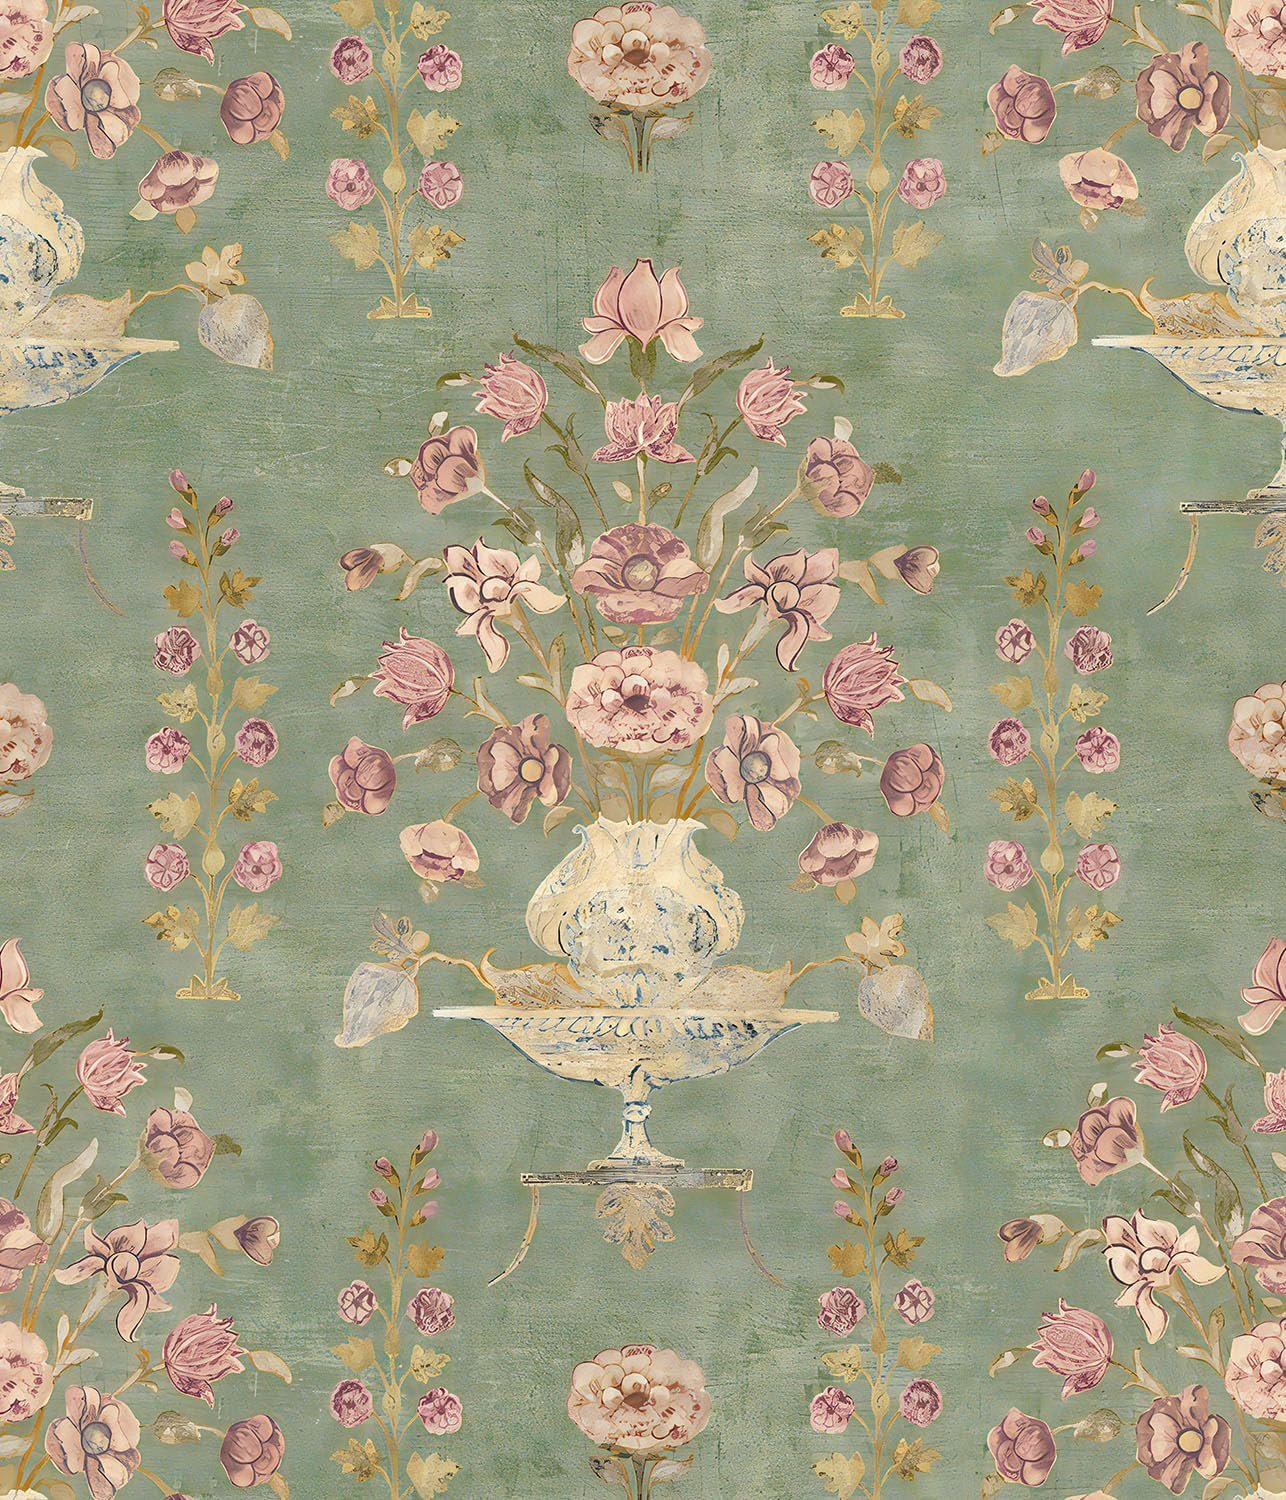
Click the image to buy the exact wallpaper I used in this closet space
Non-basic shirts of all kinds and sleeve lengths, dresses of all categories, sweaters and fashion jackets (when the season required them), would be hung up on railings.
The Railings
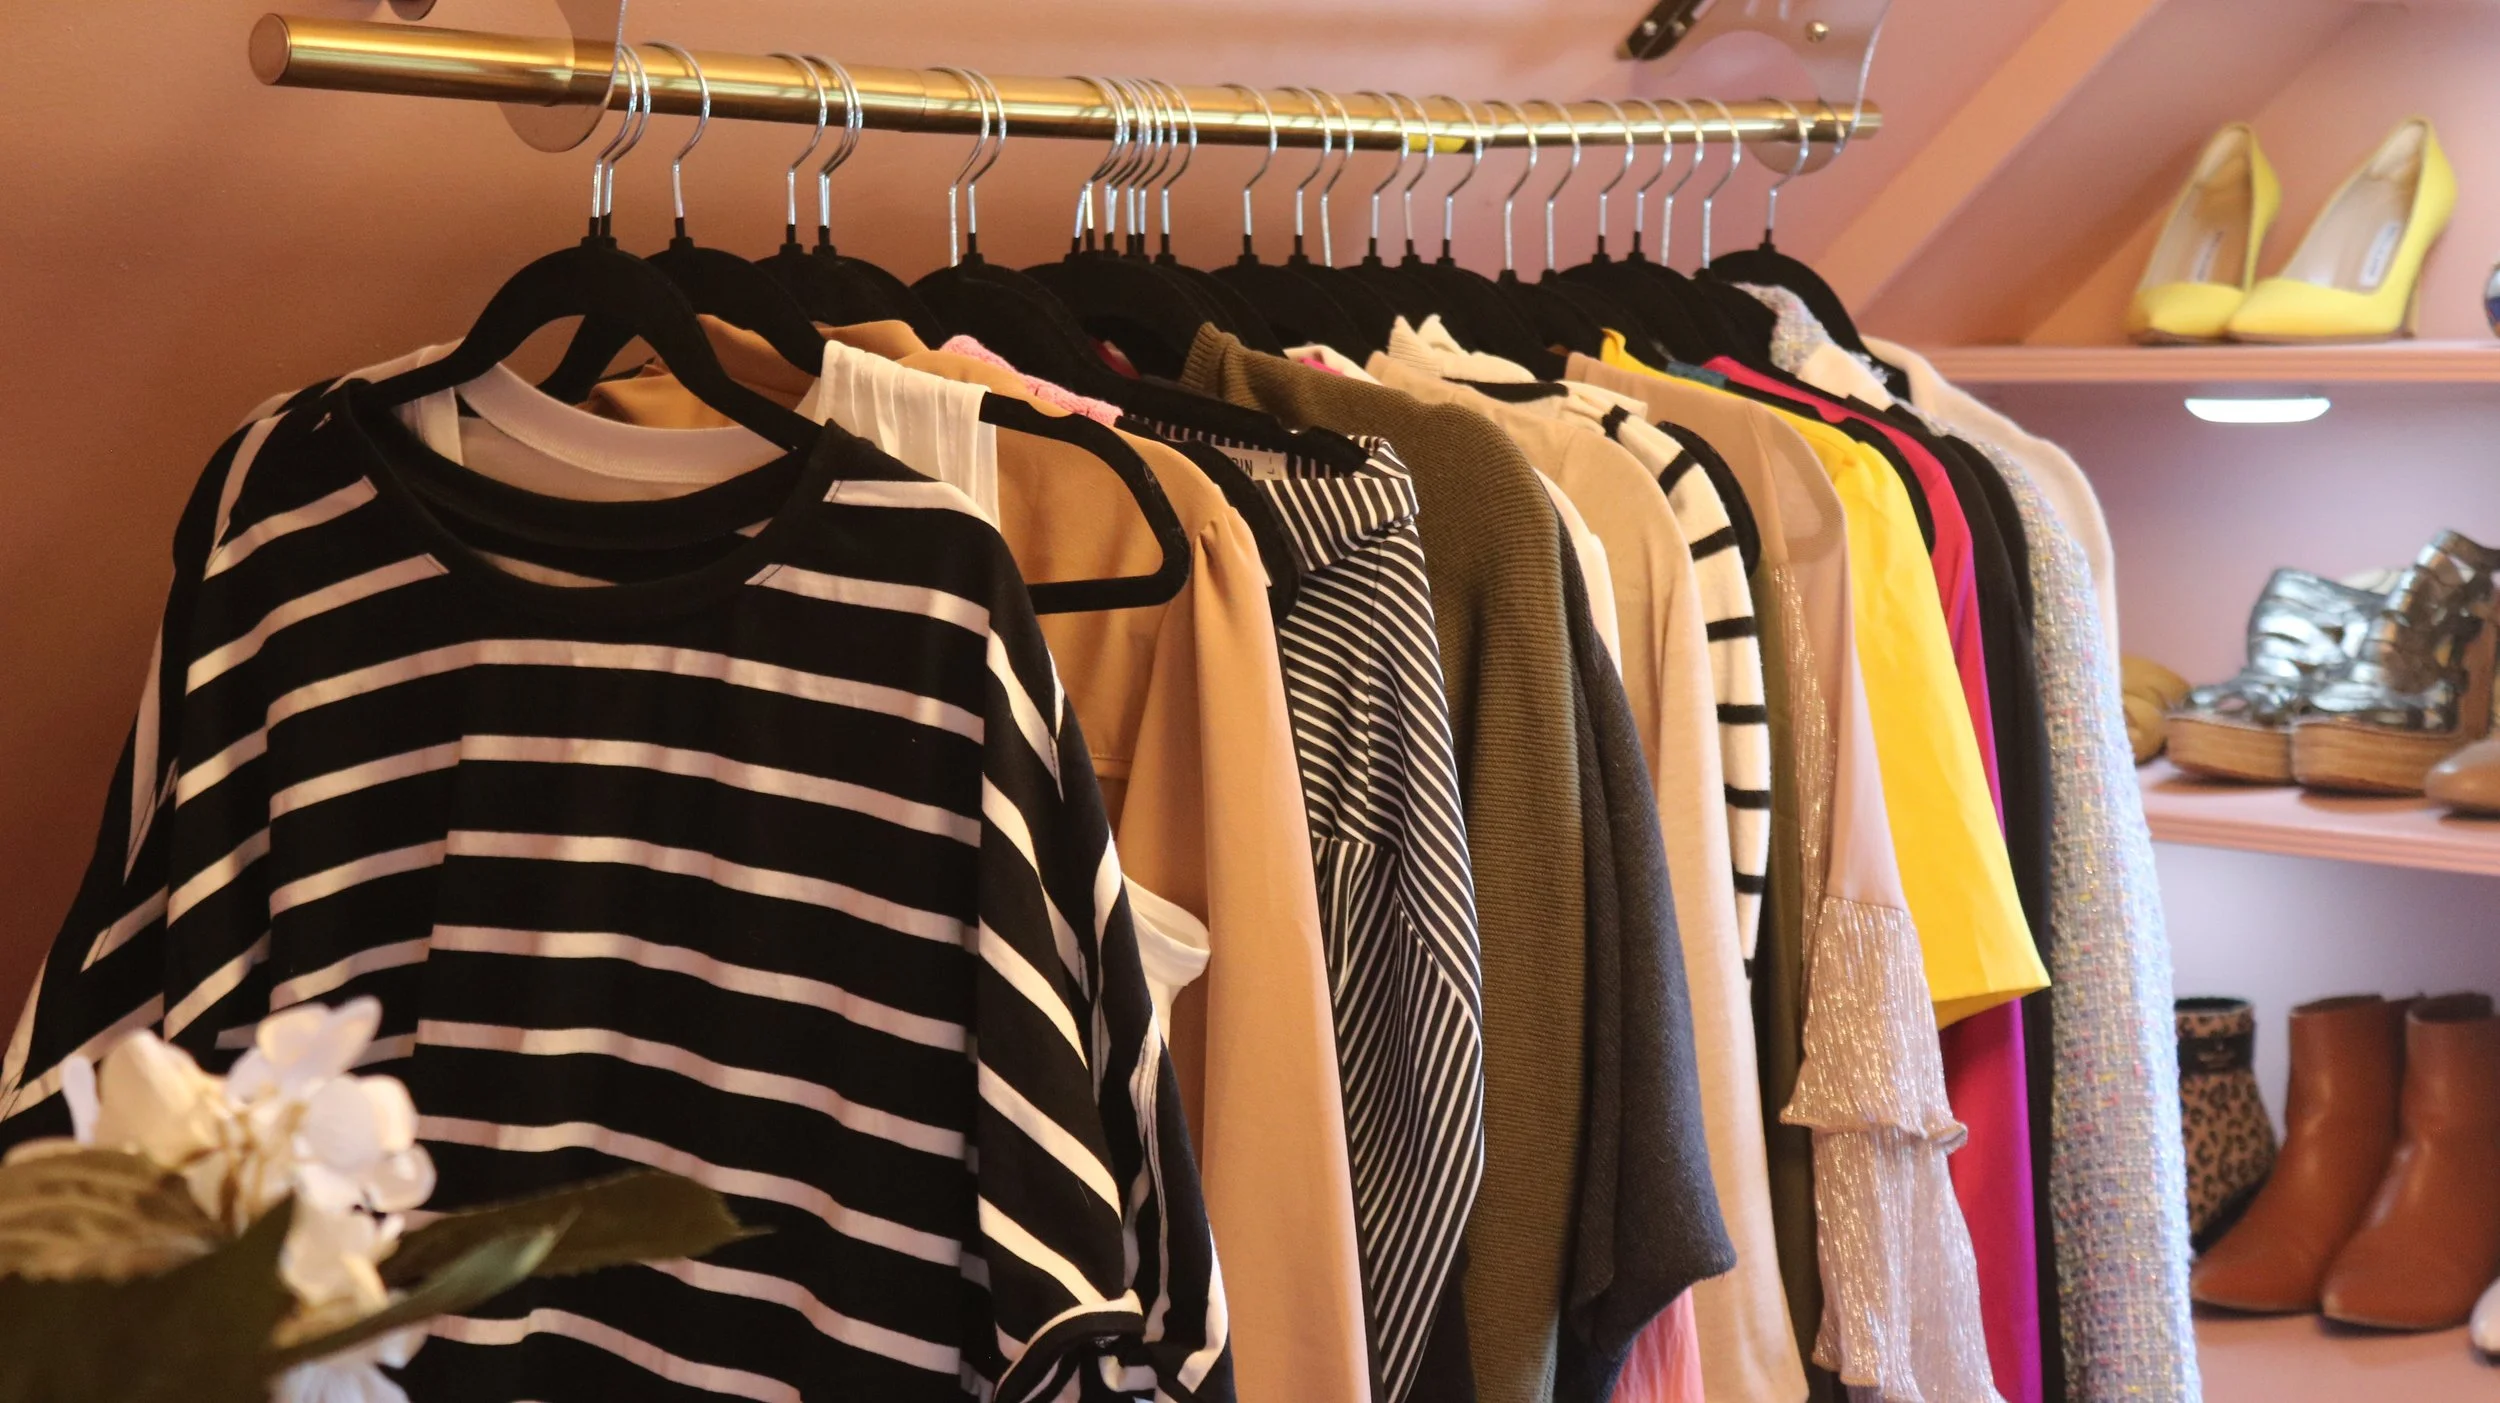
These railings ate up a chunk of my budget. I had to get very specific ones that would work with my drastically sloped ceiling, meaning the basic and budget friendly ones from Amazon wouldn’t do the trick. While it stunk to spend what I did on these railings, I’m glad that I did. These were a huge visual part of the closet, and a big part of what would make it function. If I didn’t have the railings in place, the space wouldn’t be nearly as practical or aesthetic.
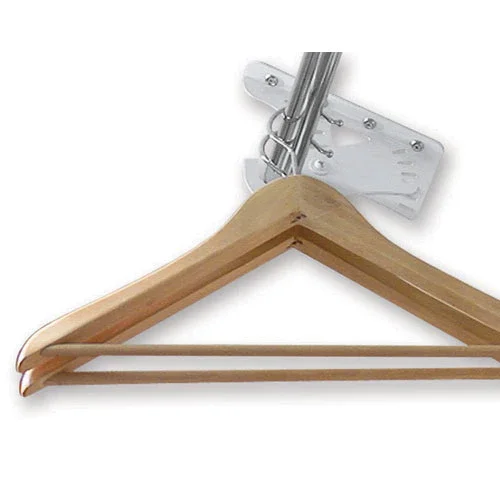
The rod I used was from Amazon, found here
Aside from looking like a boutique, and a great way to display my pretty clothes, these railings created the perfect compromise for the two wolves in my brain that each demanded functionality that was in opposition to each other. What do I mean by that? Well, I need to see easily what my options are. Like I previously said, if I don’t see it, I’m not wearing it. So in theory, hanging everything up where I can see it all should work, no? Just put everything, all shirts, sweaters, pants, leggings, everything, hanging up on a railing, so nothing is out of sight. Well, the other wolf in my brain hates that idea. That’s overwhelming, it’s still lumps of clothing squeezed together tightly, making it hard to sift through, and hard to find specific things. It also leads to visual clutter, which I was desperately trying to avoid.
Enter, the compromise. Pretty things, statement things, trendy things, non-basic things, these would be displayed on railings. These are the things I need reminding of their existence in order to wear them. Whereas the basic things we naturally gravitate towards, tee shirts, leggings, joggers, would be stored in their designated bins, out of sight, but easily accessible.
Accessories Station
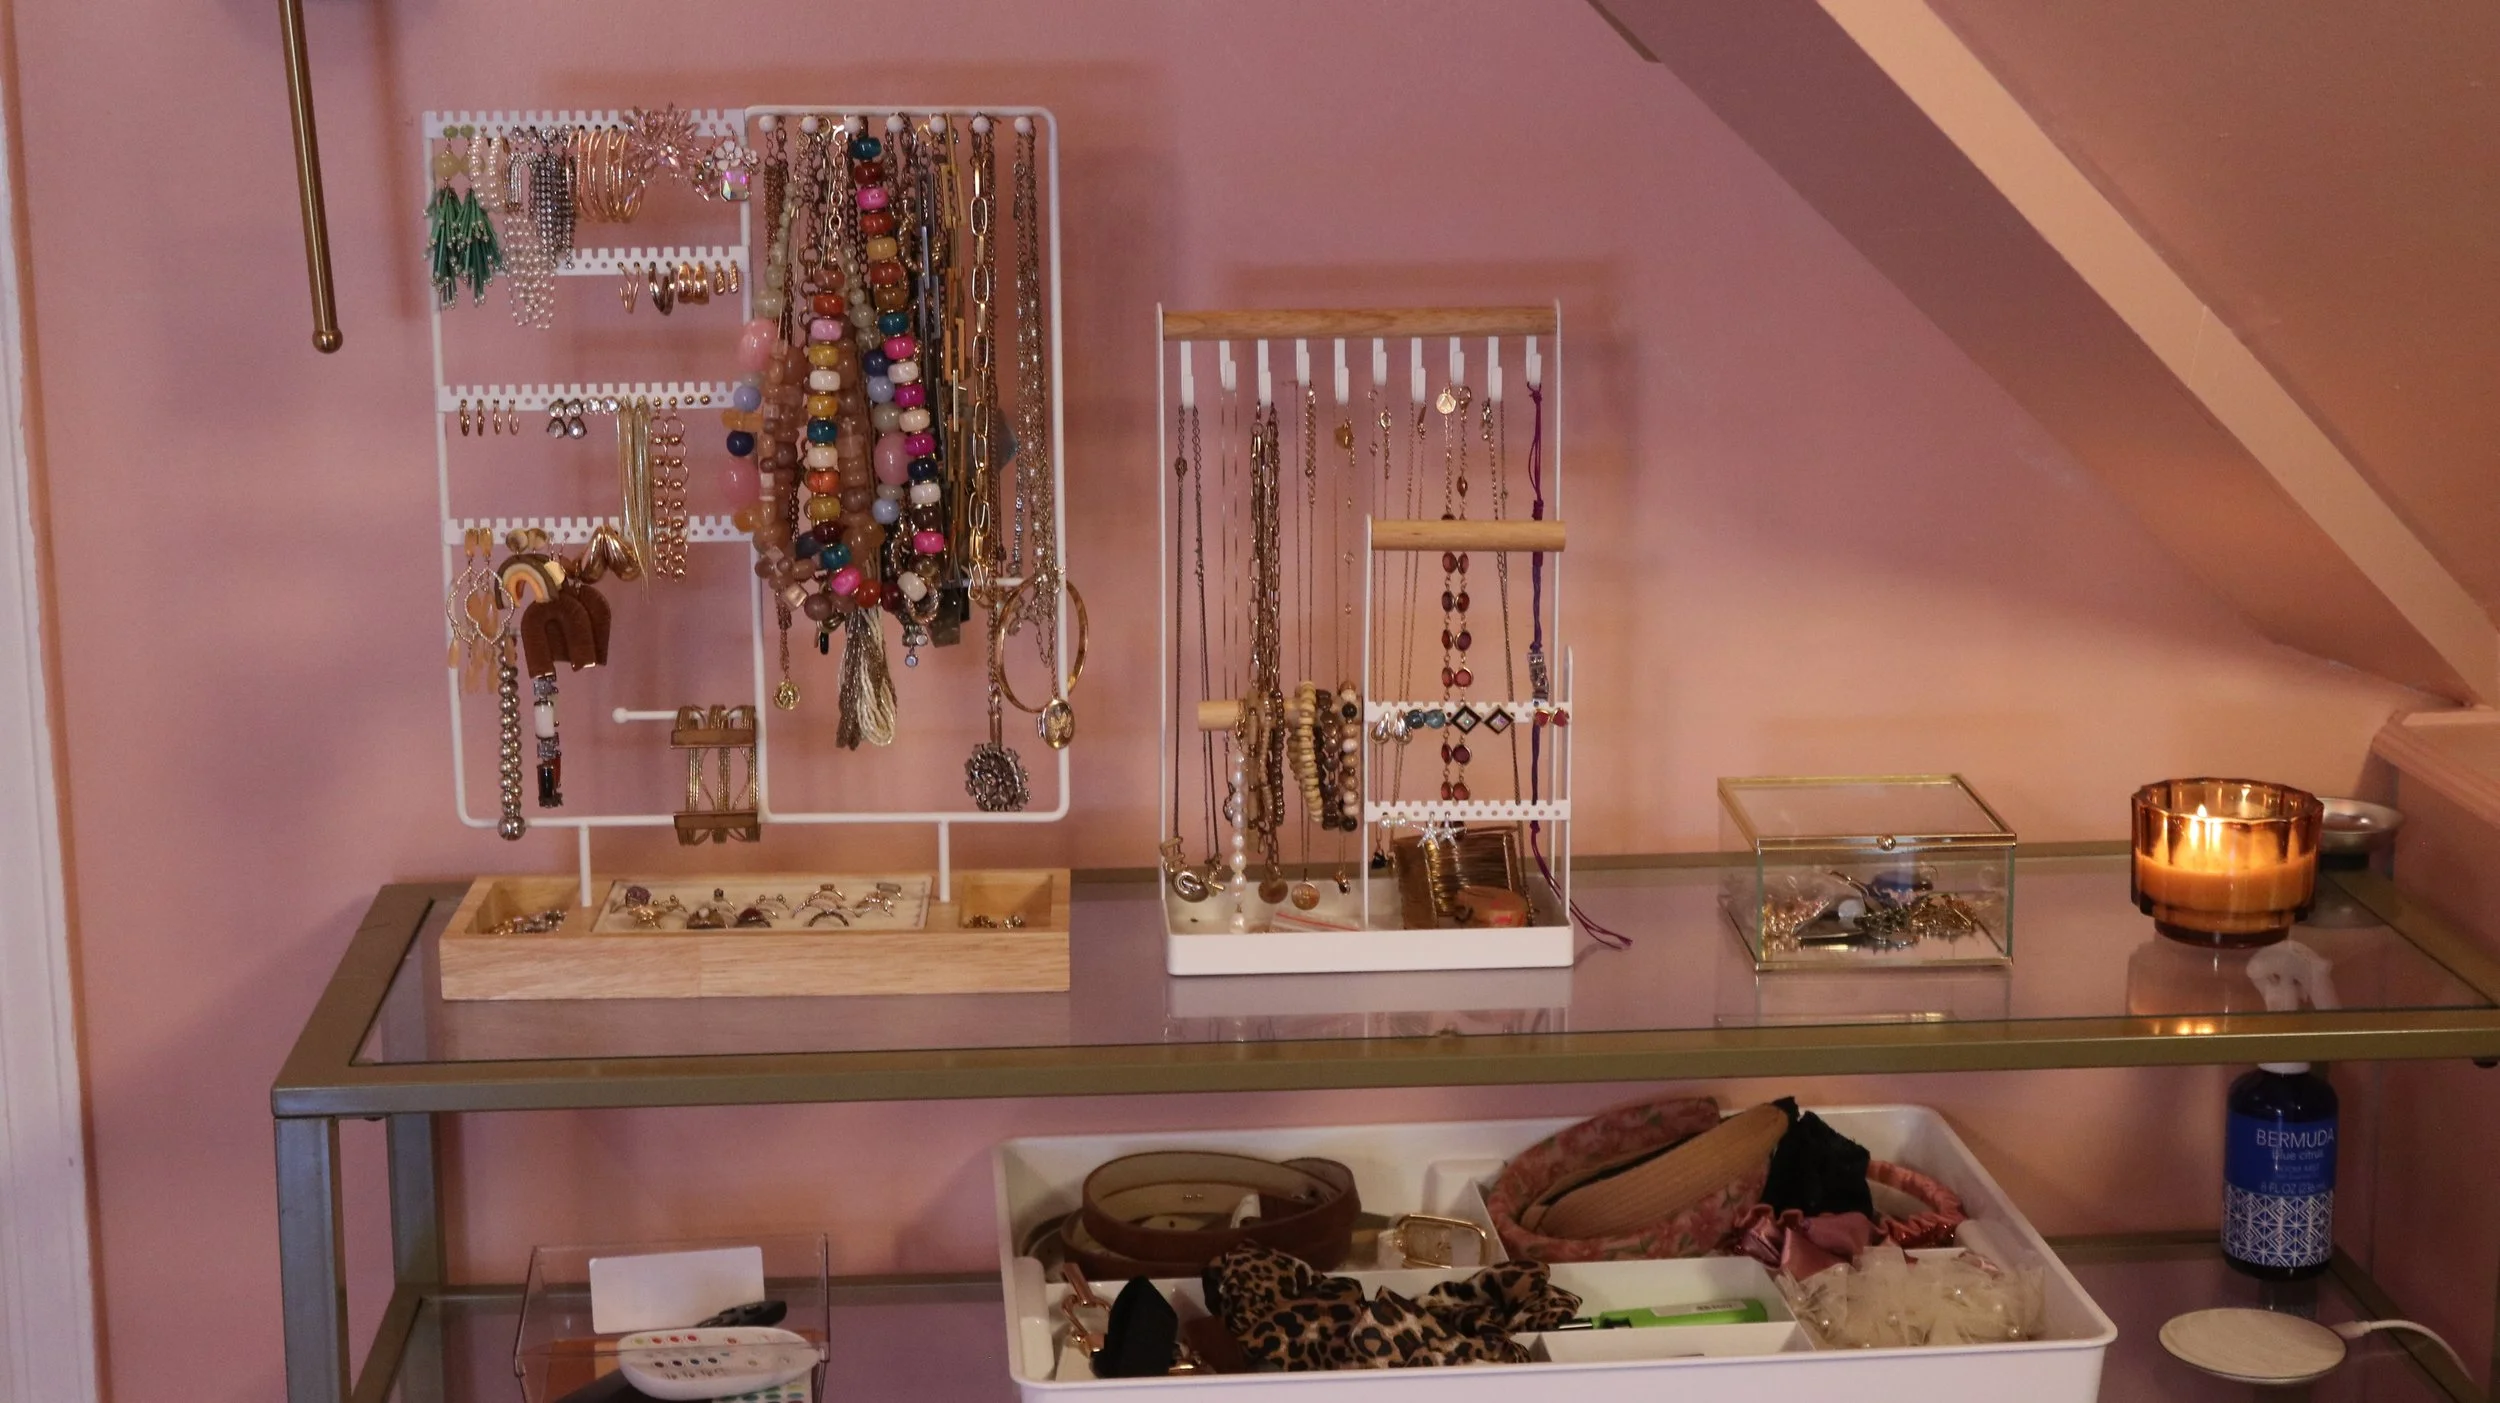
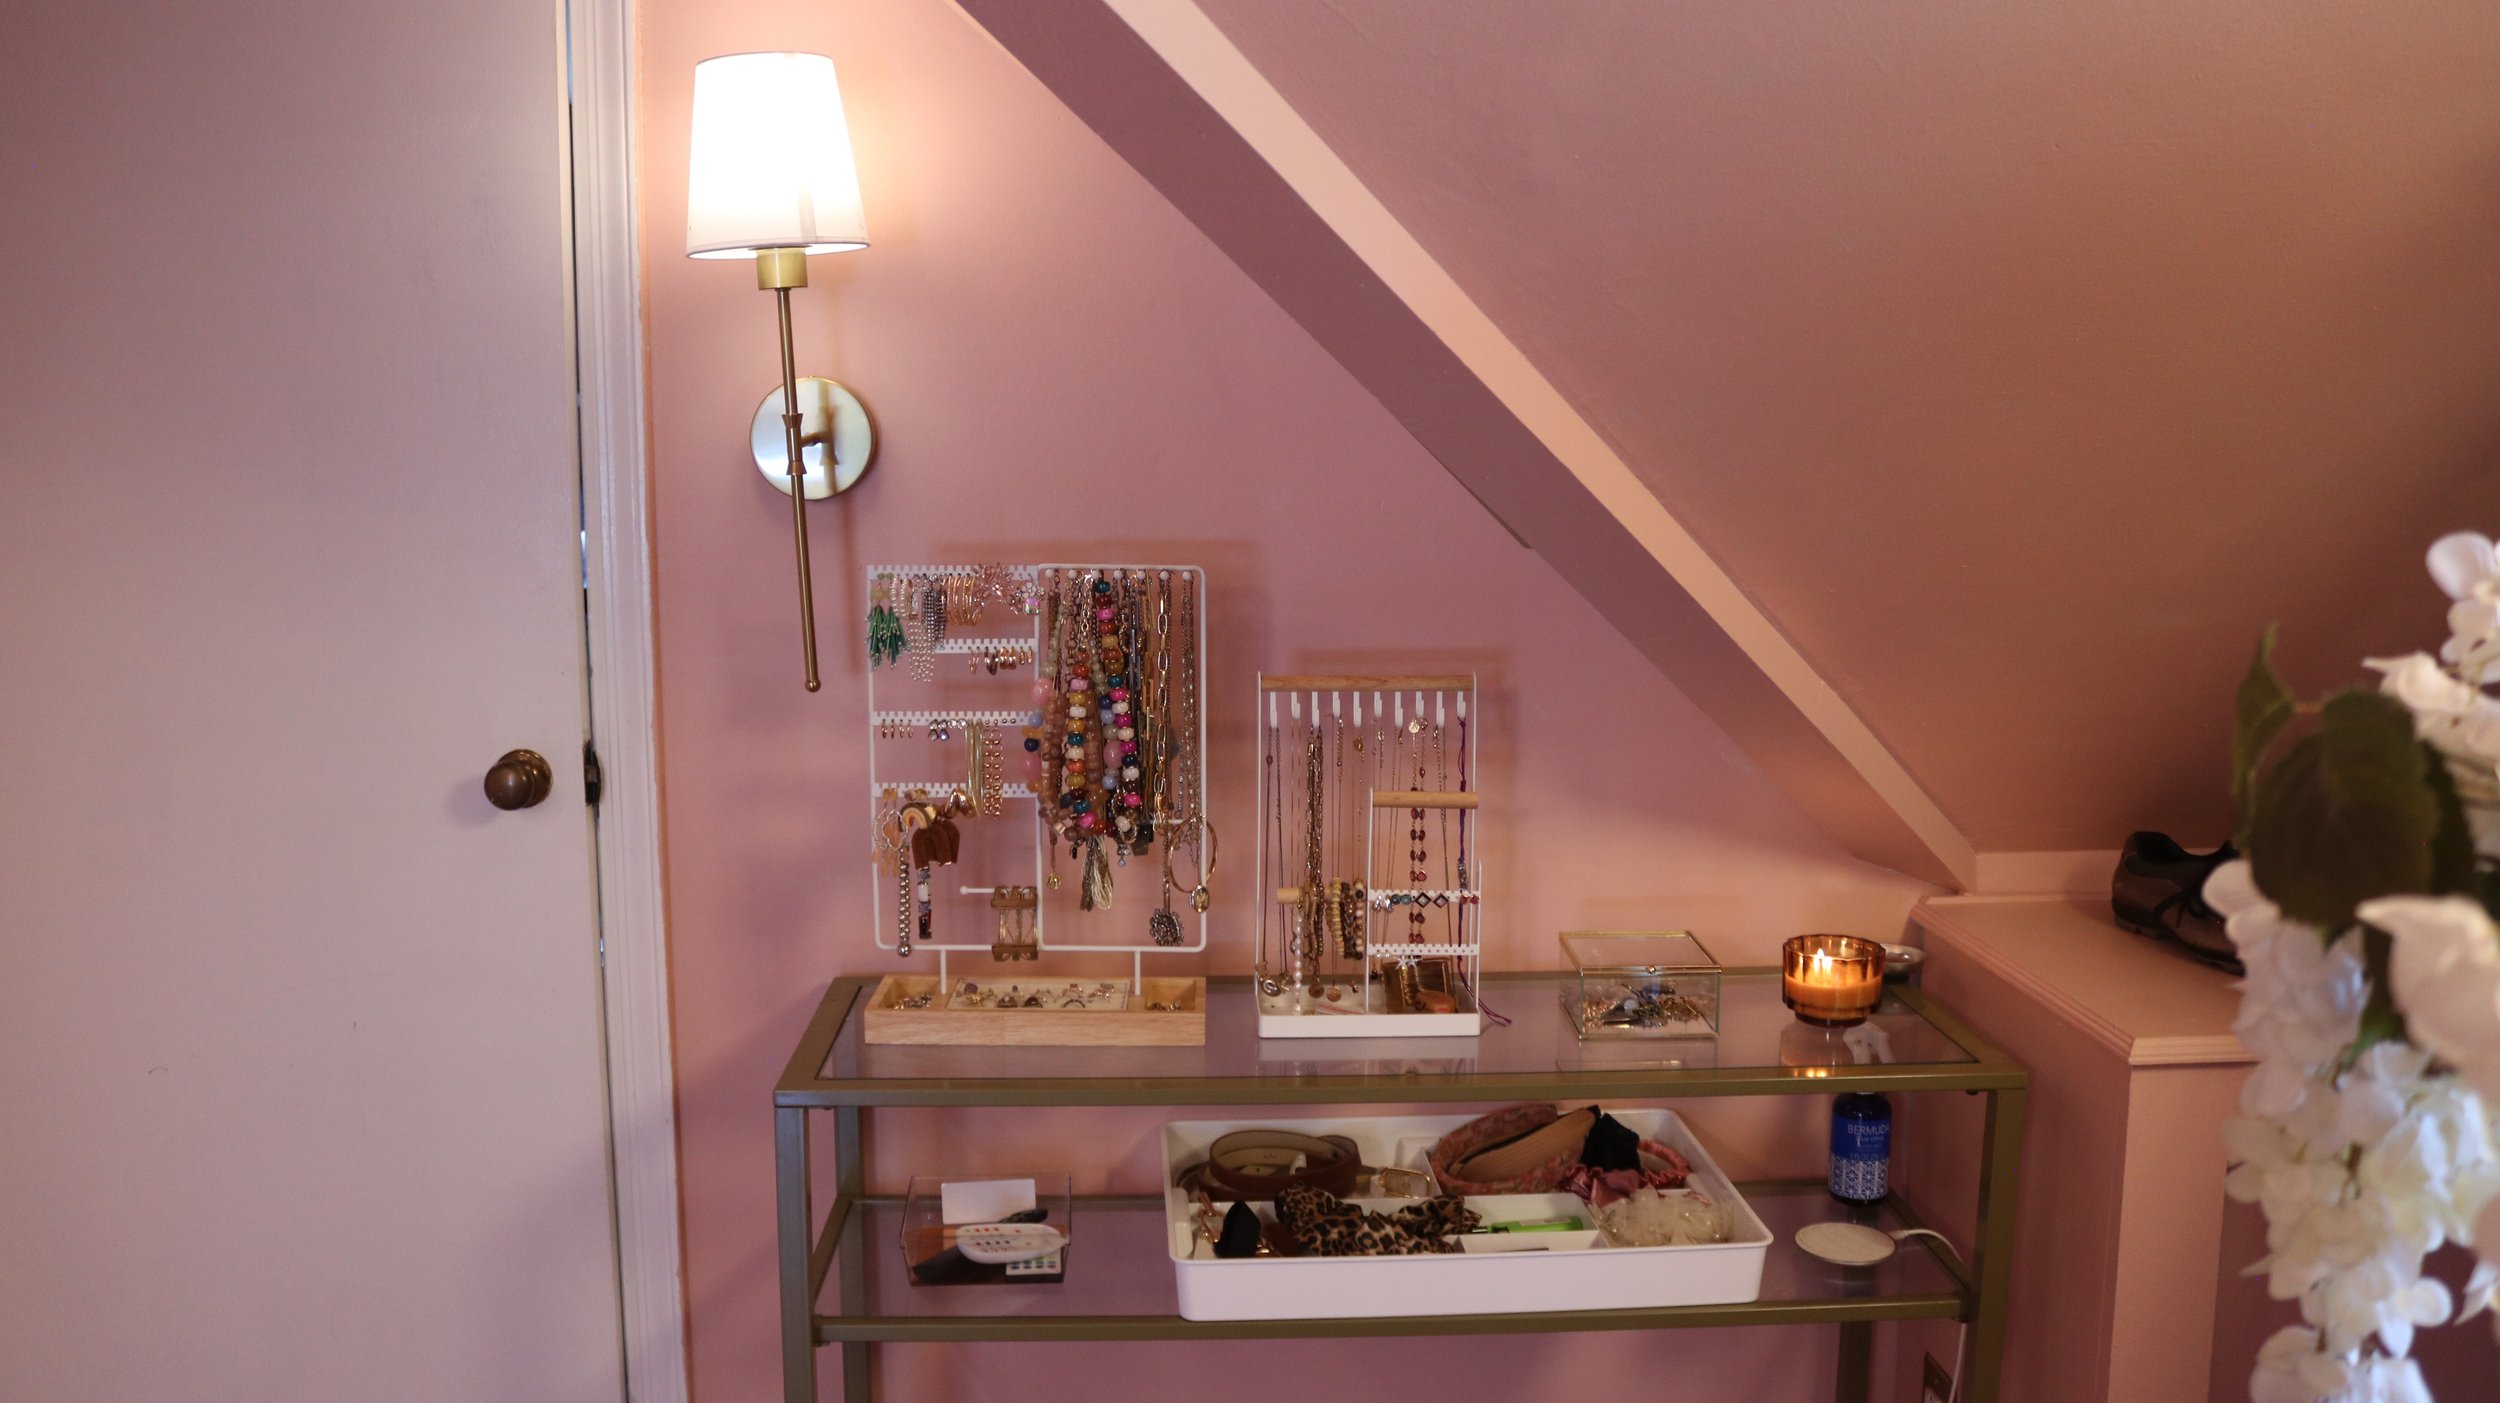
I wanted this to be a one stop closet, meaning a place where I can store my shoes, jewelry, bags, makeup and perfumes, all in one space without being visually overwhelming. Which means I needed to create zones for all my wardrobe categories. A gold and glass console that I already had in my house was the perfect place for me to display my jewelry. I added a motion sensor light bar behind the beam, to help illuminate my options when I walked towards it. On the lower shelf, I store accessories like hair bands, bows, and belts. This fits perfectly in the nook under the angled ceiling, right outside my bedroom door.
Shoes, Shoes, More Shoes
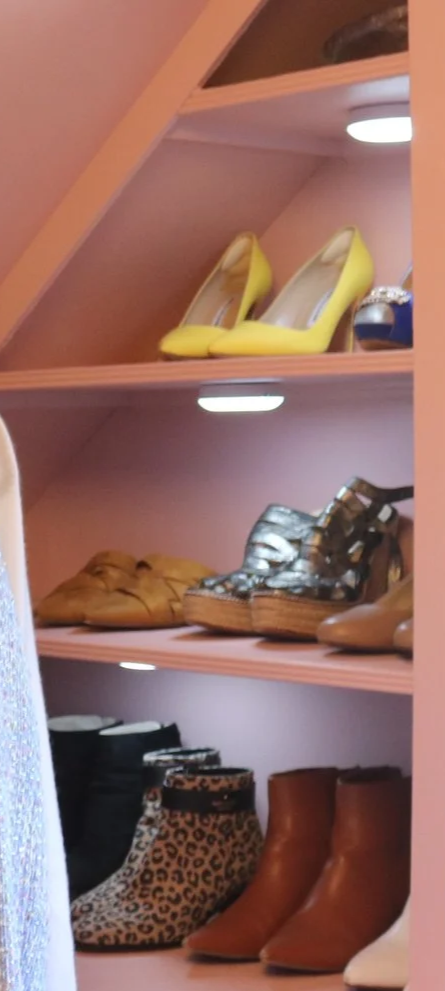
I wanted to work with the built-in shelves flanking the vanity/desk area, but at first I was considering displaying my bags there. Aesthetically, it could have worked, but with the amount of bags versus shoes I owned, I realized that I needed the functionality of the shelves to be about shoes. Now all my shoes wouldn’t fit on these sloped shelves, so I thought to display my best shoes, the evening shoes, the designer shoes, those would go on the shelves.
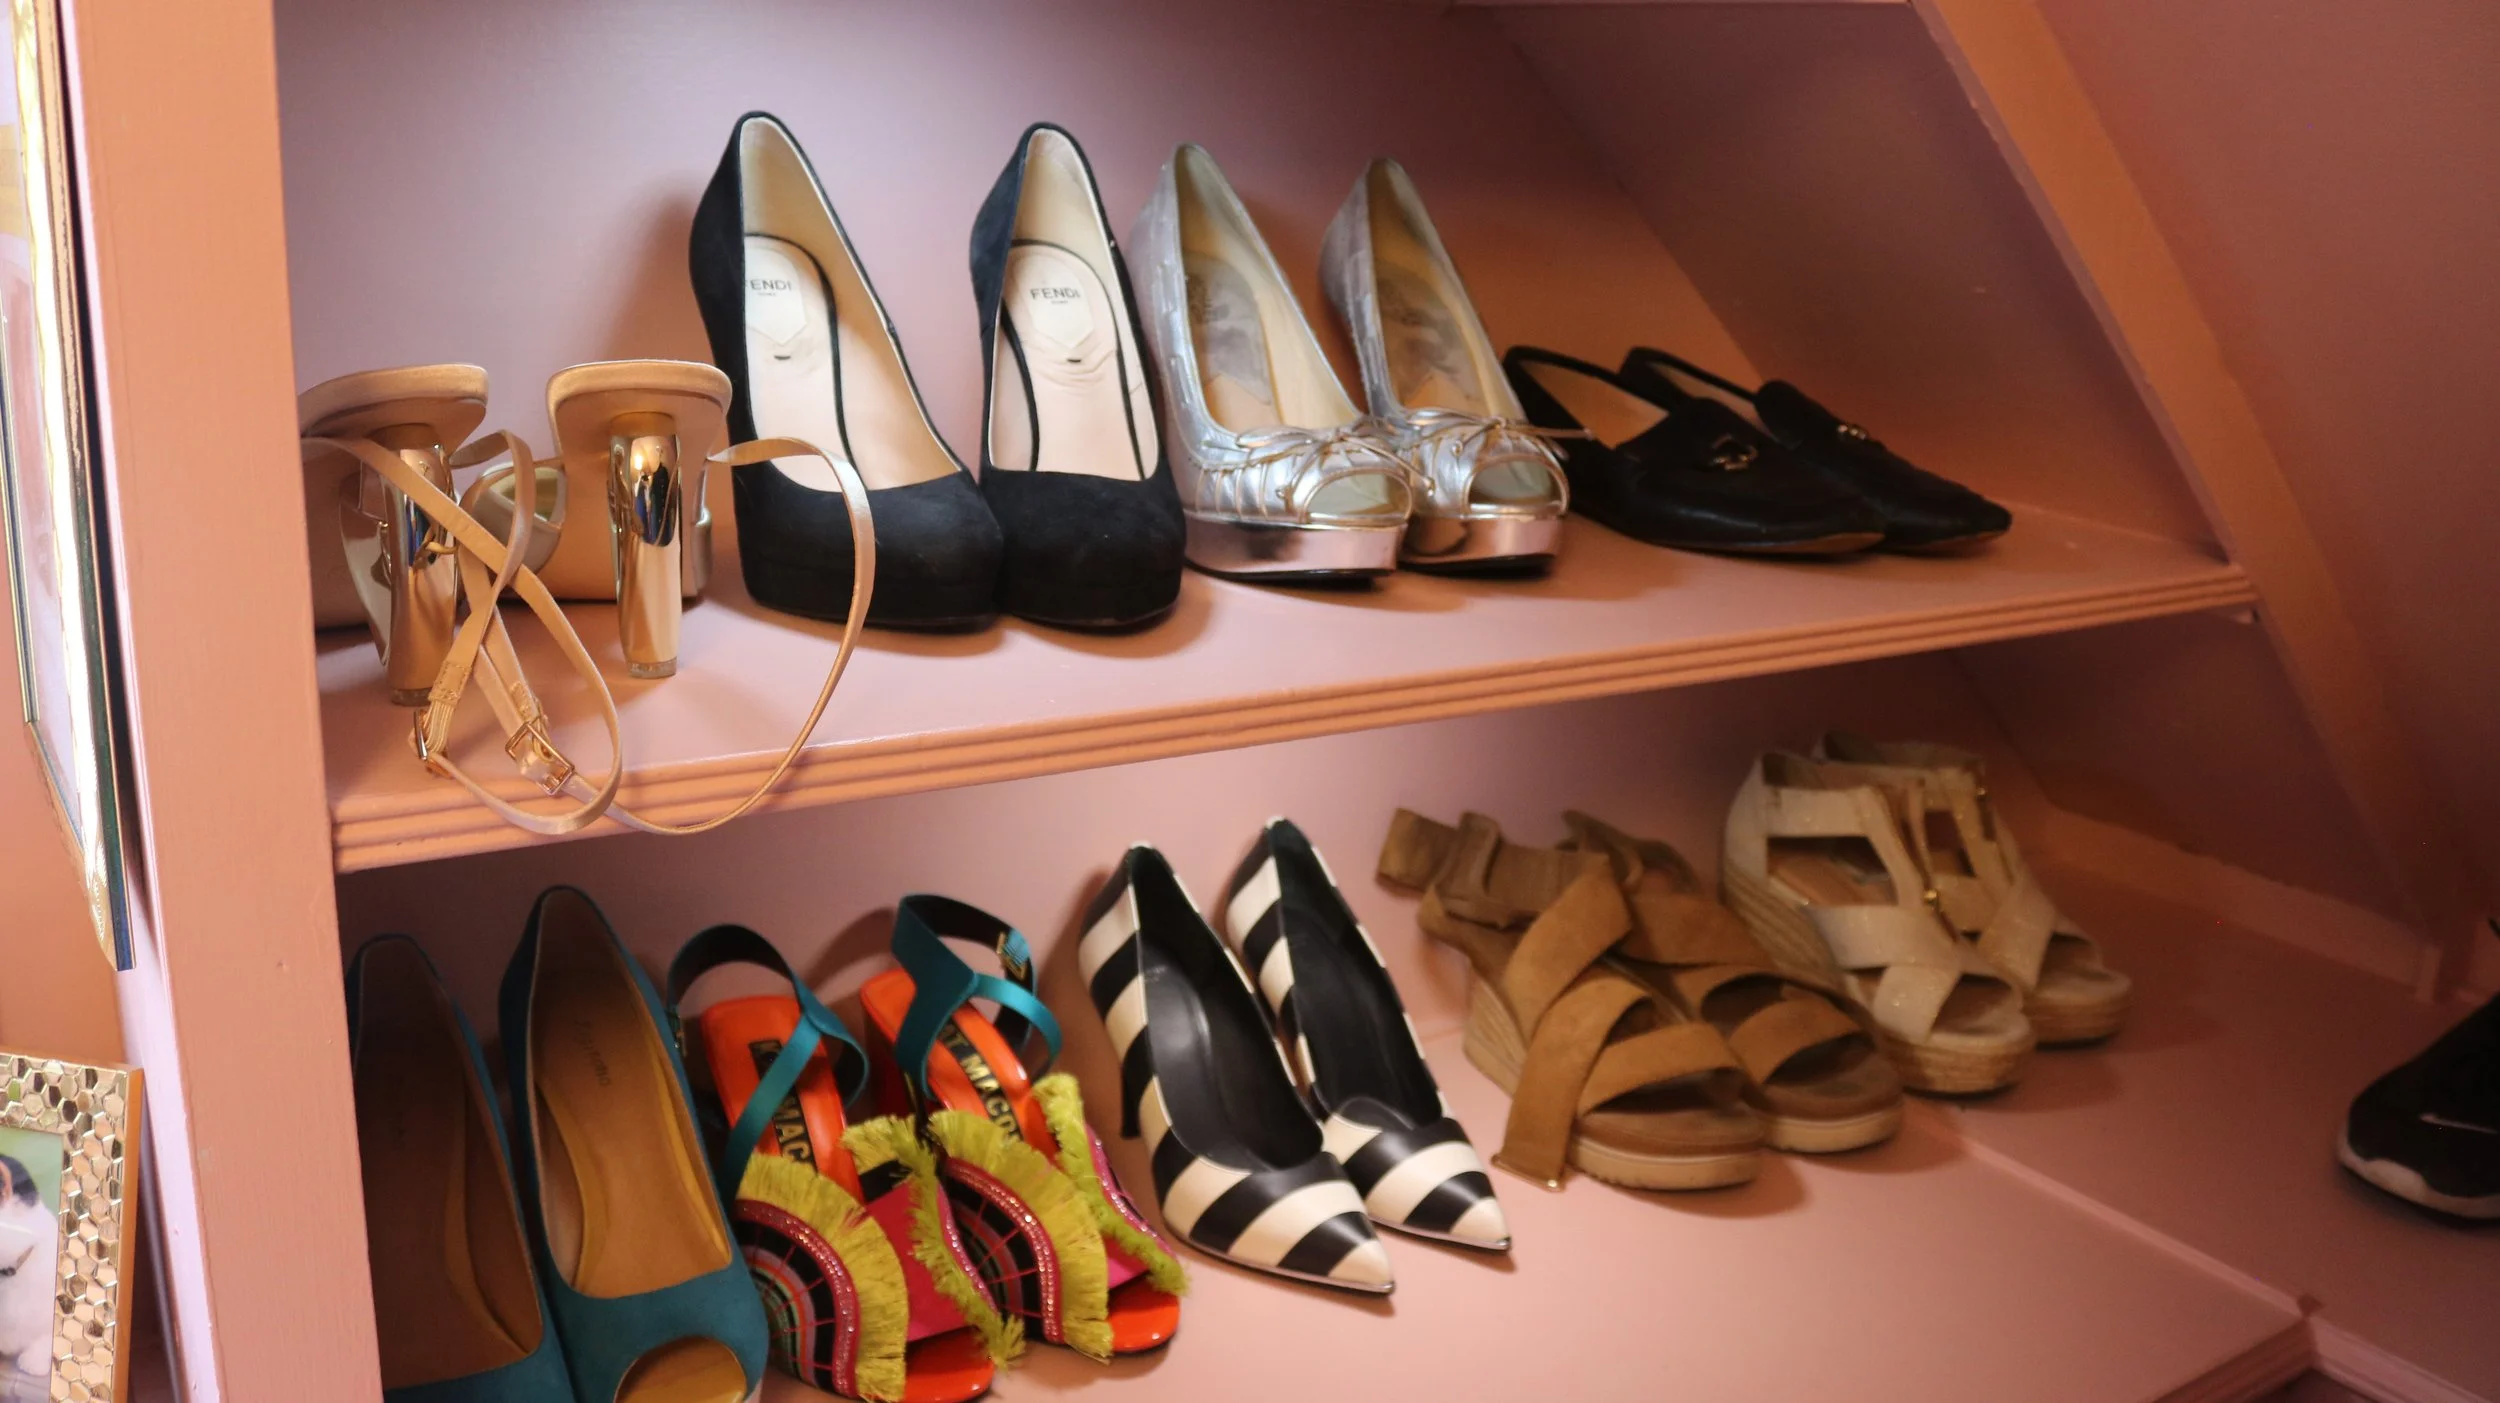
The more casual, everyday shoes, the ones that I reach for more often, will be laid out on the long shelves that topped the cabinets.
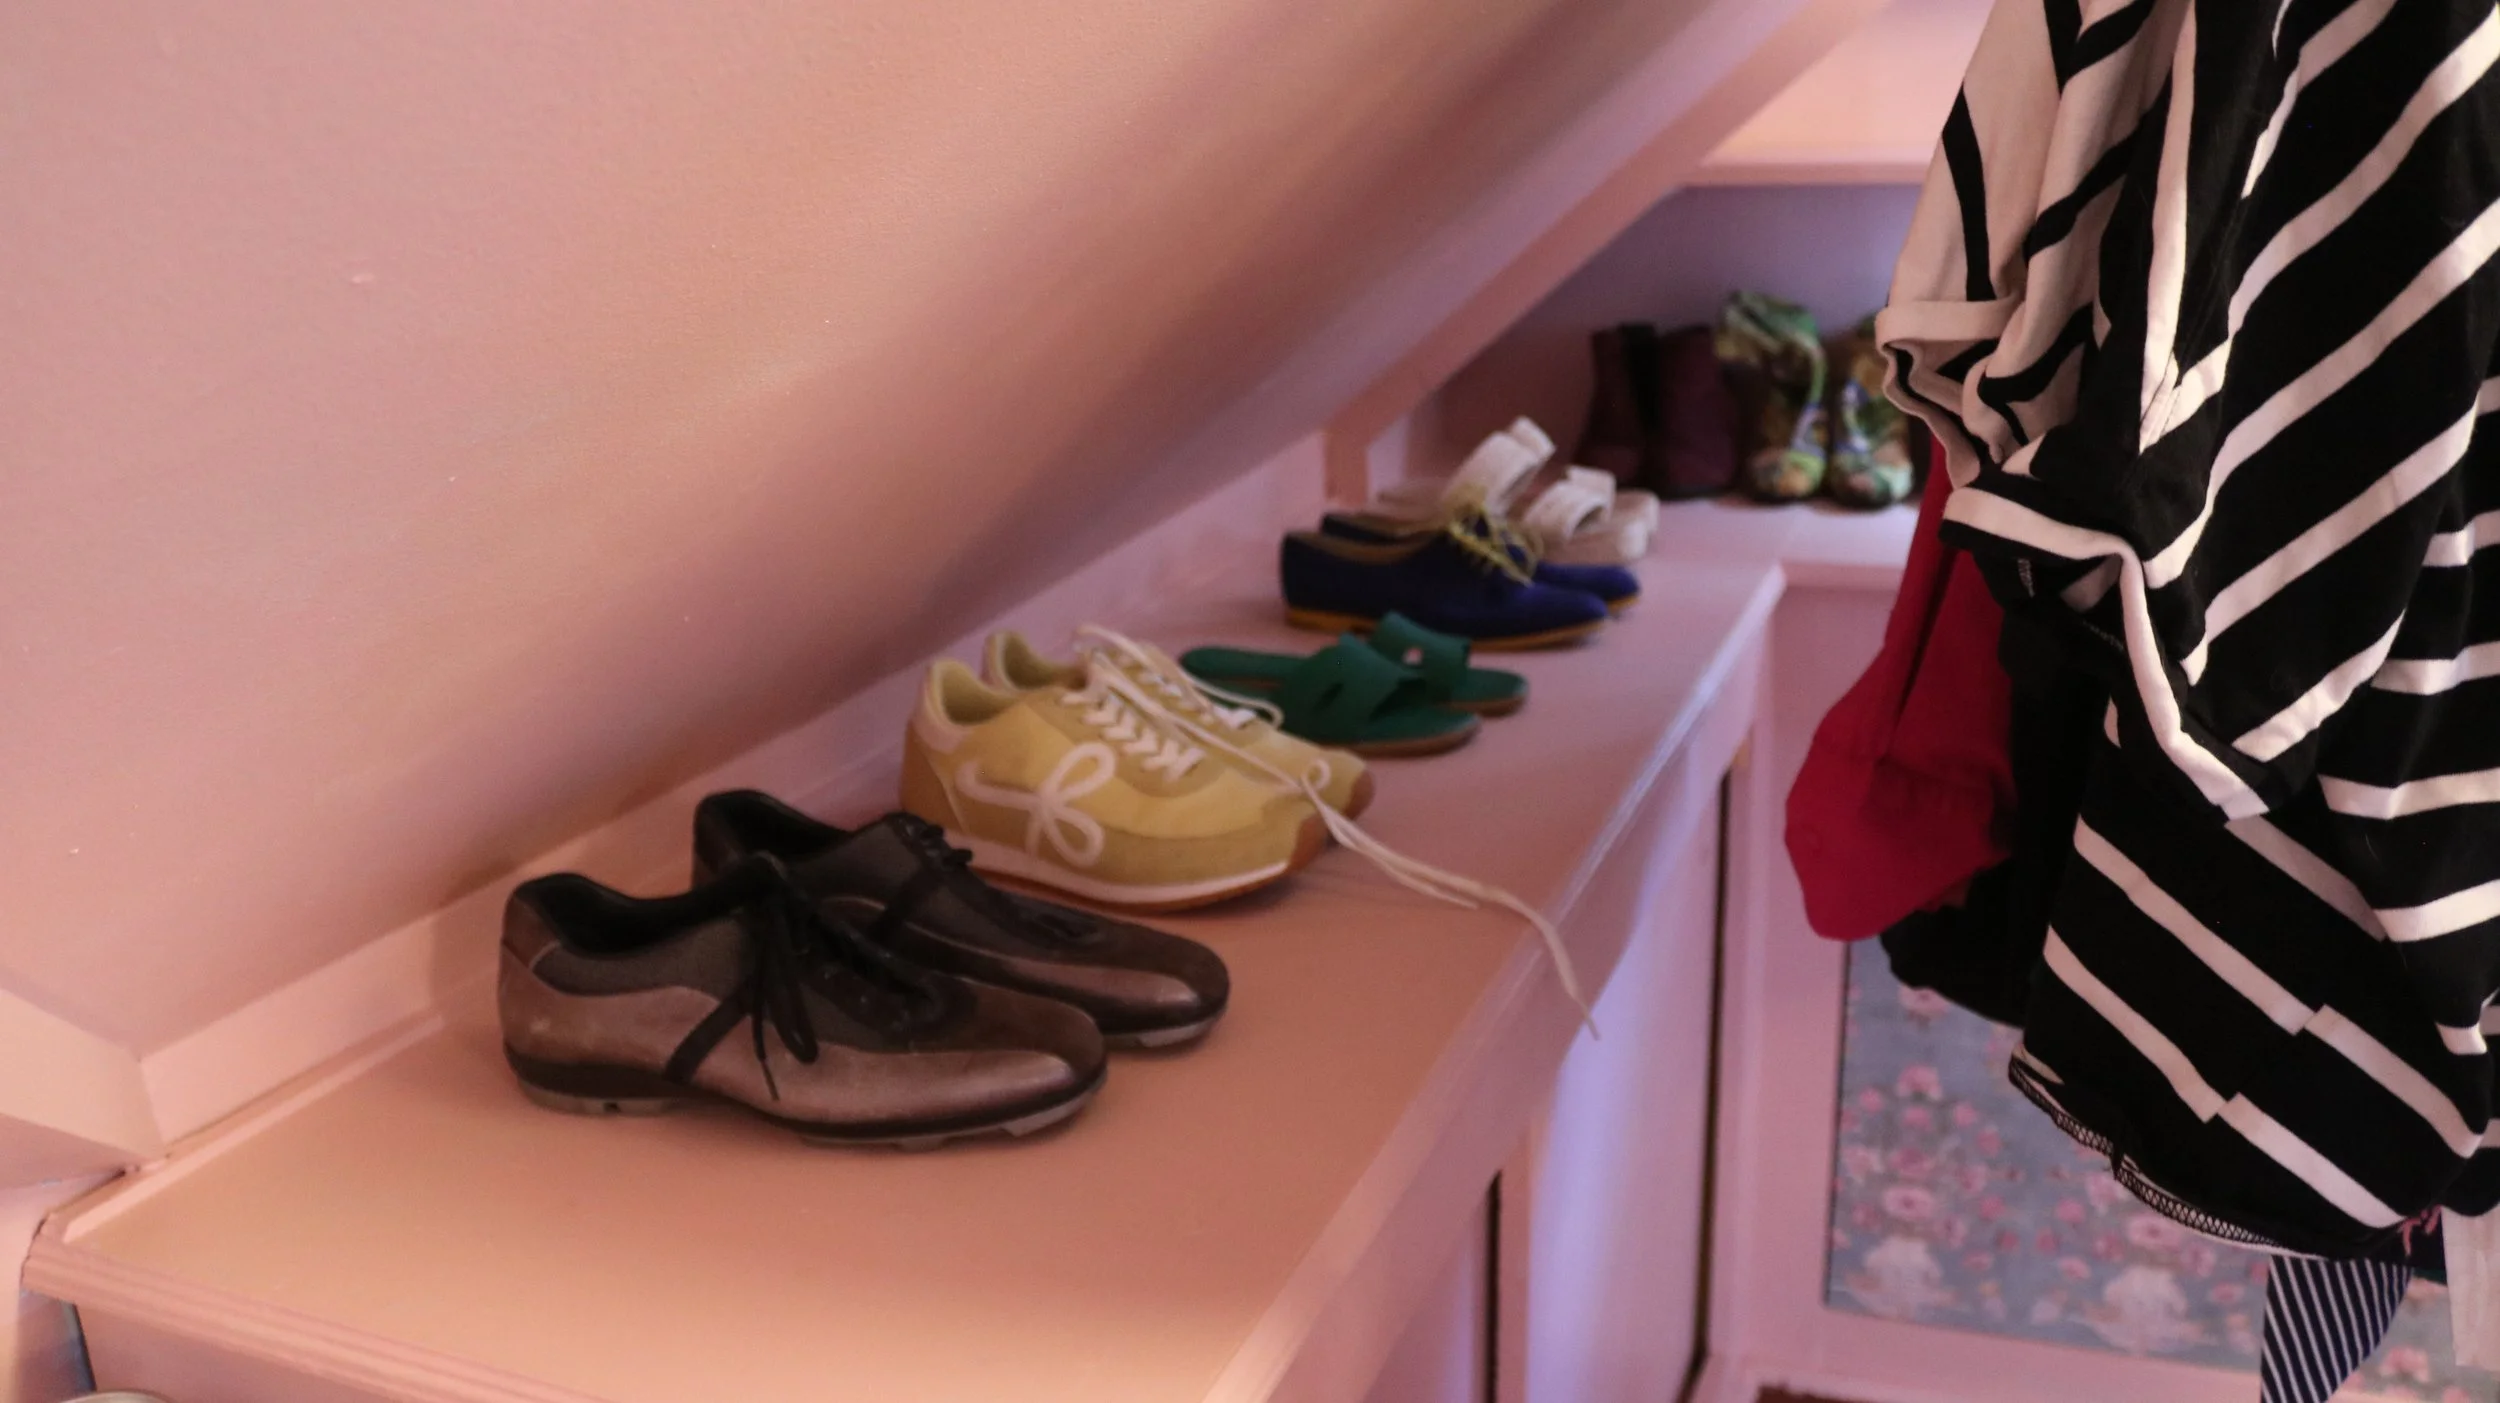
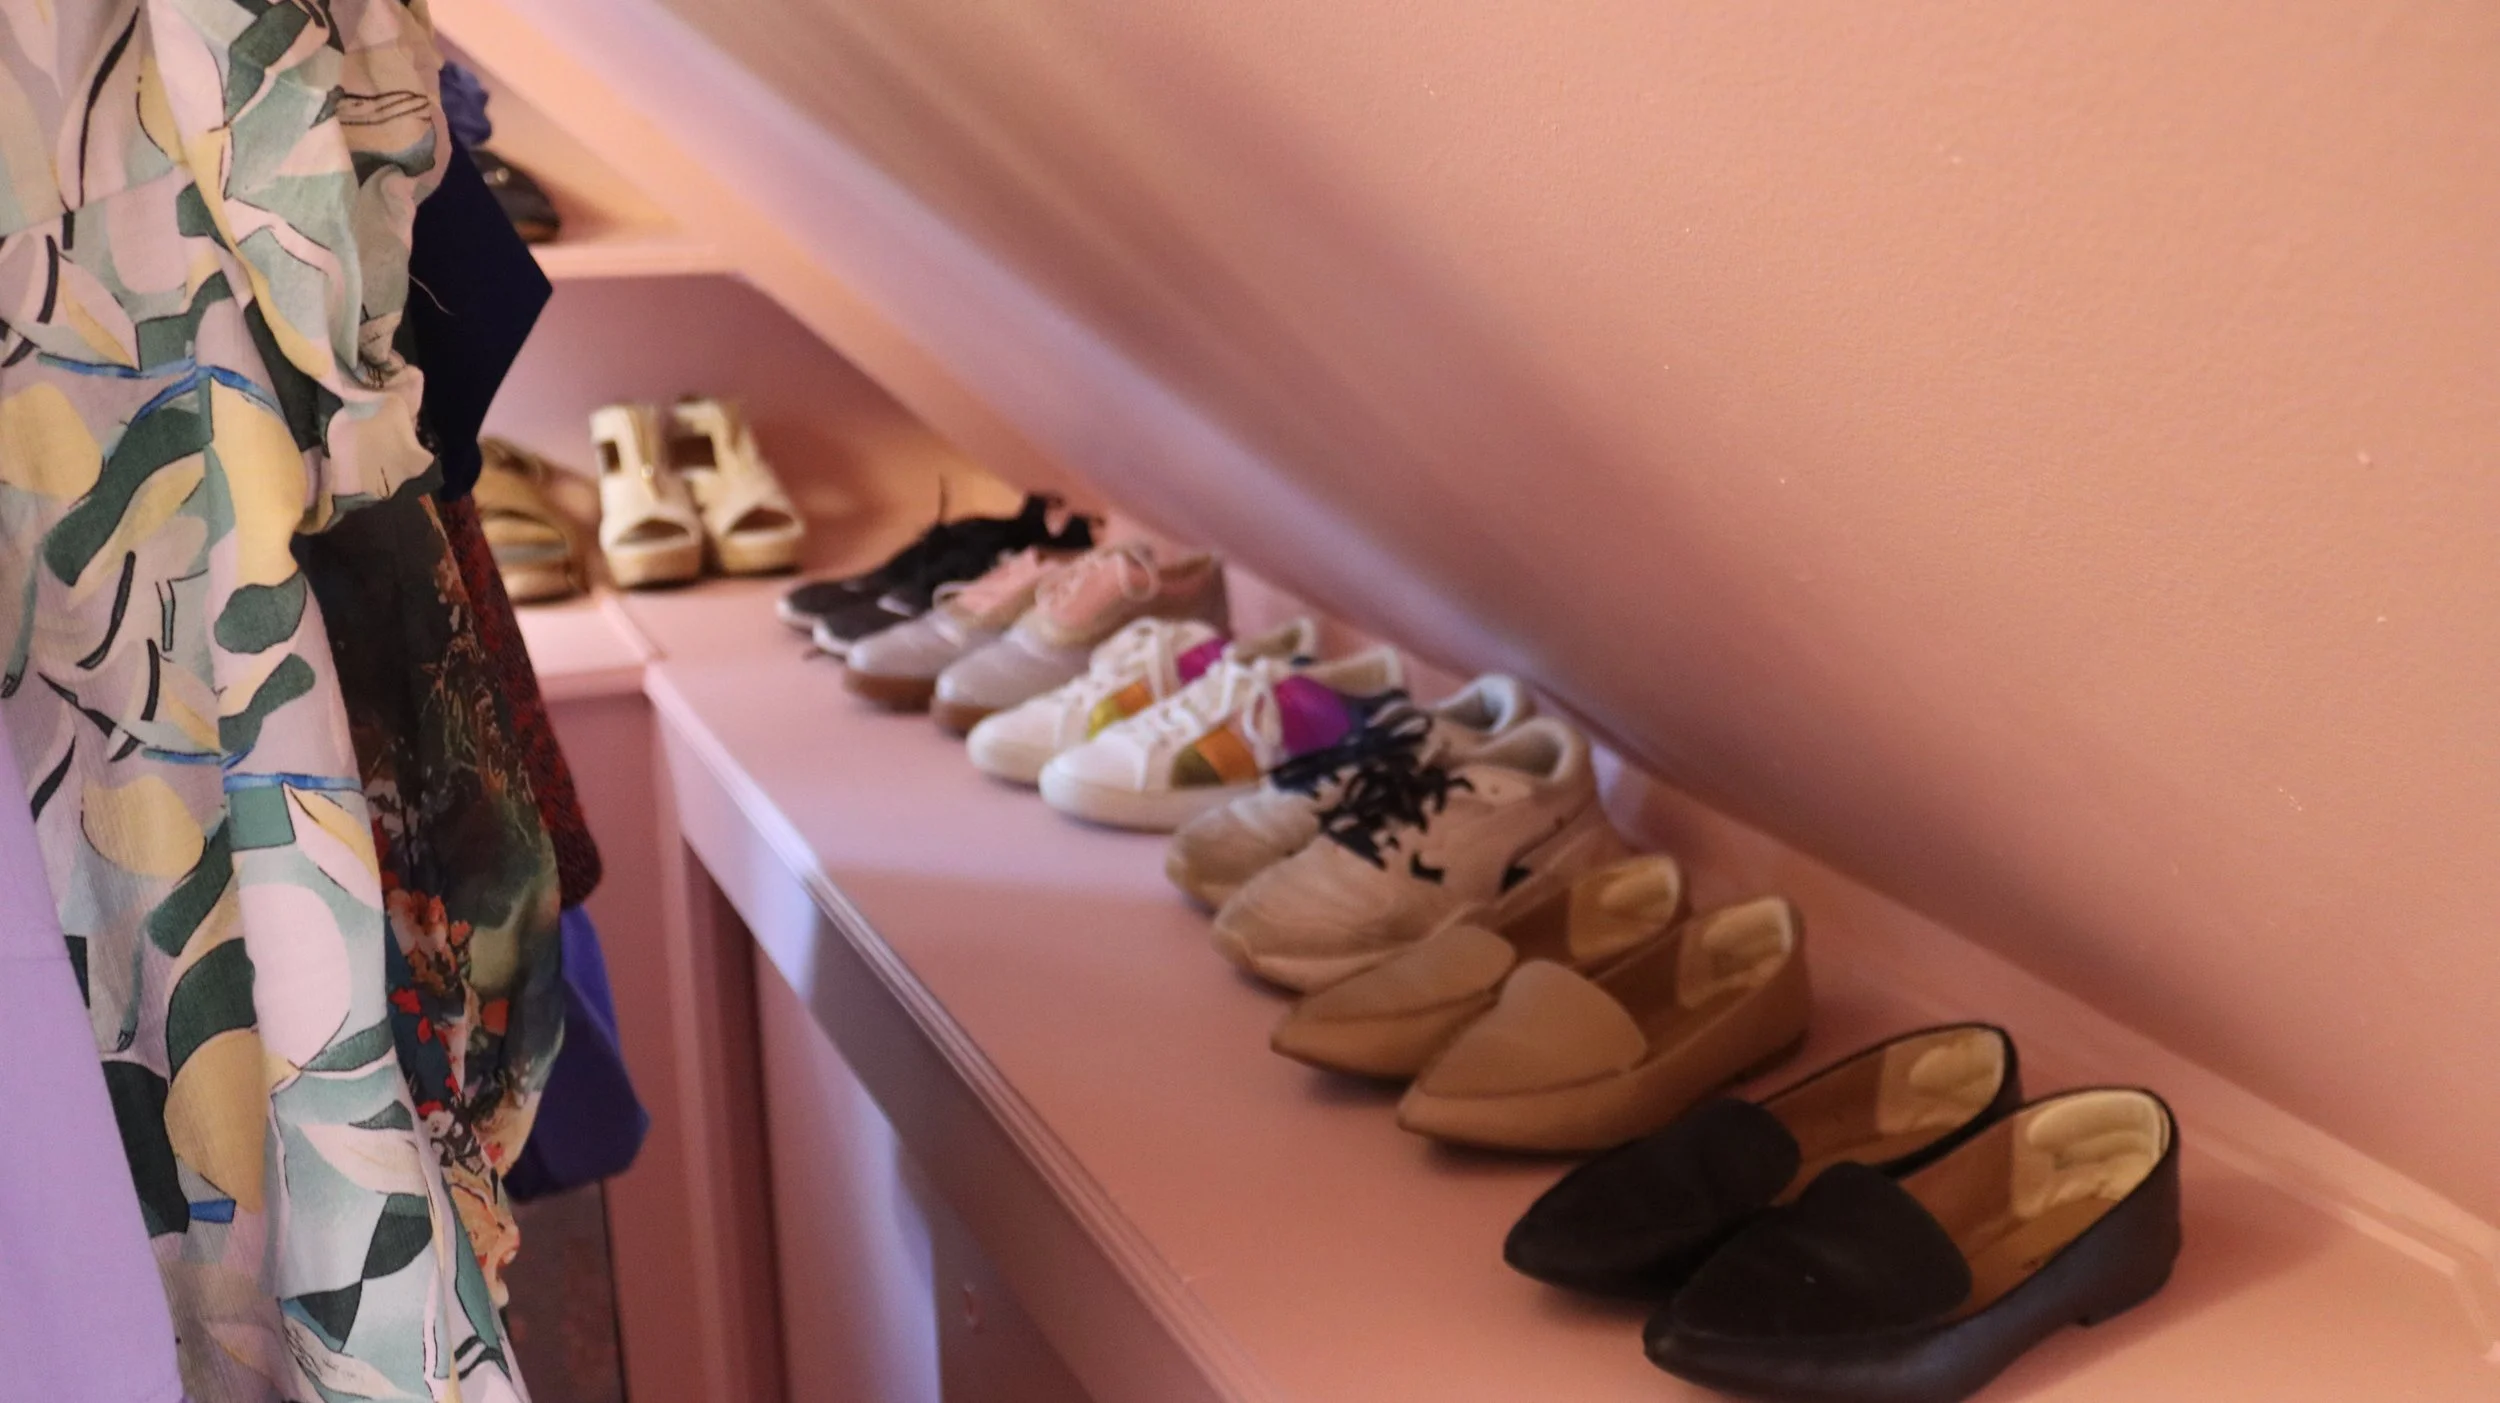
The Island
The big open space in between the railings needed something. At first I was thinking about one of those large round ottomans. However, I already had a section that allowed me to sit and put shoes on, and I didn’t want to bring in anything non-functioning to the space, no matter how glam it might look. I knew I needed storage, and decided to get a small island. This specific one that I chose had three display shelves, and a large sliding door cabinet.
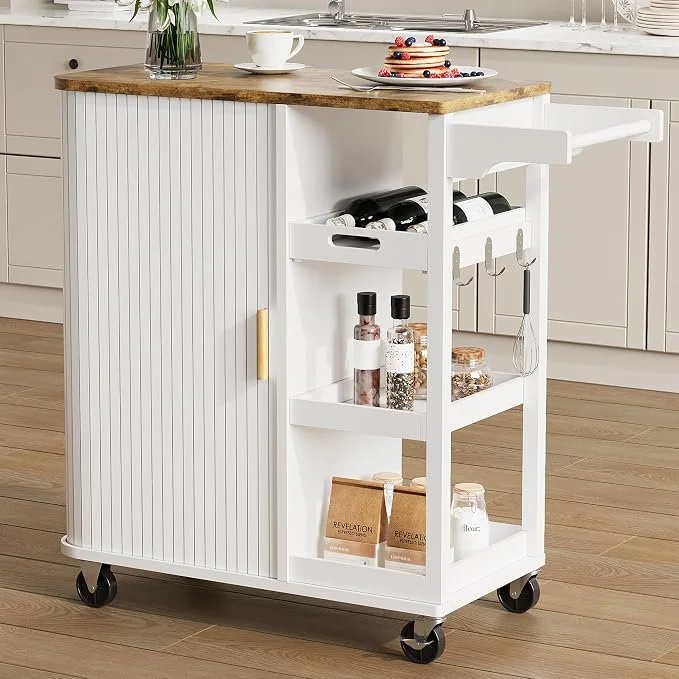
The one I used, but other options are available here
At the time of writing, this island is no longer available, but depending on the size of your space, Amazon has lots of affordable options to choose from. The trick is to look for a mixture of open and closed storage, to allow for some display, while keeping visual clutter at a minimum.
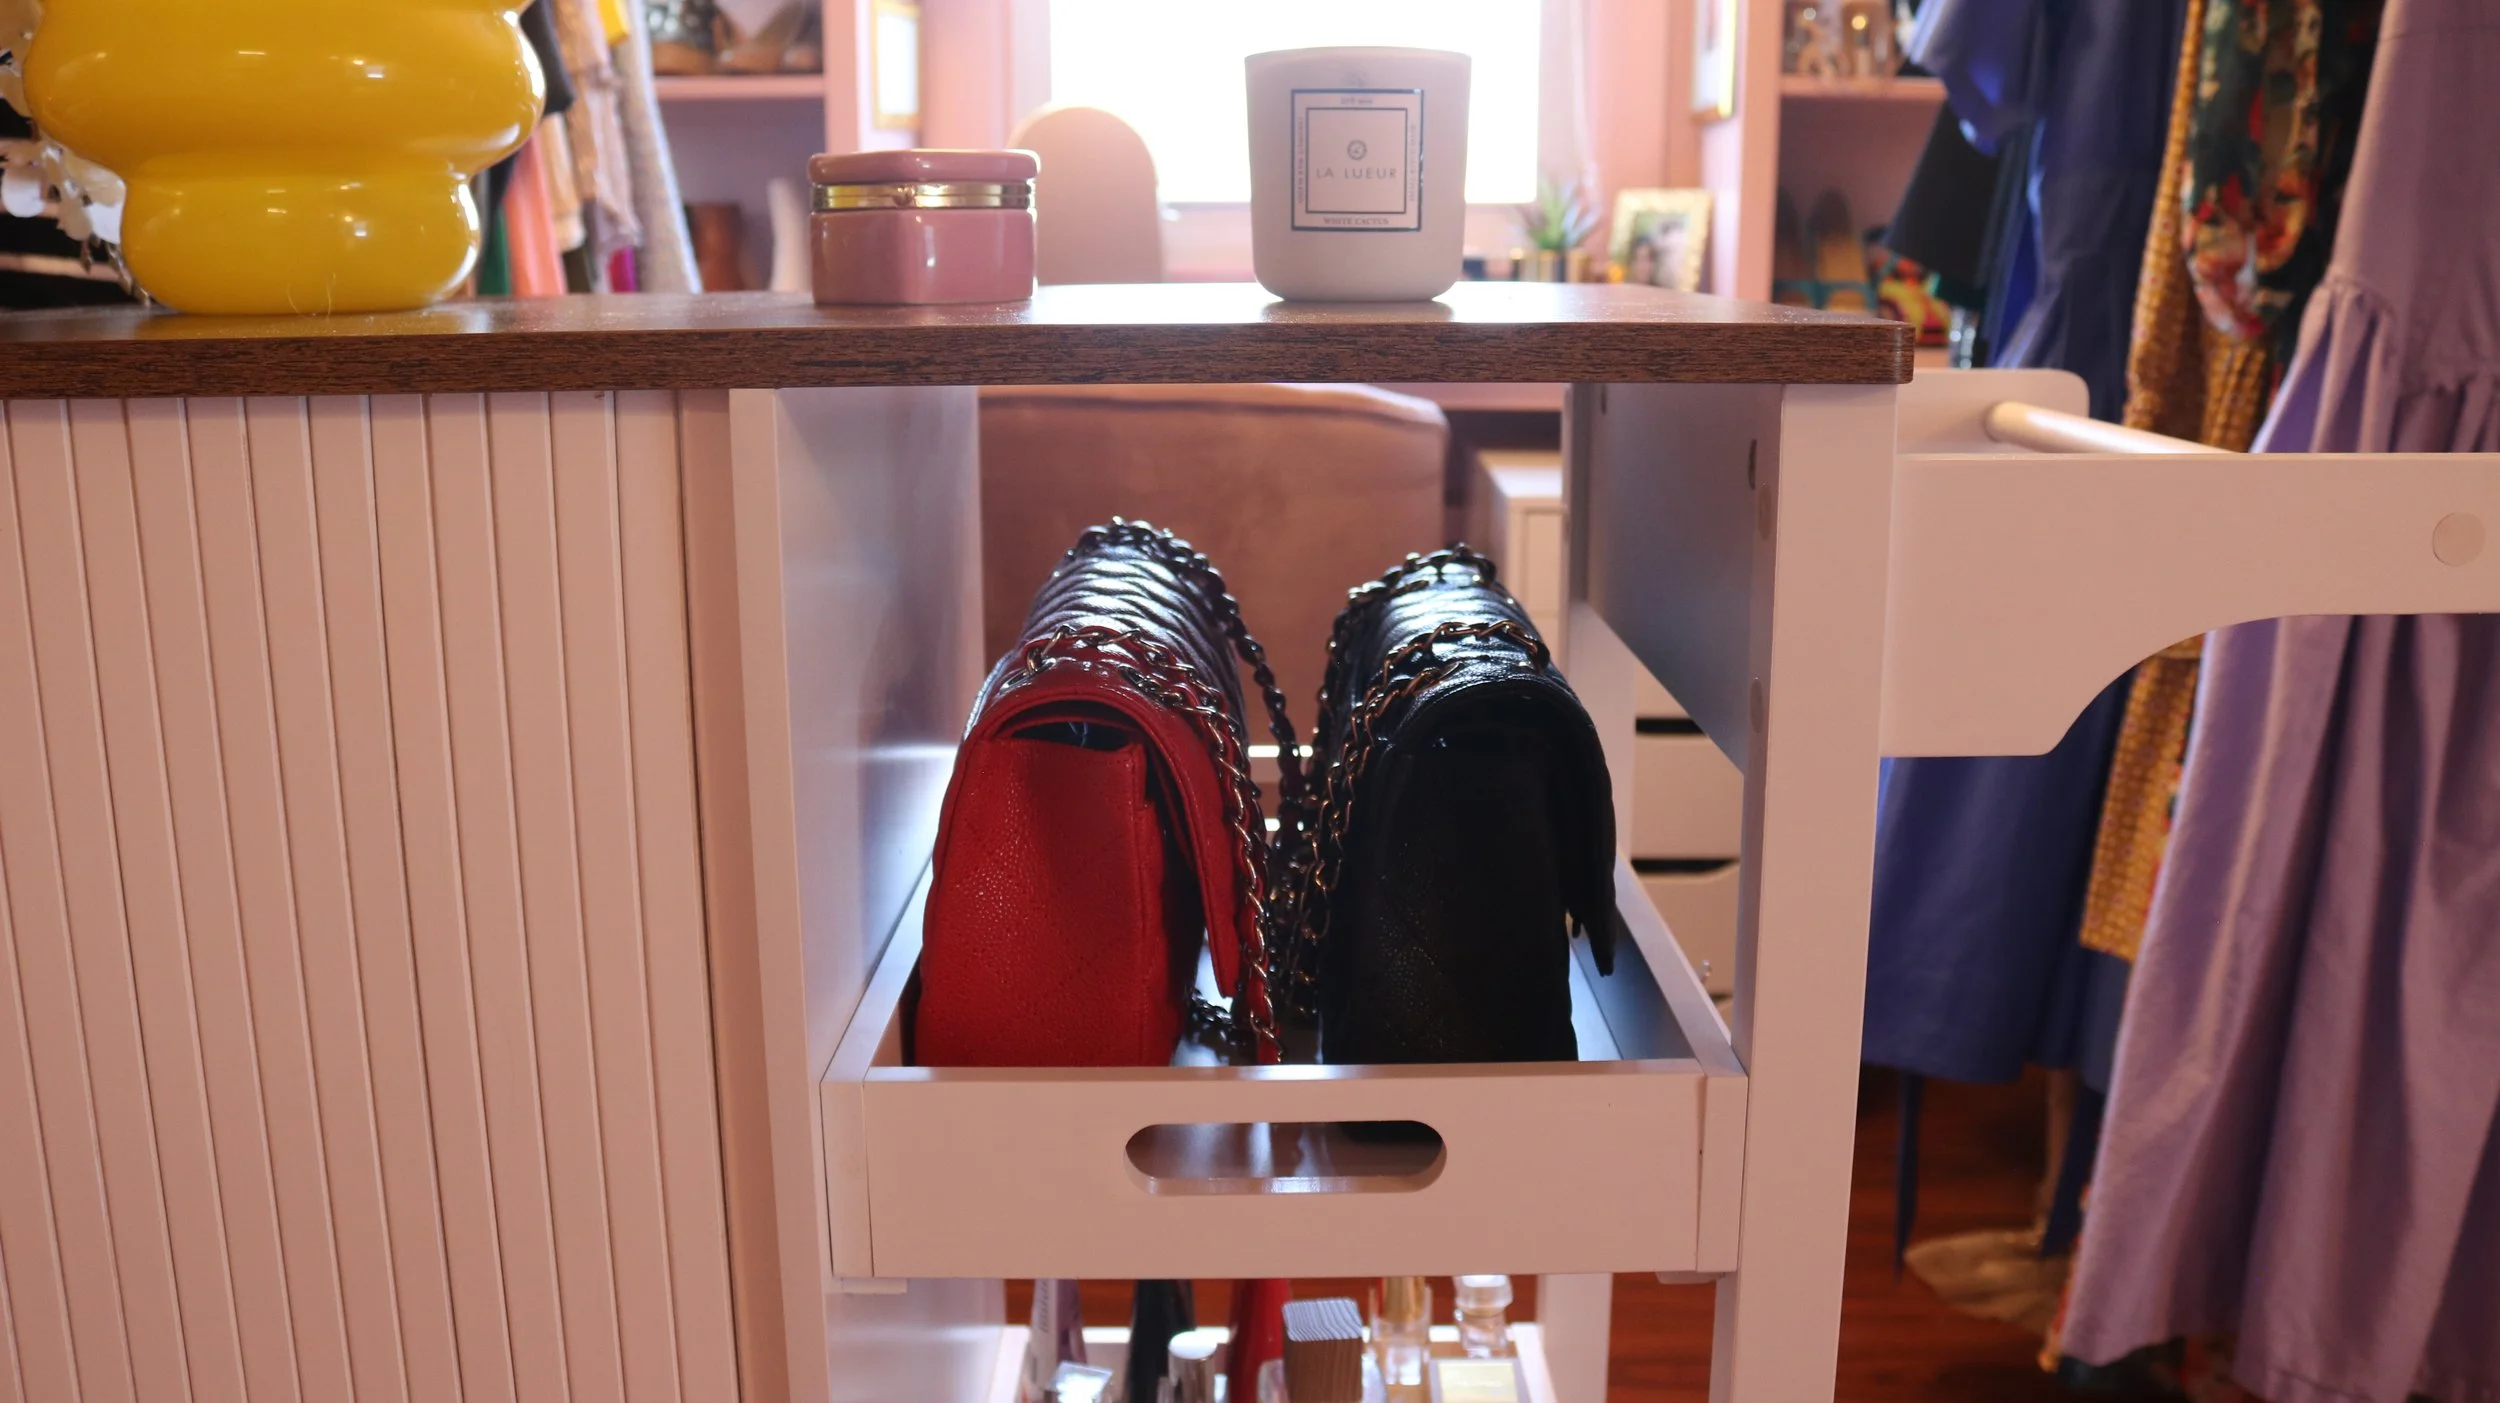
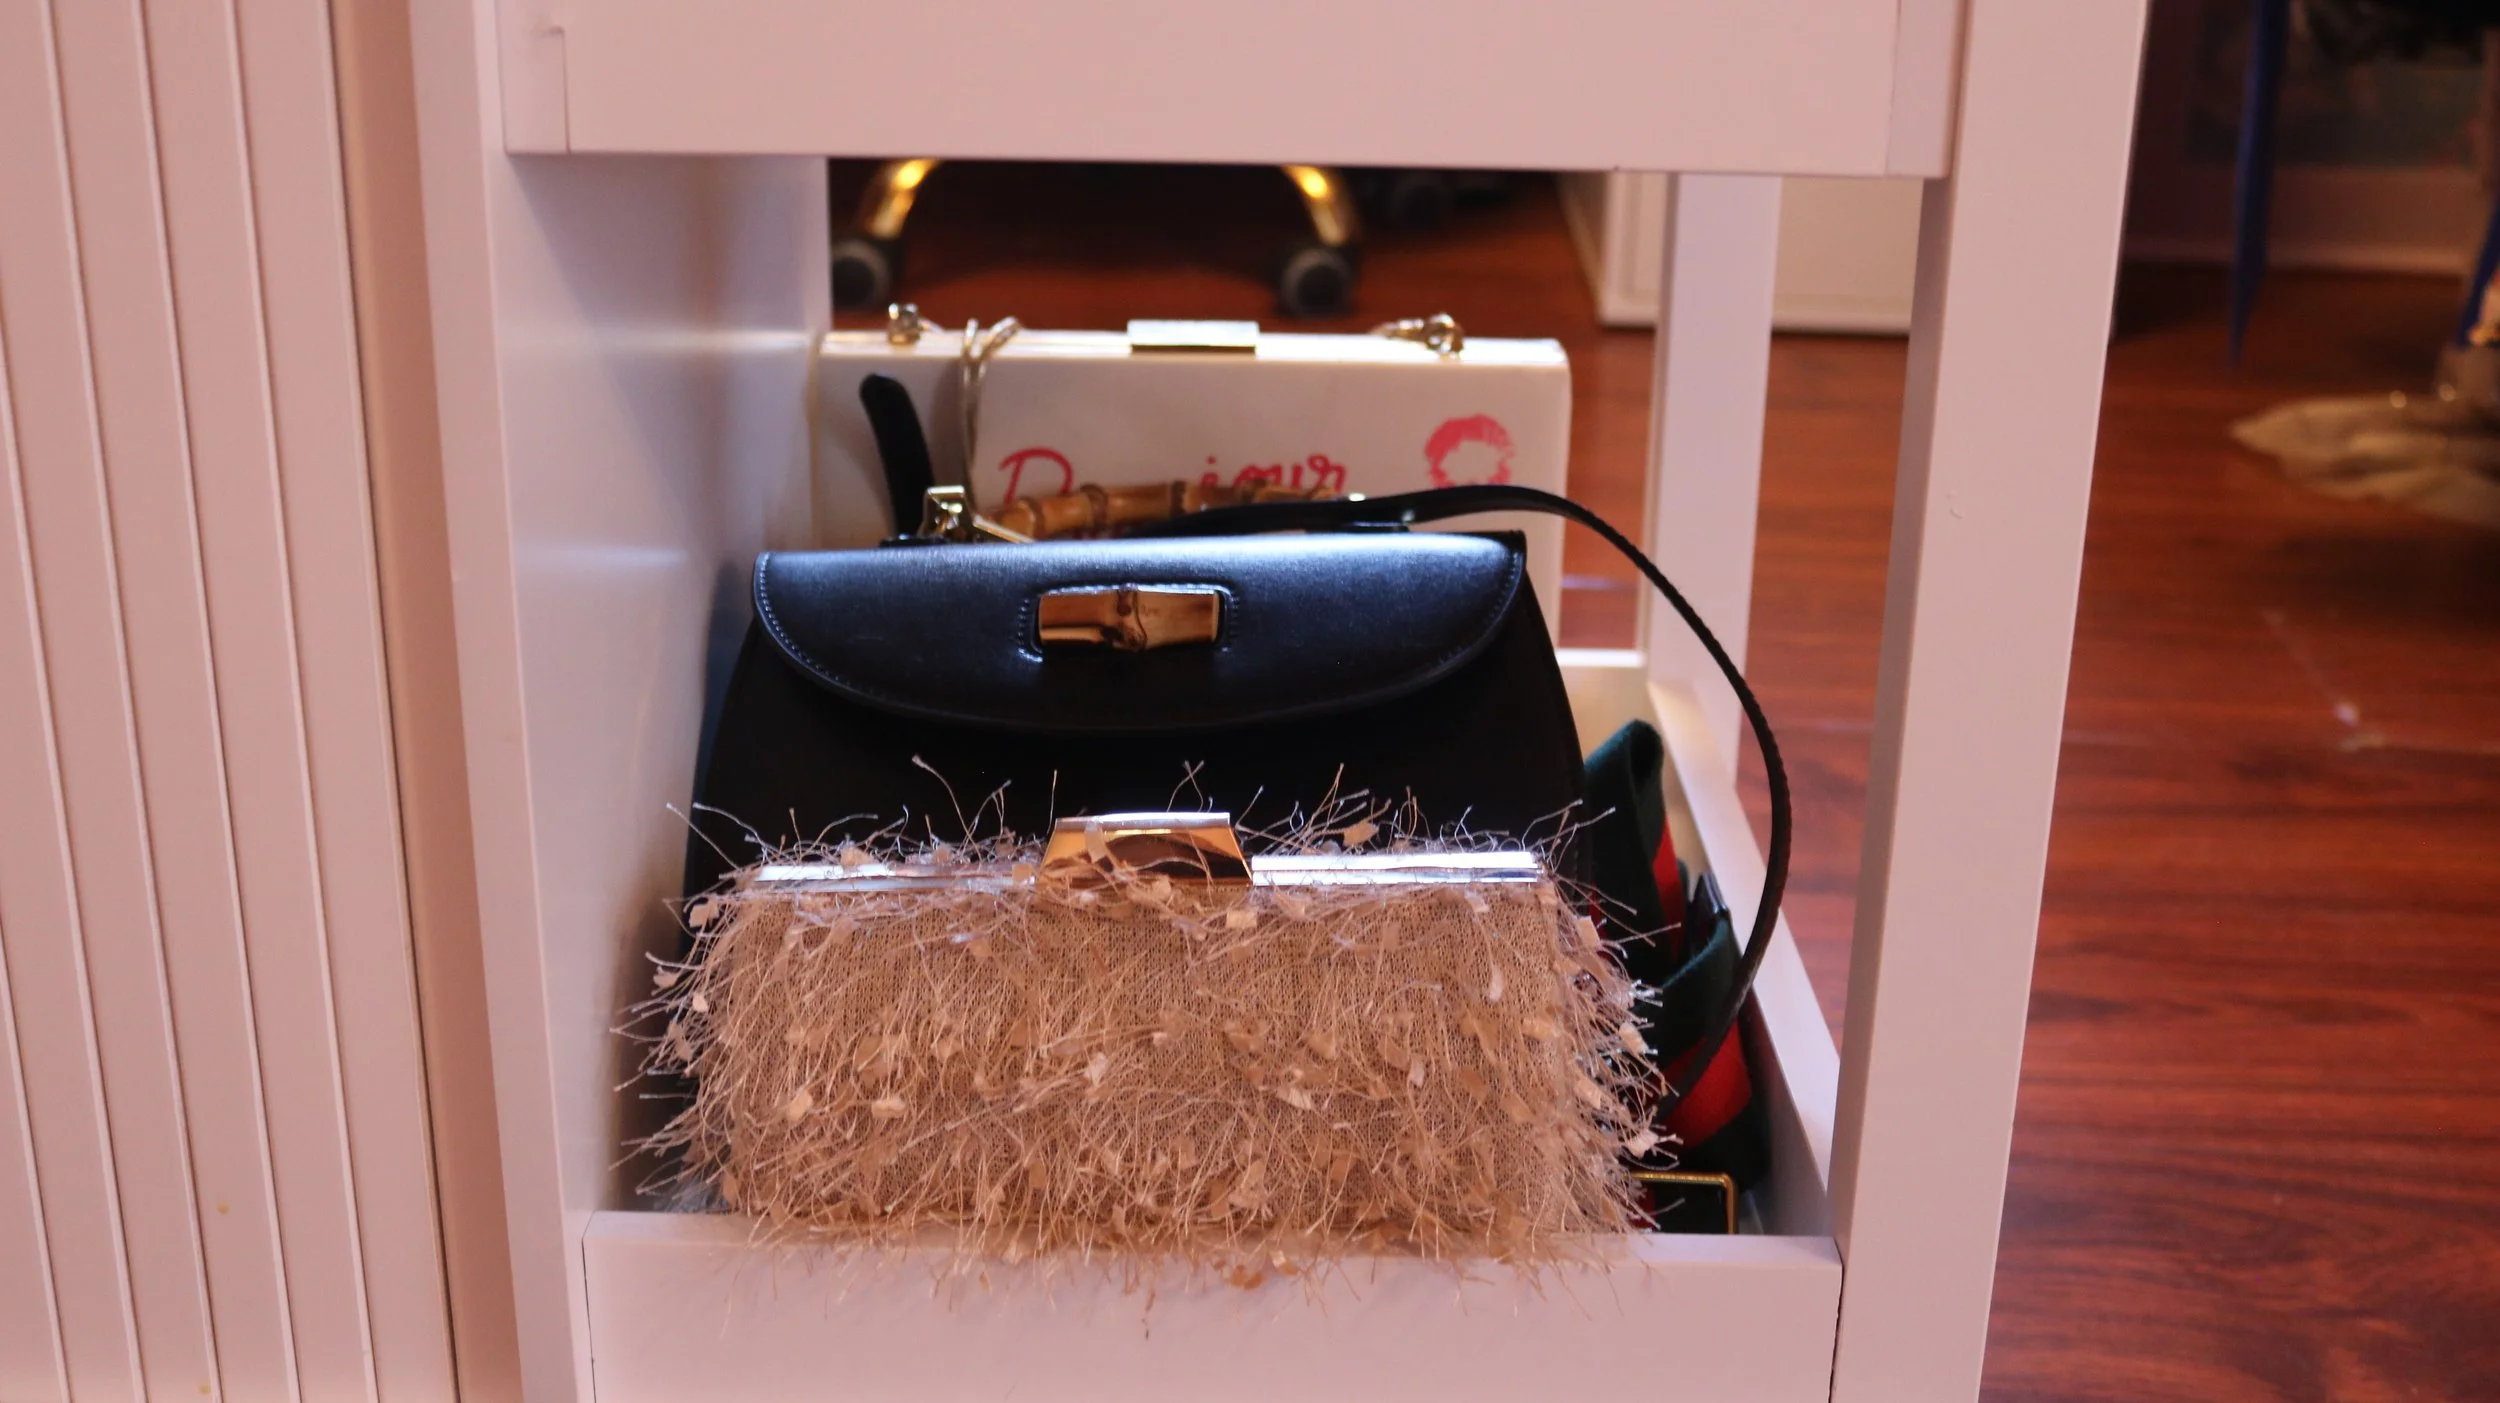
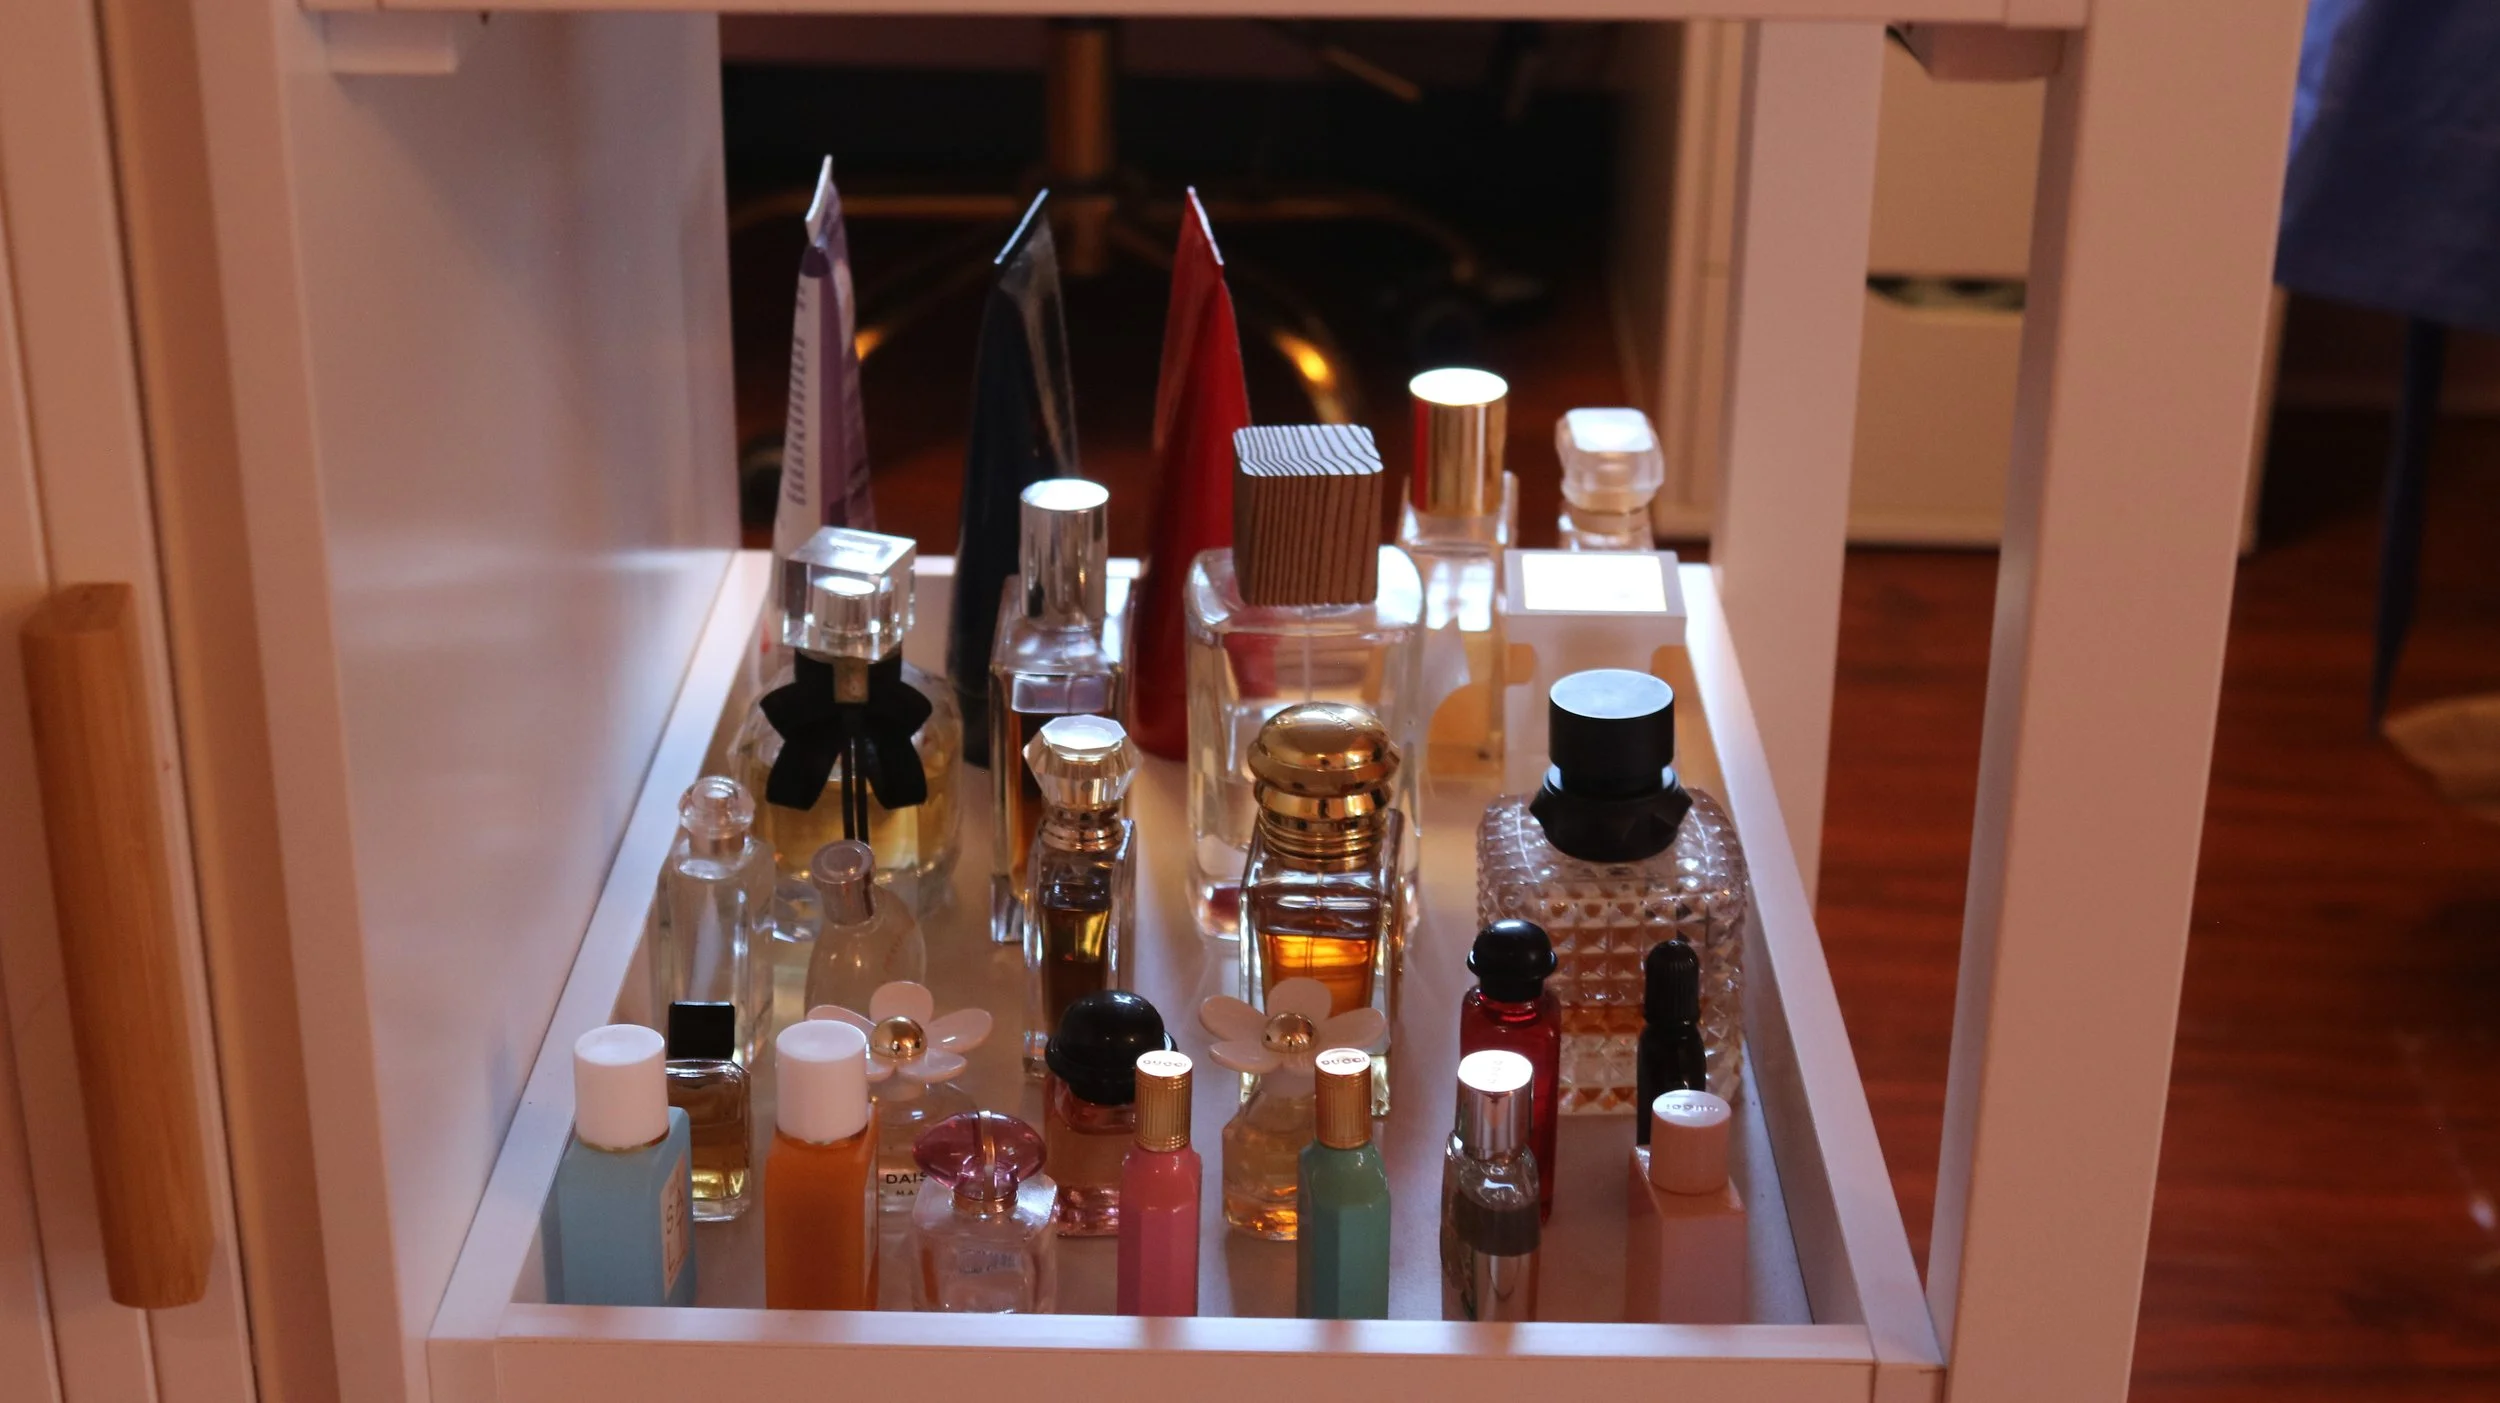
On two of my open shelves, I display my evening bags, while the third shelf is dedicated to perfumes. All basic, everyday bags are stored in the sliding cabinet.
The Dressing Area
Now that the closet section was set up, I needed to work on the dressing area. Truthfully, all I really needed was a mirror, but my budget was tapped out meaning I couldn’t buy any more storage, and needed to work with furniture I already had. So this super duper awkward space under the sloped ceiling just slightly off to the side was going to be set up as a dressing area.
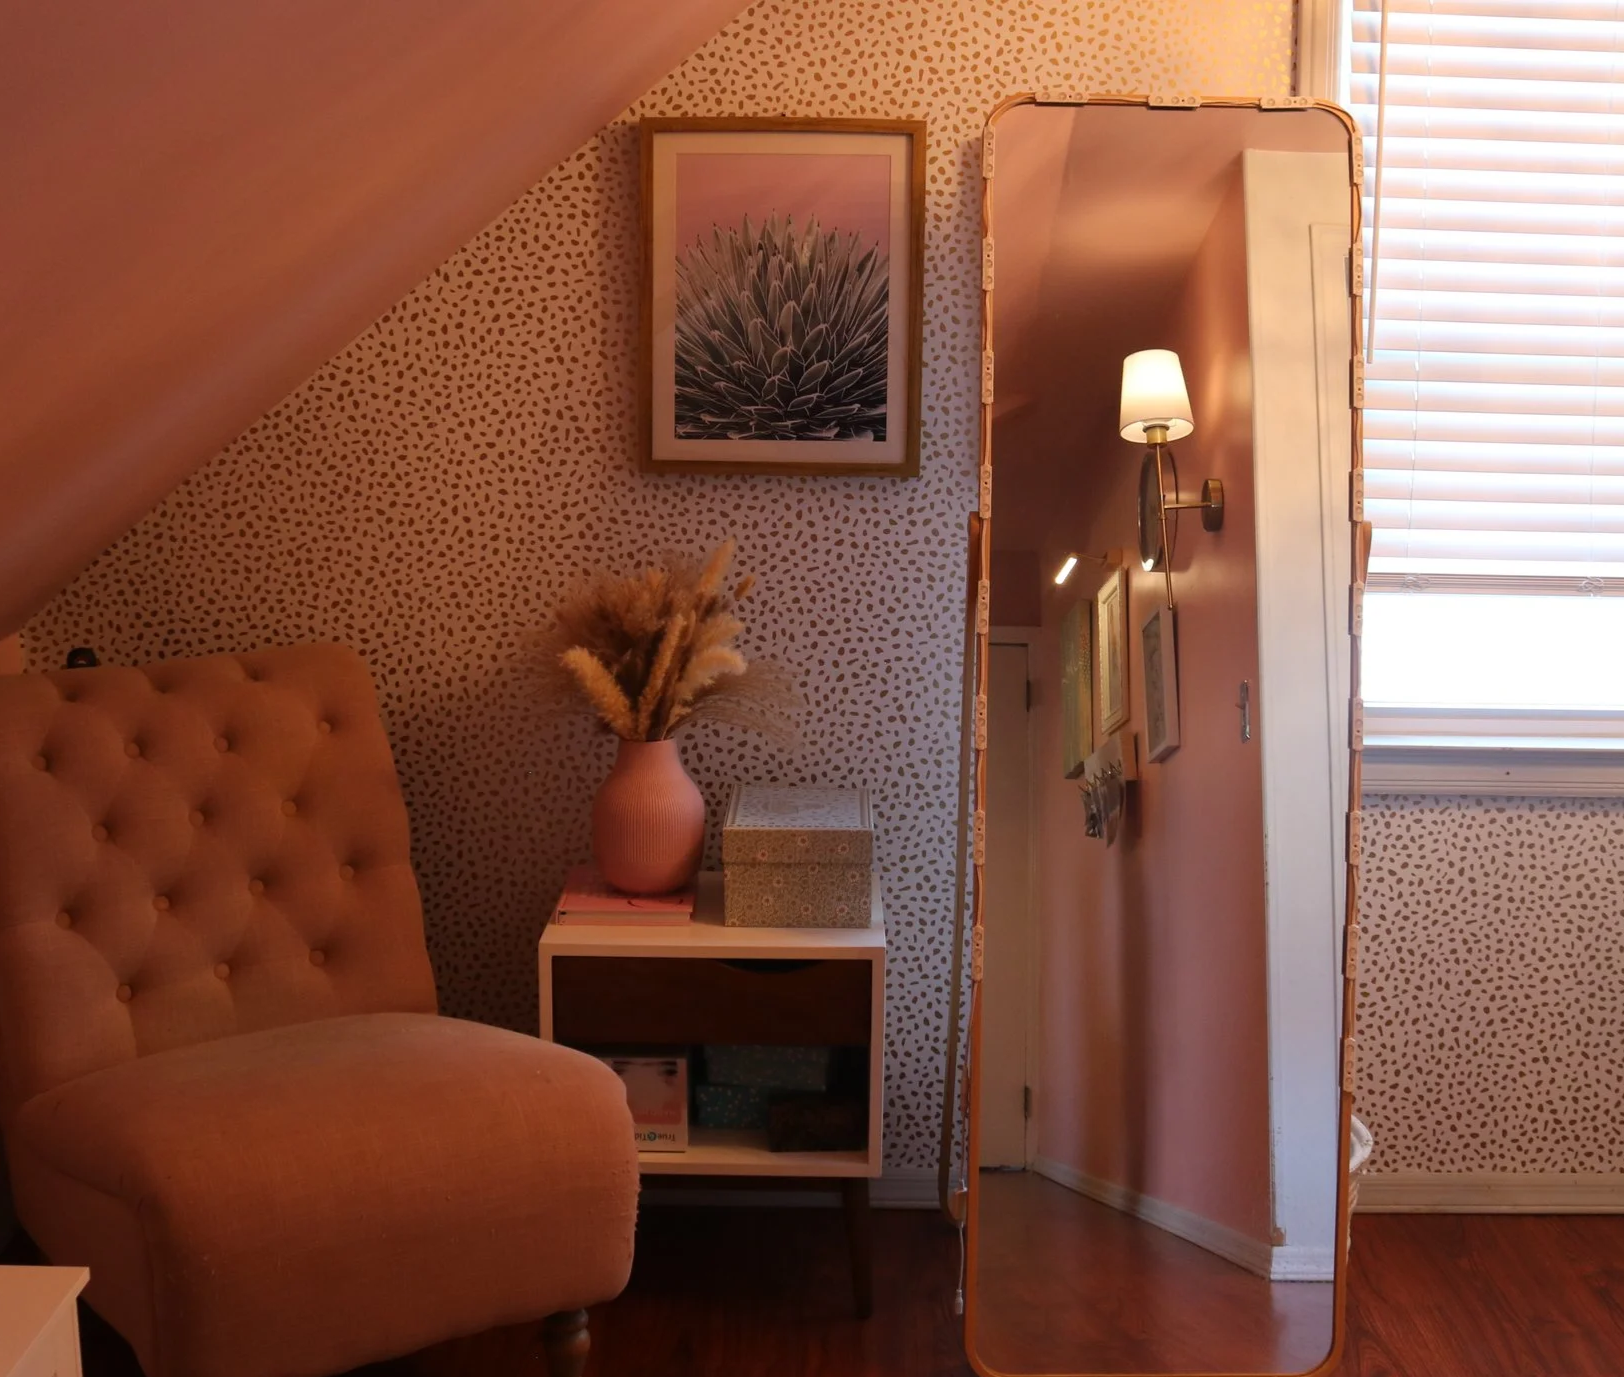
Everything pictured I already owned, the large tufted pink chair, the small end table that houses my steamer and bits and bobs, the Ikea mirror (that has lights on it!), and all the decor was being randomly used in my house already. I corralled everything and staged a cute little area where I can put on shoes, check my fit, or even stop and have a think about the day's attire.
The Fairest Color(s) of Them All
You might notice a slight difference in the pinks on this side of the closet, compared to where the clothes are stored. That’s because I ended up choosing two different shades. Well, to be exact, I chose one shade, and my daughter chose another one. Somehow, we ended up compromising and splitting the colors with the natural dividers of the ceiling beams to further separate the space.
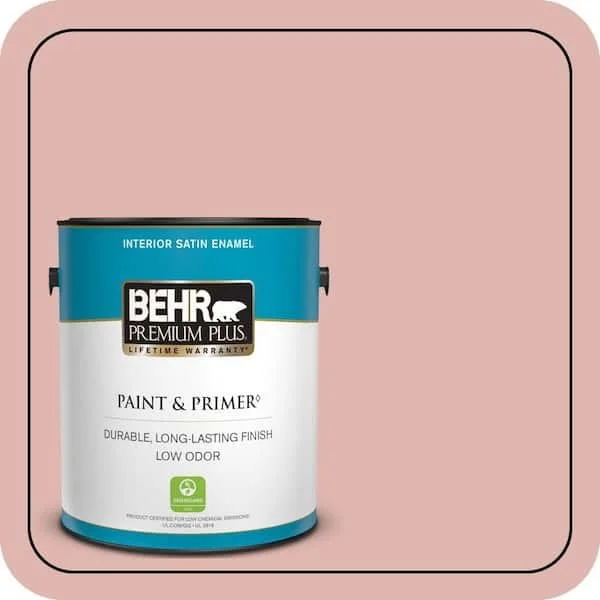
The color chosen for the clothing section was Pink Quartz, by Behr.
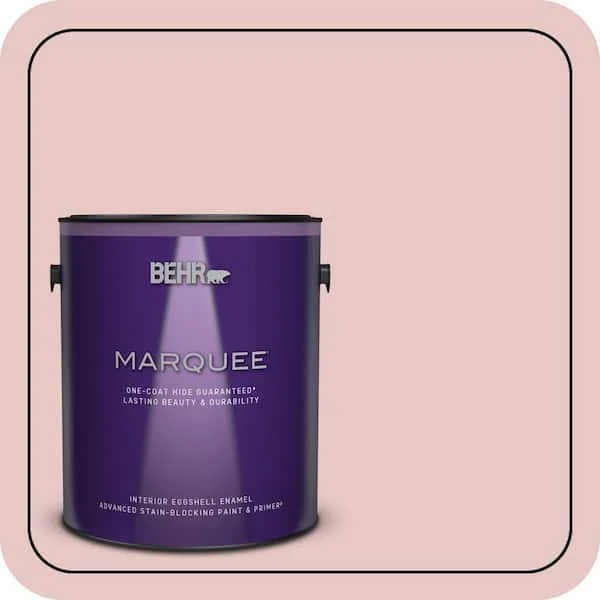
The dressing room side is Cherubic, also by Behr.
My Daughter’s Space
The reason I let my daughter have a say in this at all, was mostly due to the blue dresser off to the right. That dresser sits just outside of my daughter’s room. One thing we’re working on is independence, and that includes picking out her own clothes and being responsible for getting herself dressed. I let that blue dresser become hers, and in the drawers are everything she needs to dress herself for a week. All she has to do is reach into each drawer and pick what she wants to wear. A big incentive of having this independence was that she would officially be sharing my closet with me, which was a major selling point to her.
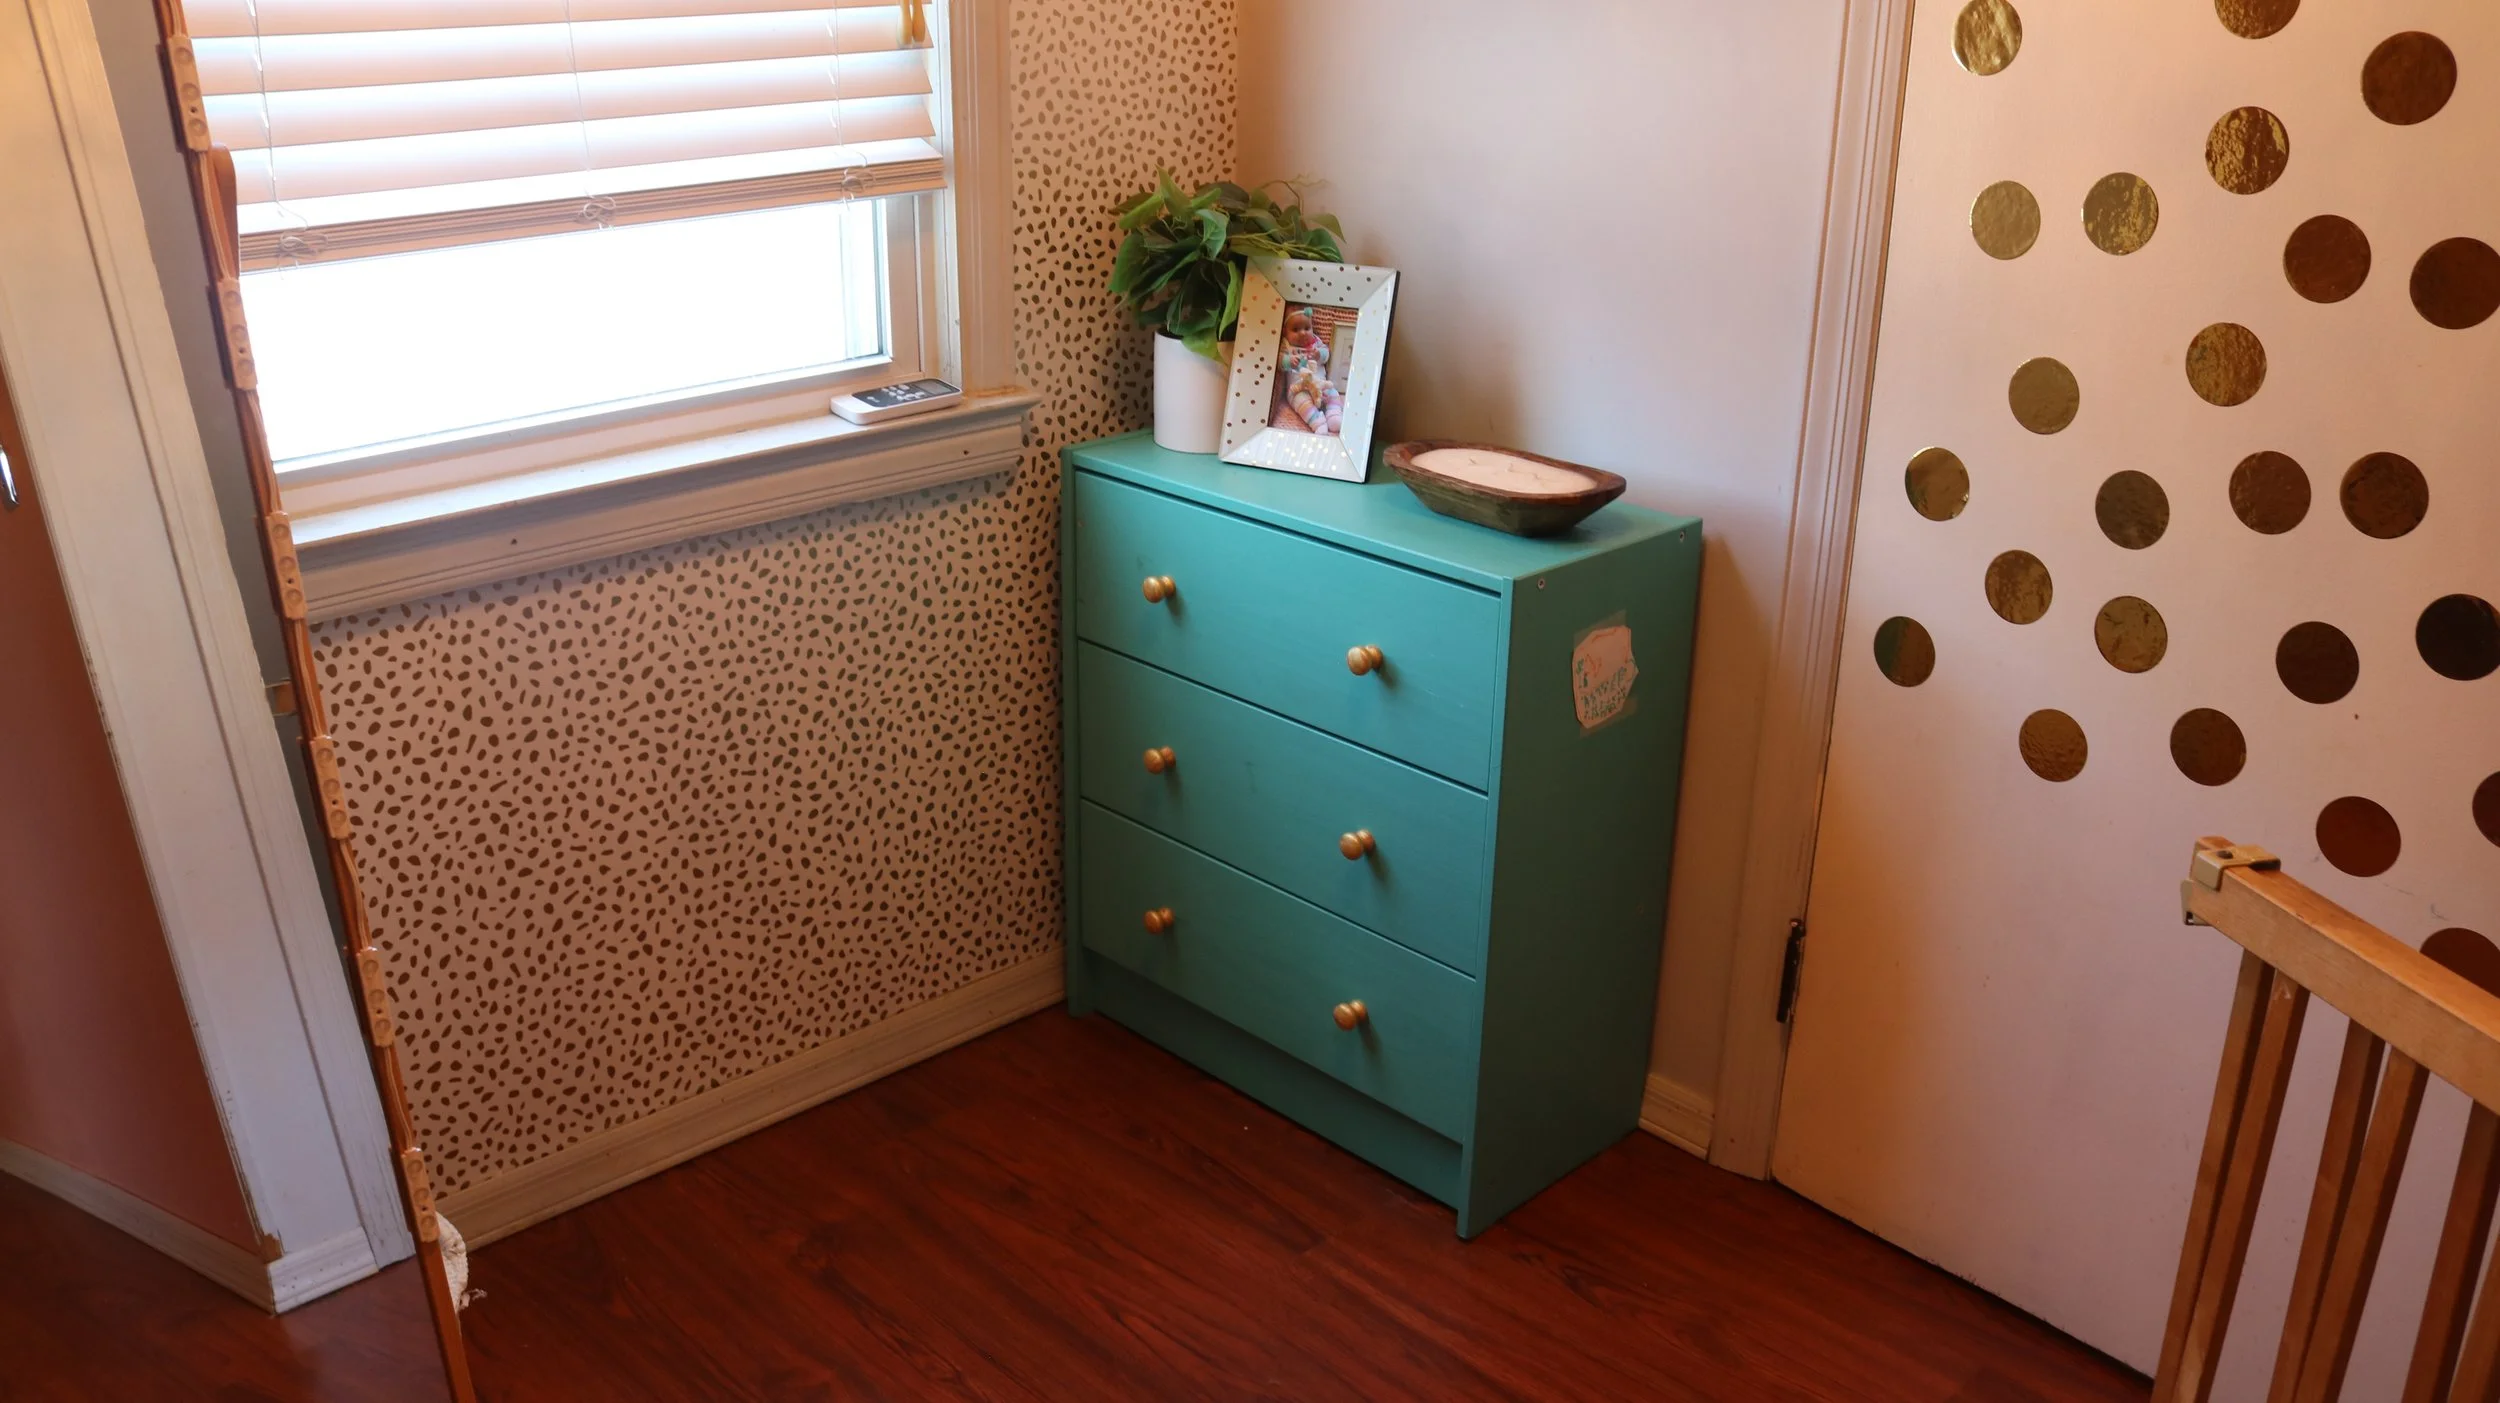
You might recognize the dots on her door as the ones previously on the ceiling in the hall space. After all these years, they still had some stick to them, and my daughter did not want to get rid of them, so we simply rehoused them. It’s a great, personal pop on her door, and doesn’t clash with the adjoining space. It also serves as a fun reminder of what the space used to be like.
Beauty Headquarters
The very last thing I needed storage wise was for my beauty supplies; makeup, skin care that didn’t need a bathroom, dyson attachments, hair curlers, nail polish, etc. Enter my already owned Ikea Alex unit.
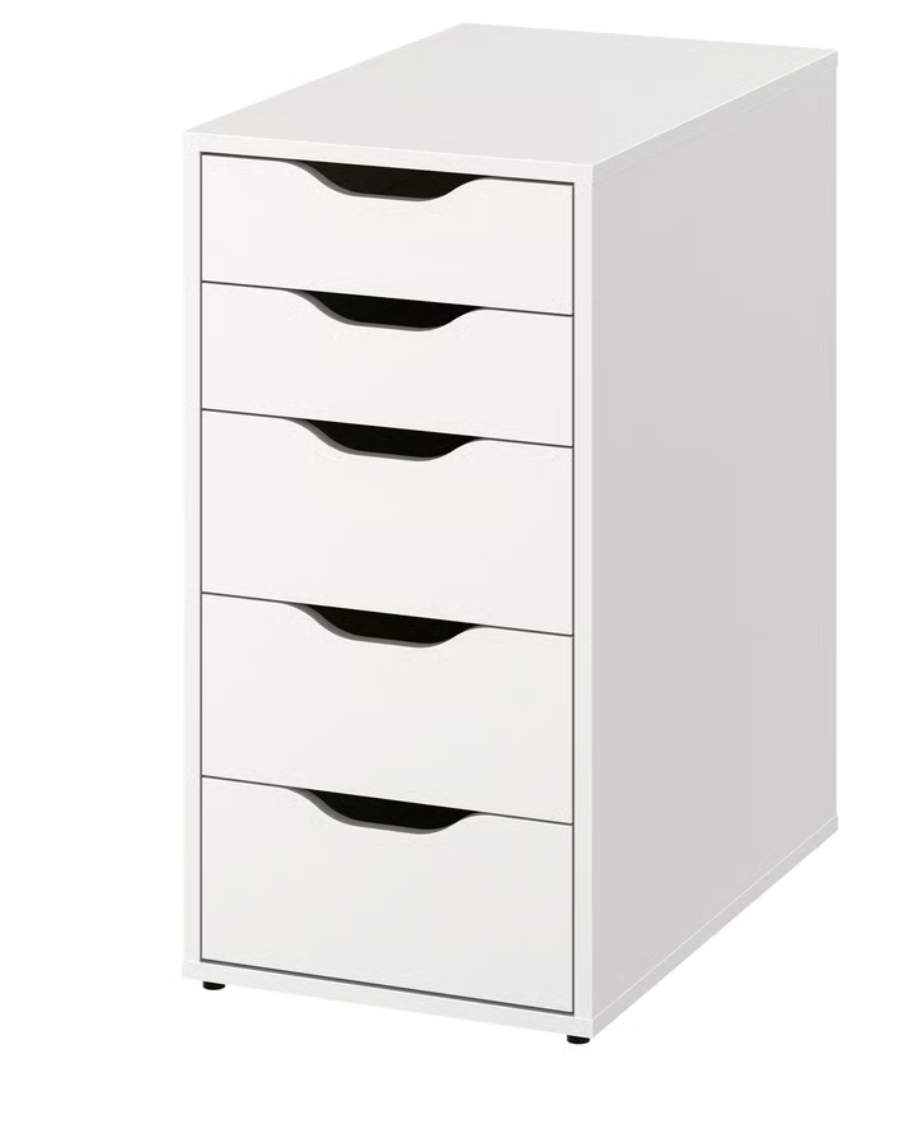
Inside these drawers are everything I need to finish off my look every day. I tucked the unit under the desktop, and it fits perfectly. The pink chair I also already owned. The desktop turned vanity is deliberately kept minimal, as I don’t want clutter to detract from the clothes surrounding the space. A simple stand mirror, faux plant, candle, and framed photo are the only things to sit on the vanity.
All About Lighting
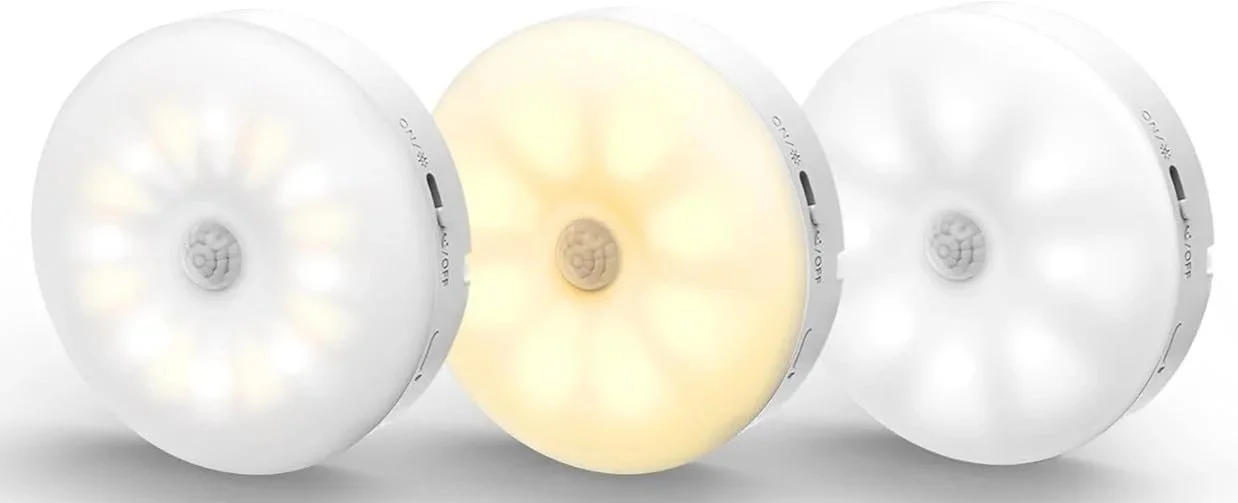
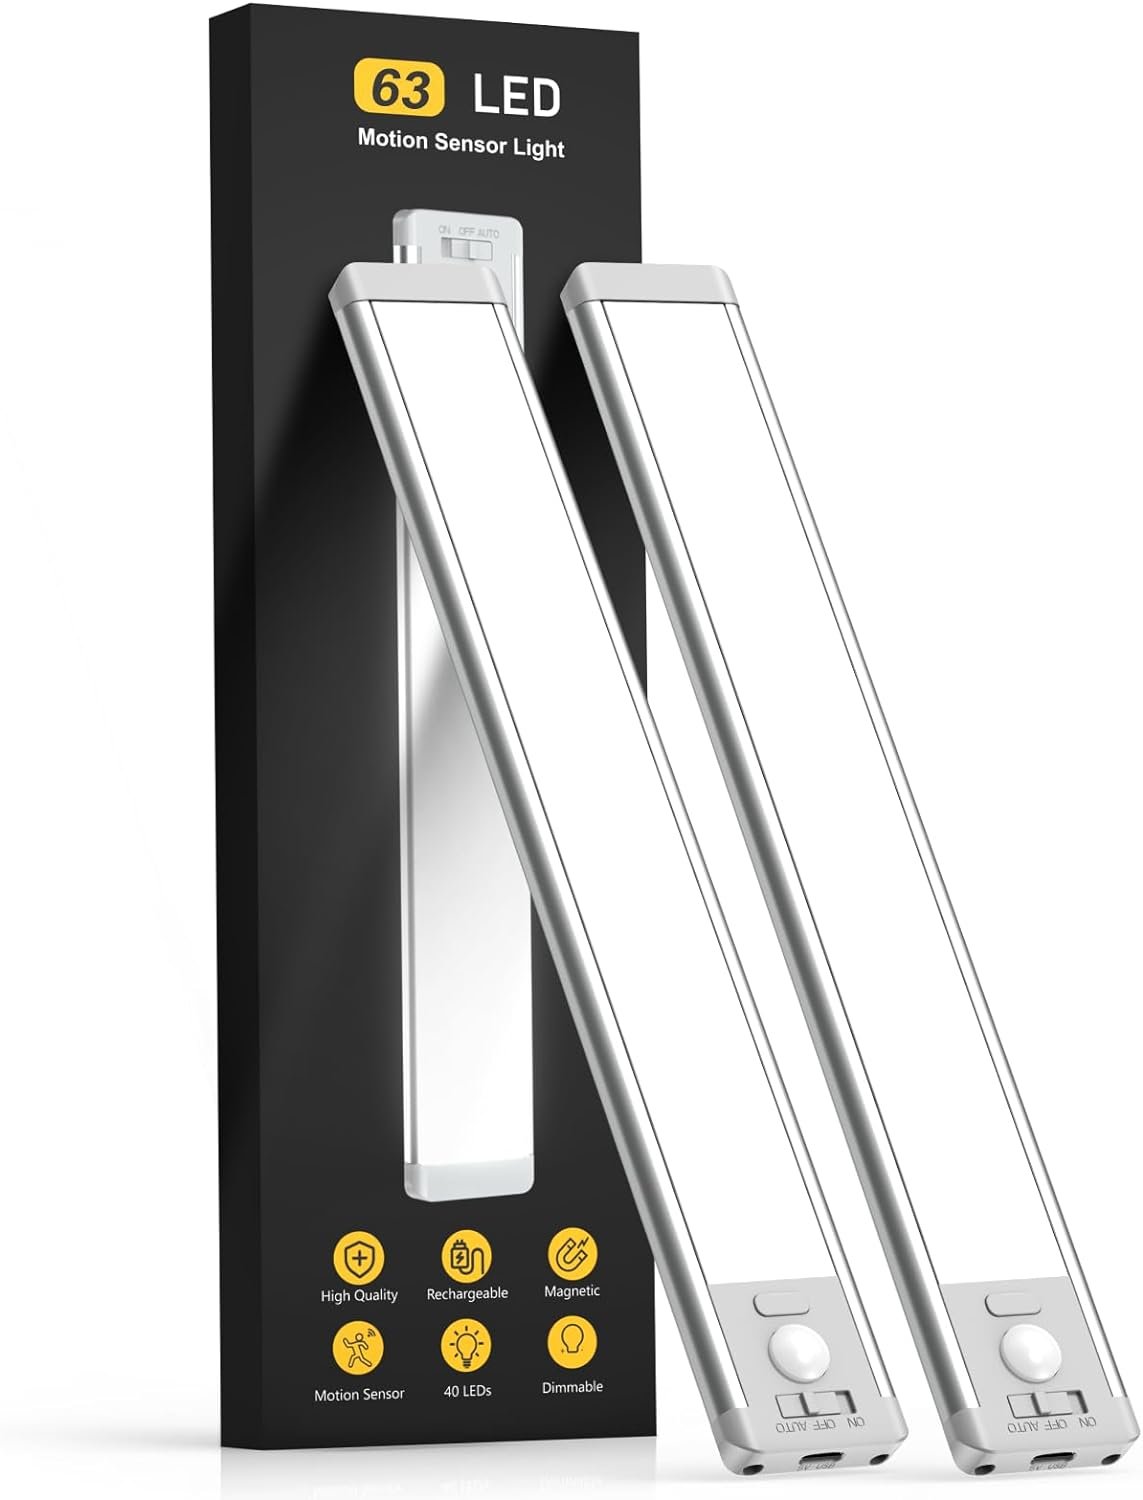
A way I instantly glammed up this space was by using spotlighting wherever I could. Under the shelves showcasing my shoes, I have rechargeable LED puck lights that turn on when I approach the space.
The cabinets where my clothes are stored in their bins have rechargeable LED light bars that automatically turn on when I open the cabinet.
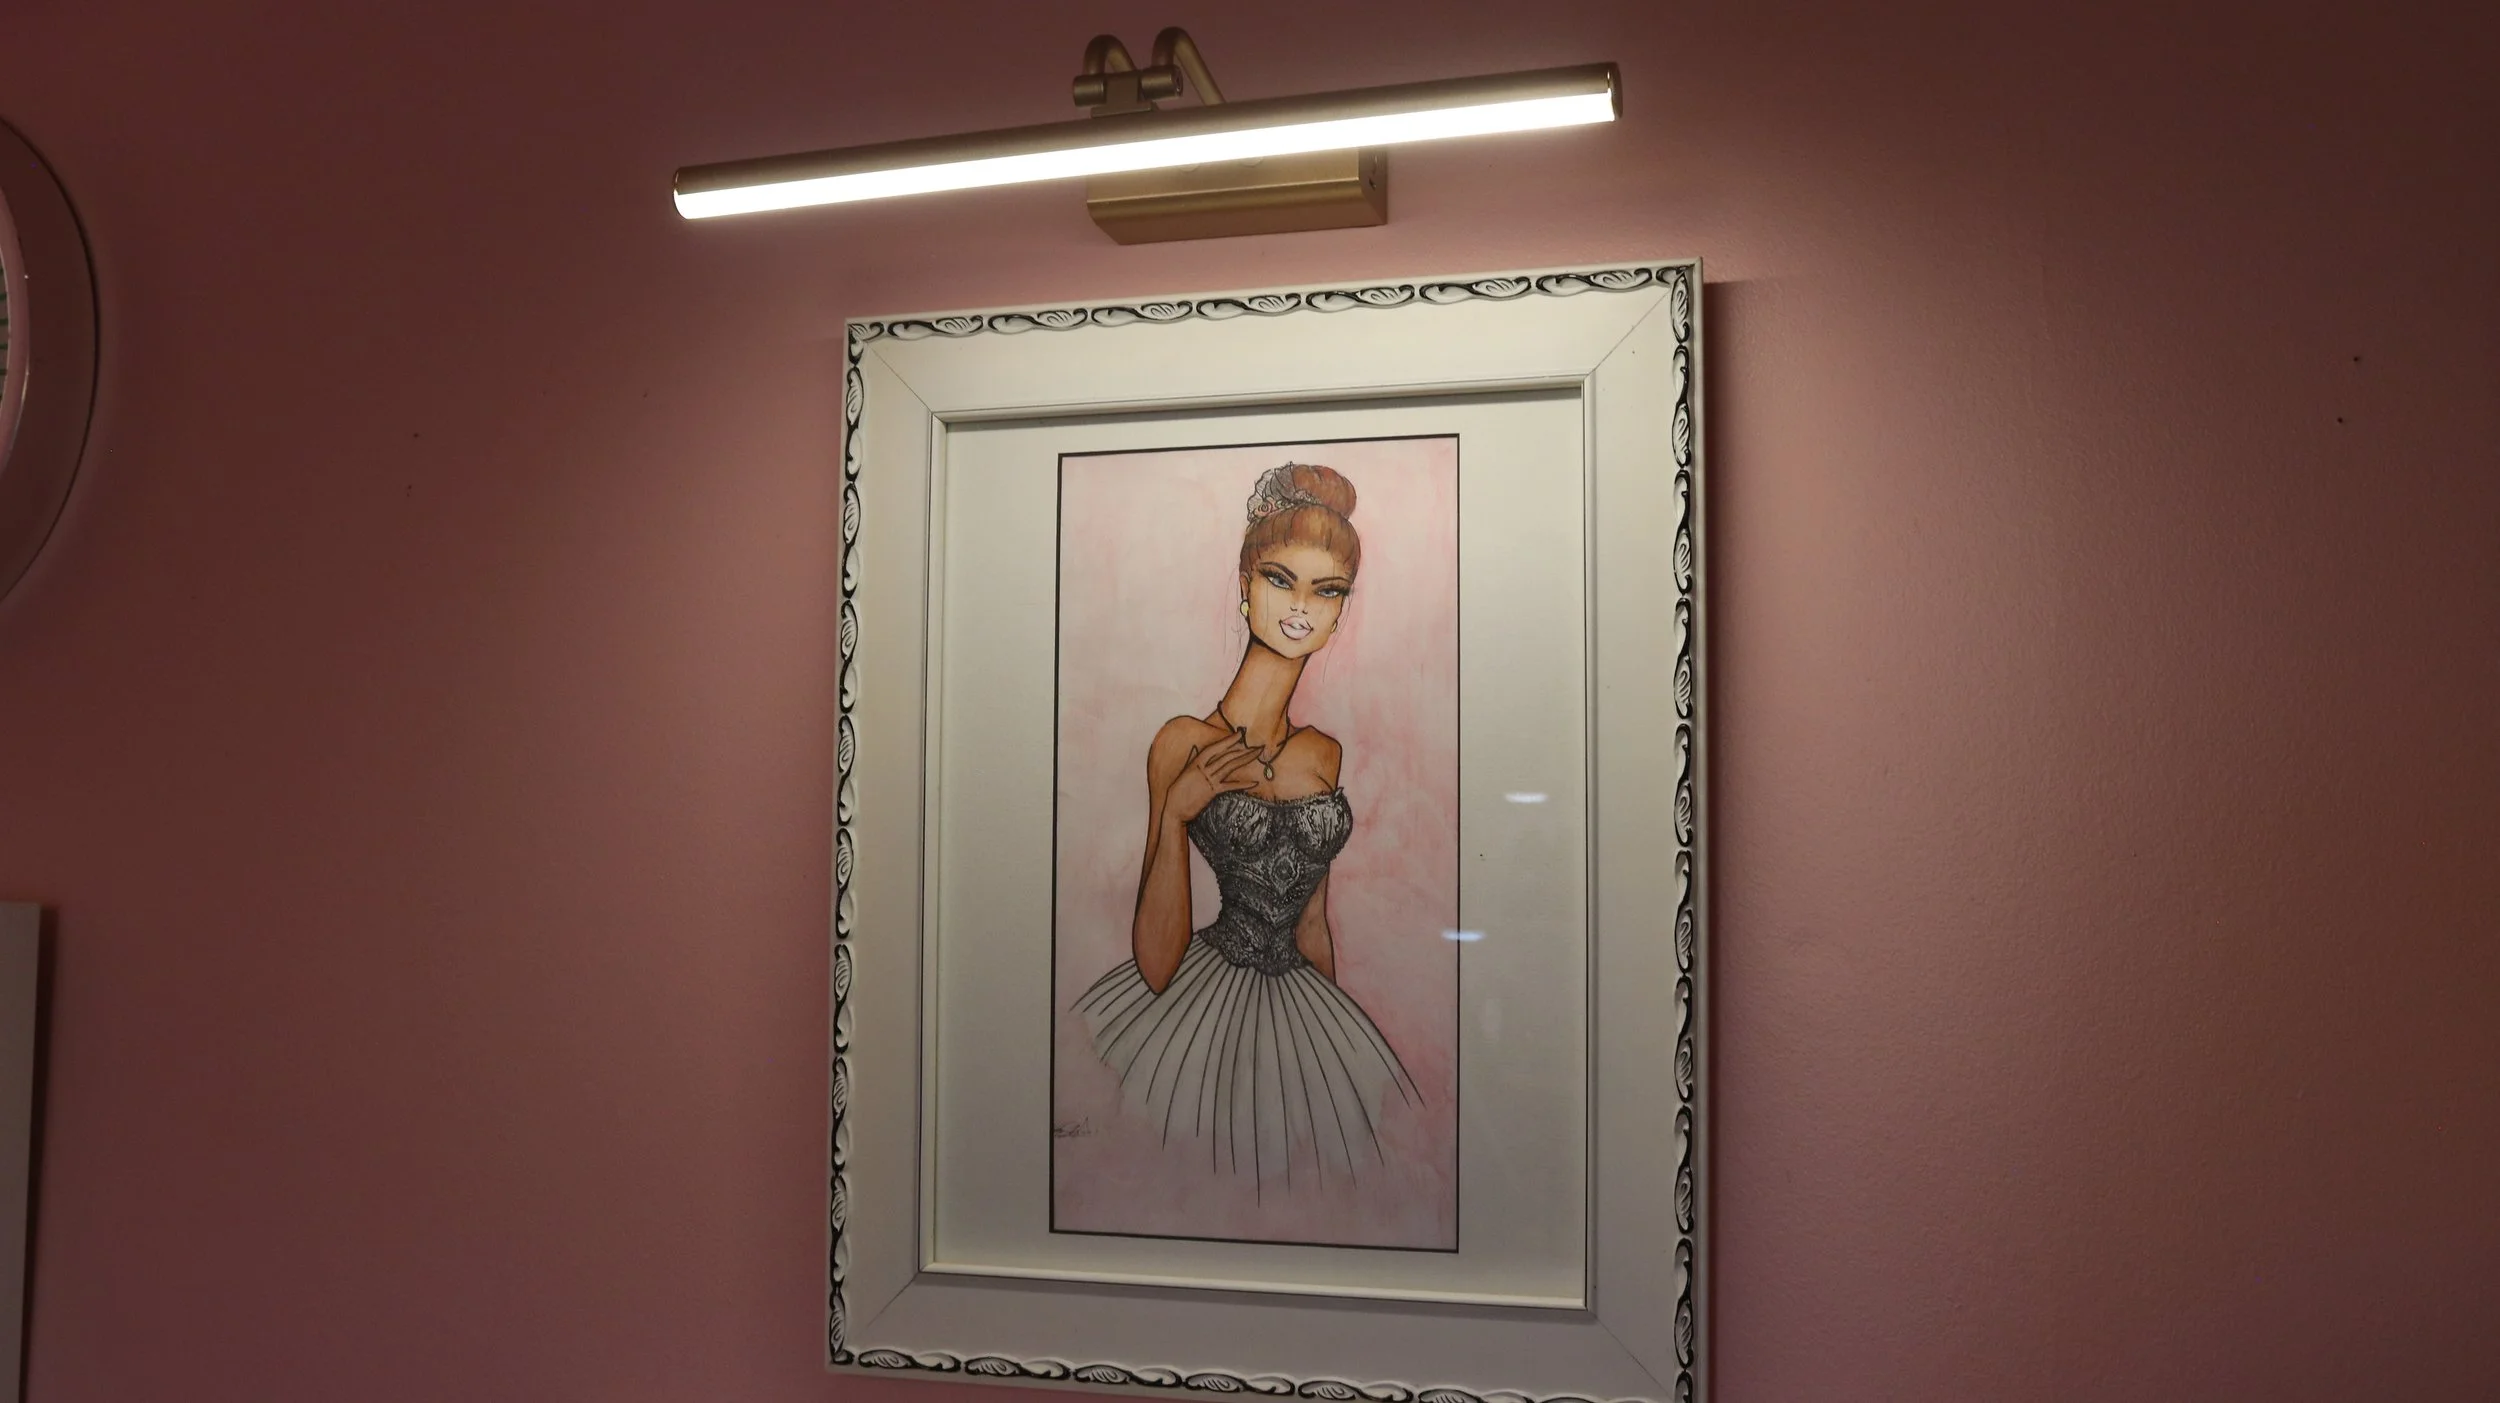
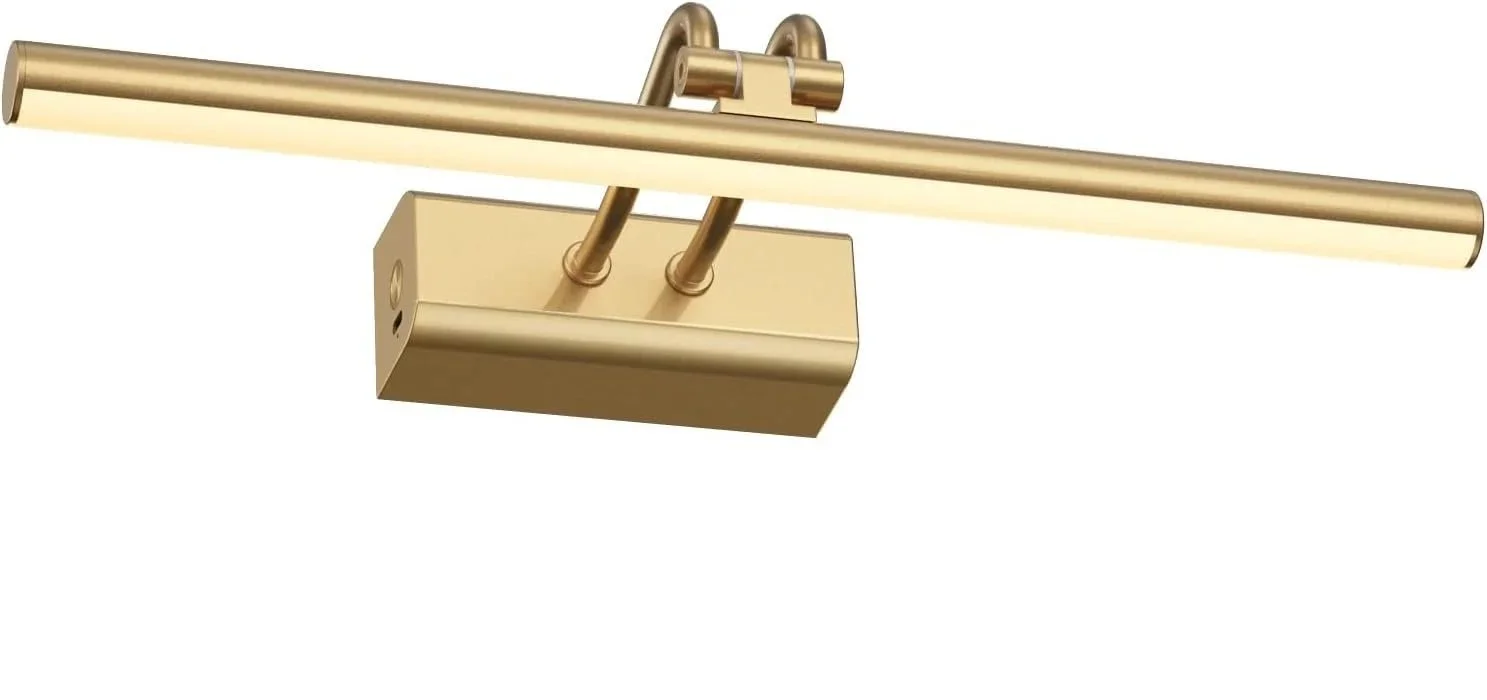
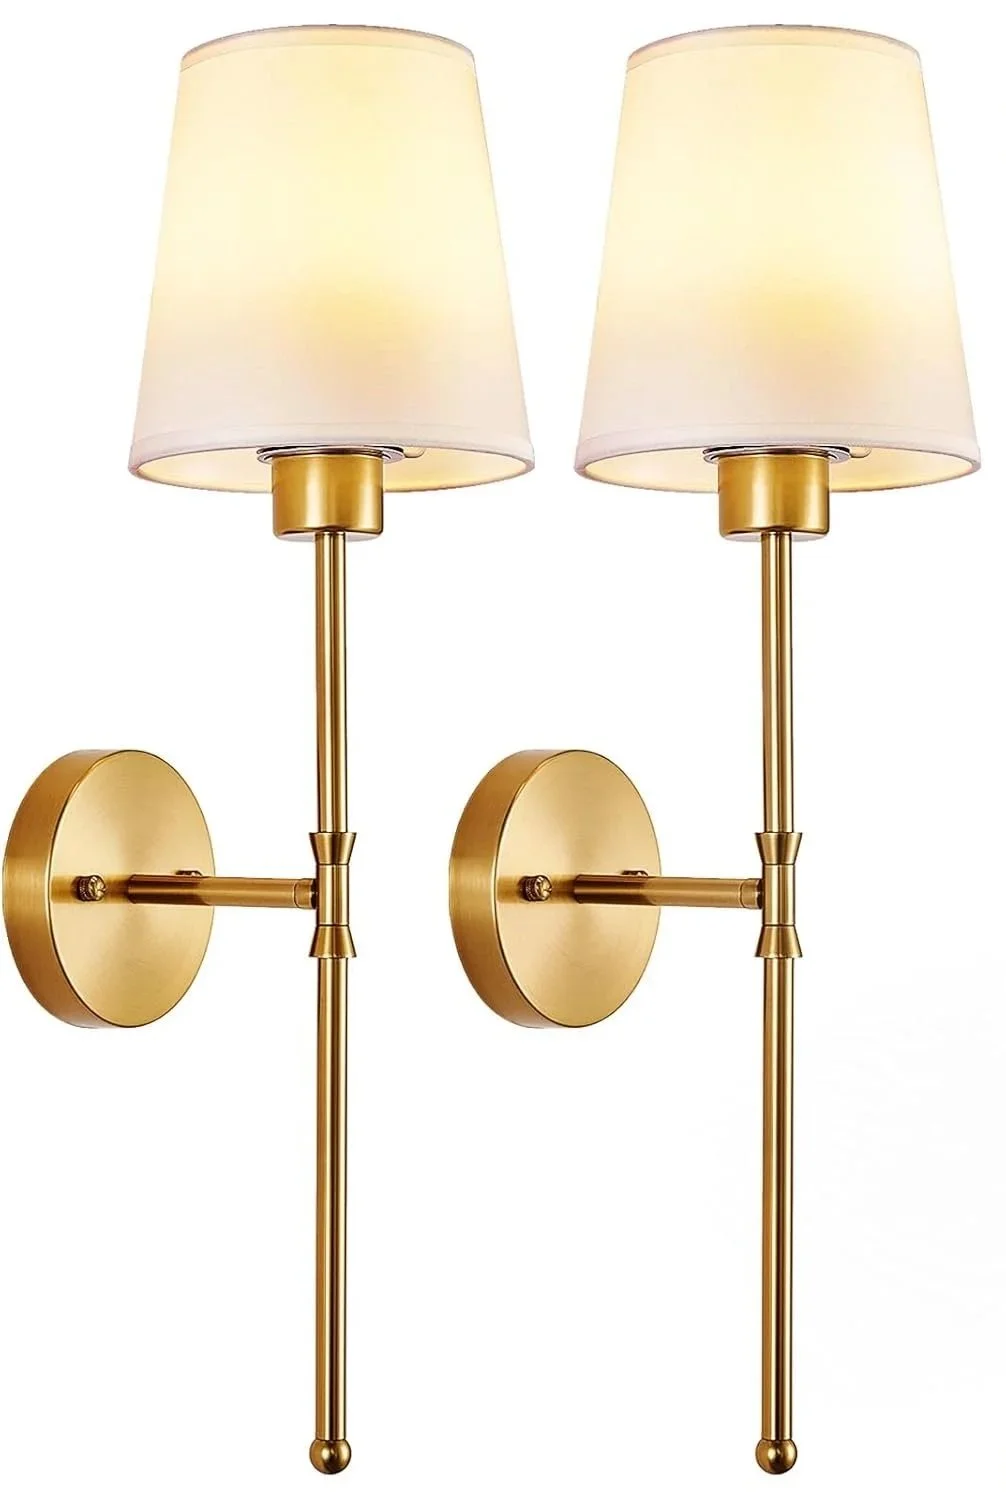
I added rechargeable wall mounted sconces and a picture light to the back wall, to really help illuminate the space and give it a moody glow when needed. All the artwork is from Homegoods, except for the bridal picture, which was a brilliant gift from my aunt of my wedding dress actually sketched out by the designer of the dress. A one of a kind heirloom piece like this deserves its own spotlight.
I switched out the dangling light I used to have with something more flush, to avoid getting my hair stuck in it every time I walked under it.
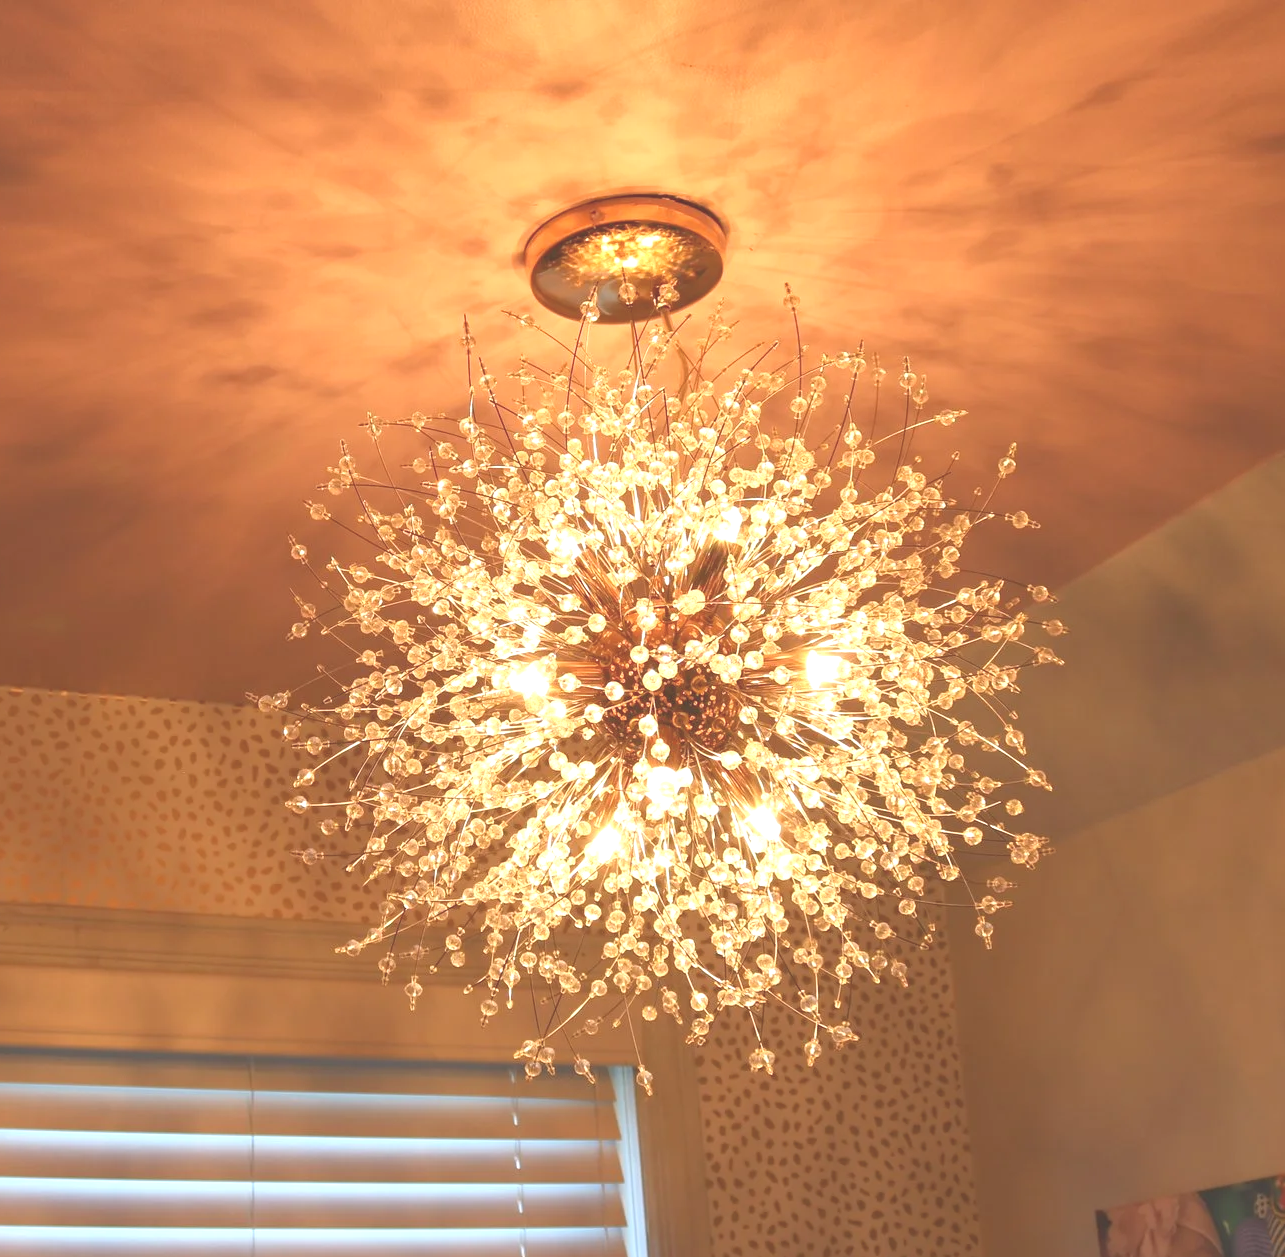
This older HomeDepot light lived in the hall for years before we moved it over.
The old light was moved to the dressing room area, and this cute shaped light took center stage.
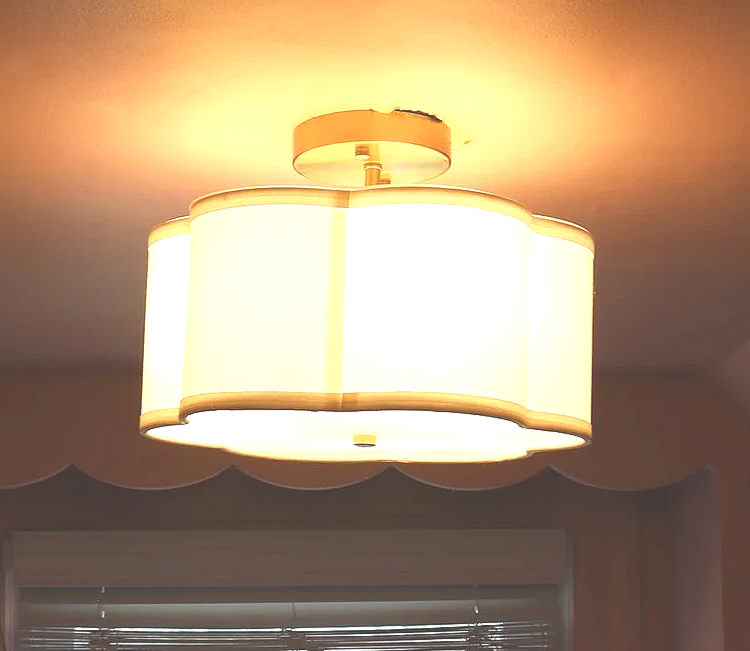
I cannot stress enough how key lighting is to a space. Since this closet has two windows that not only let in natural light, it also needs additional light at night when the sun is down. The space also acts as the transition from the stairs to our primary bedroom, so I really wanted a moody and glowy feel at night. All the LED lights I got are color changing, letting me choose from warm tone to cool tone, depending on what is needed at what time of day. The layered lighting deepens the space, and really provides a luxe look.
Below are what other lighting I used, as well as the link to find them on Amazon.
For the Decor
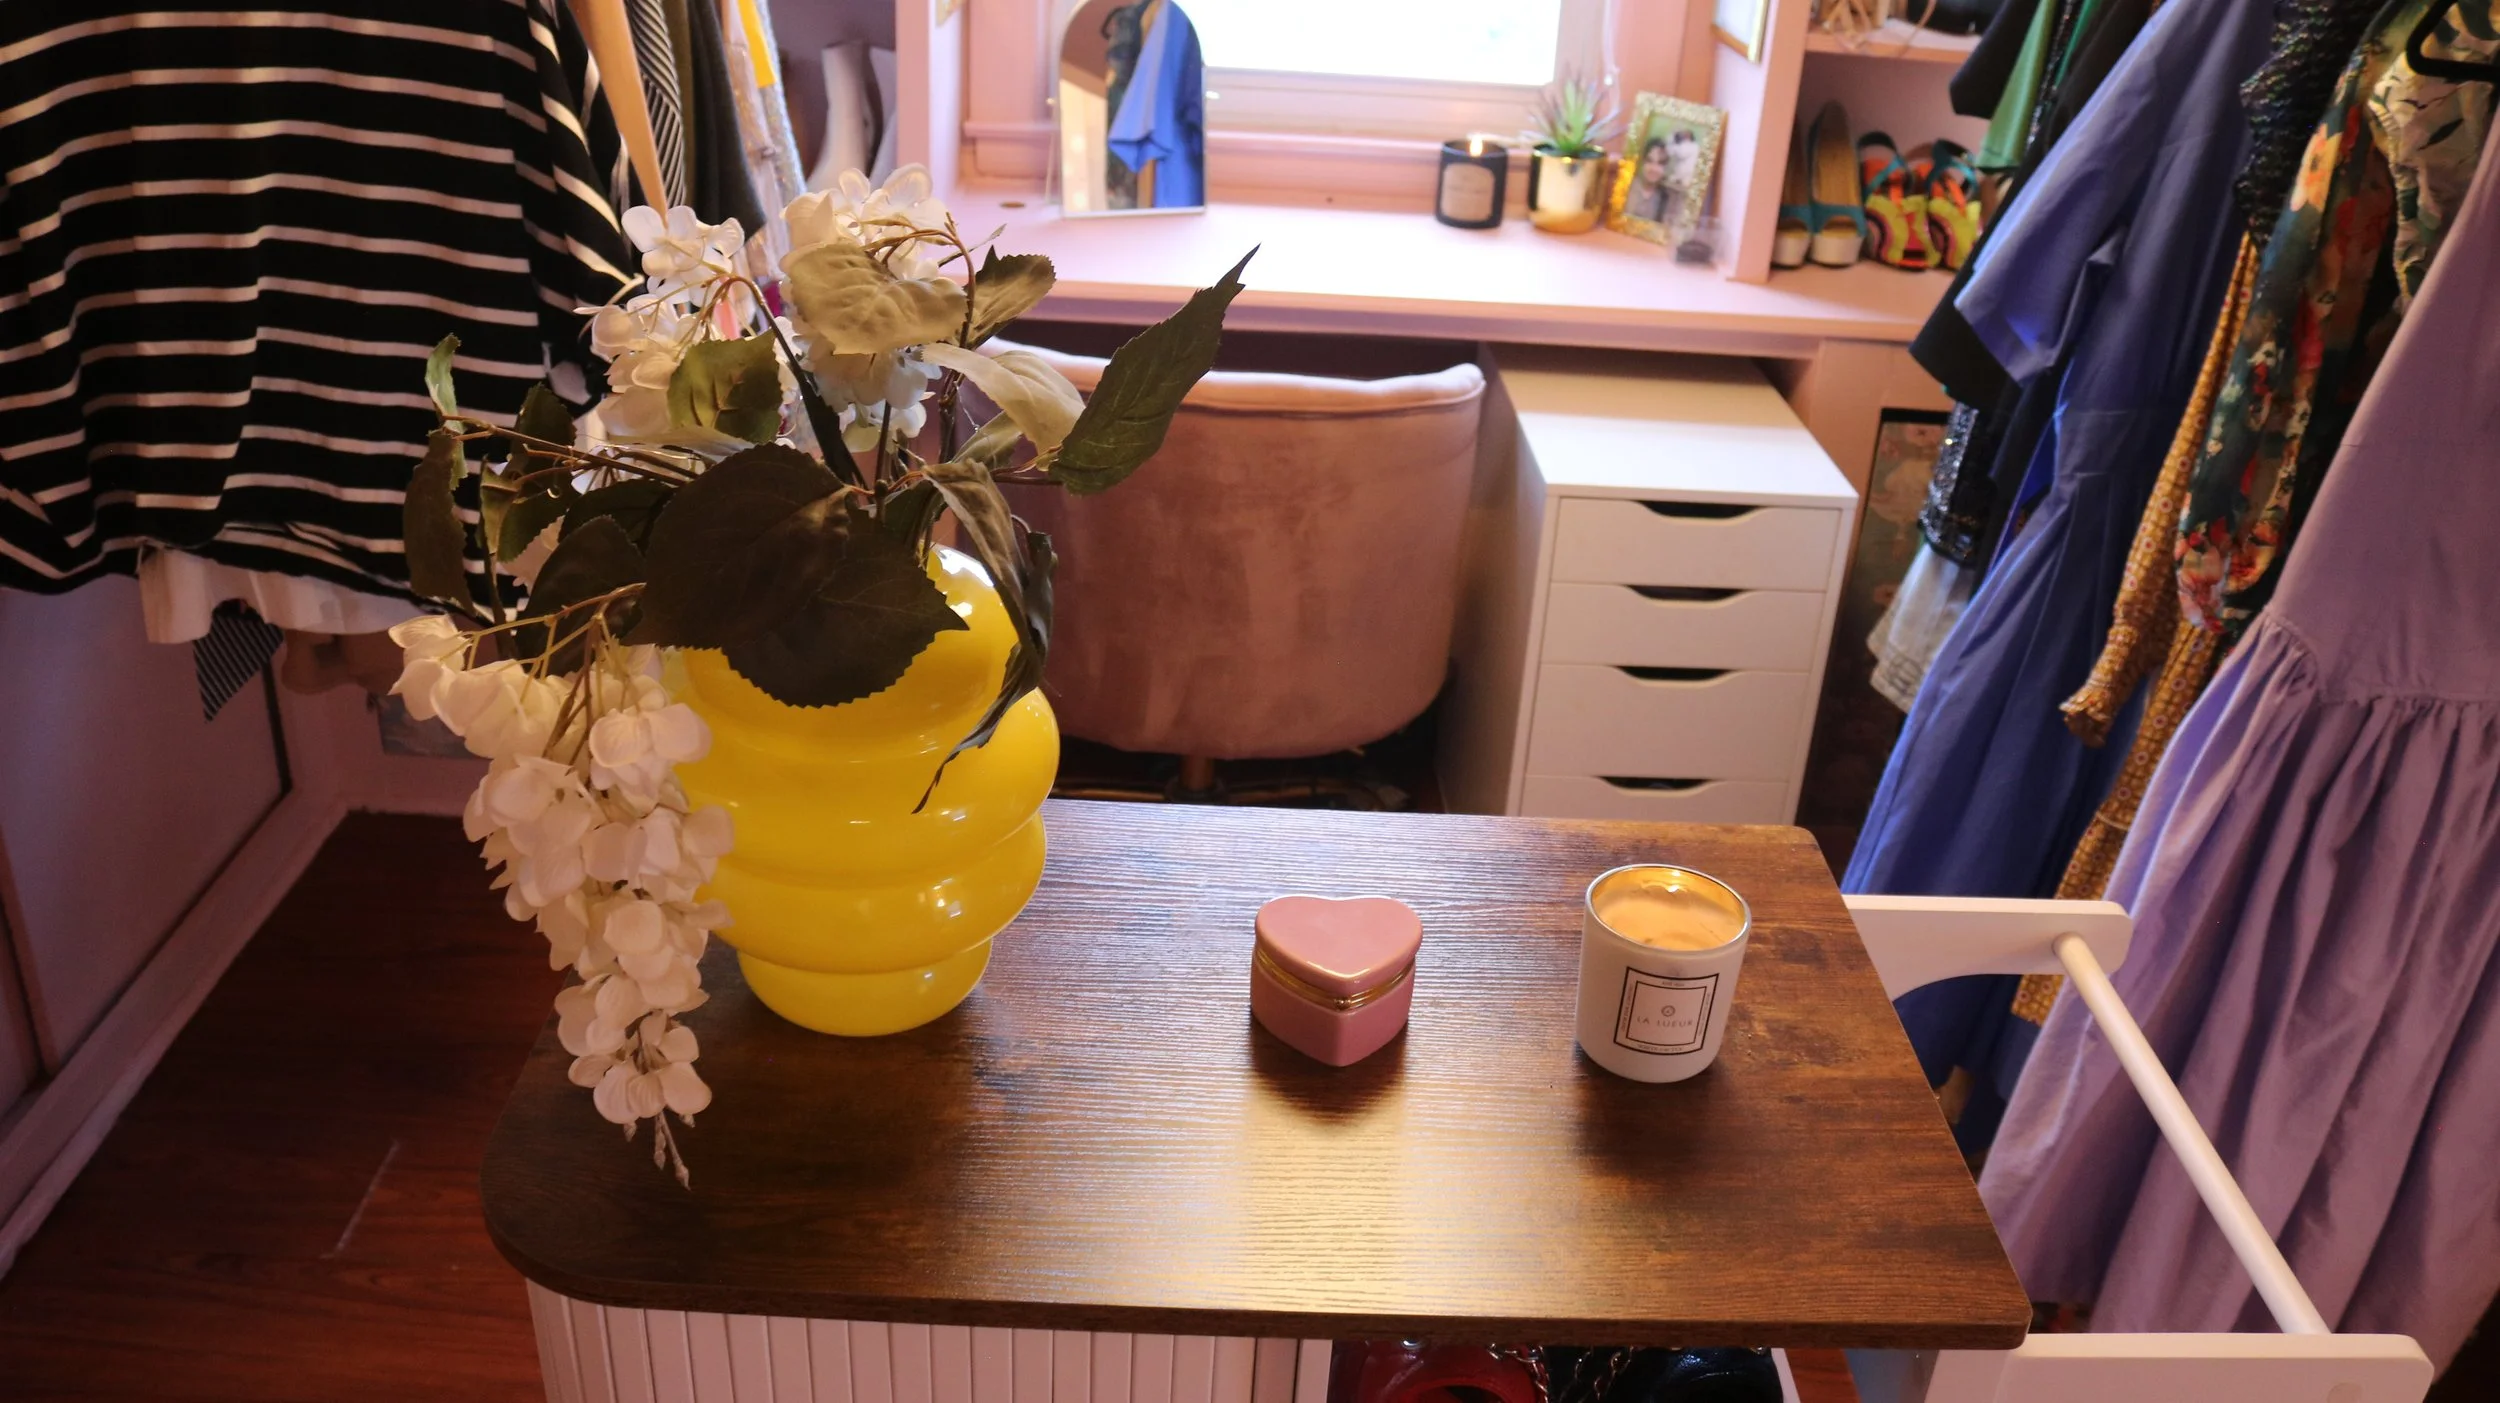
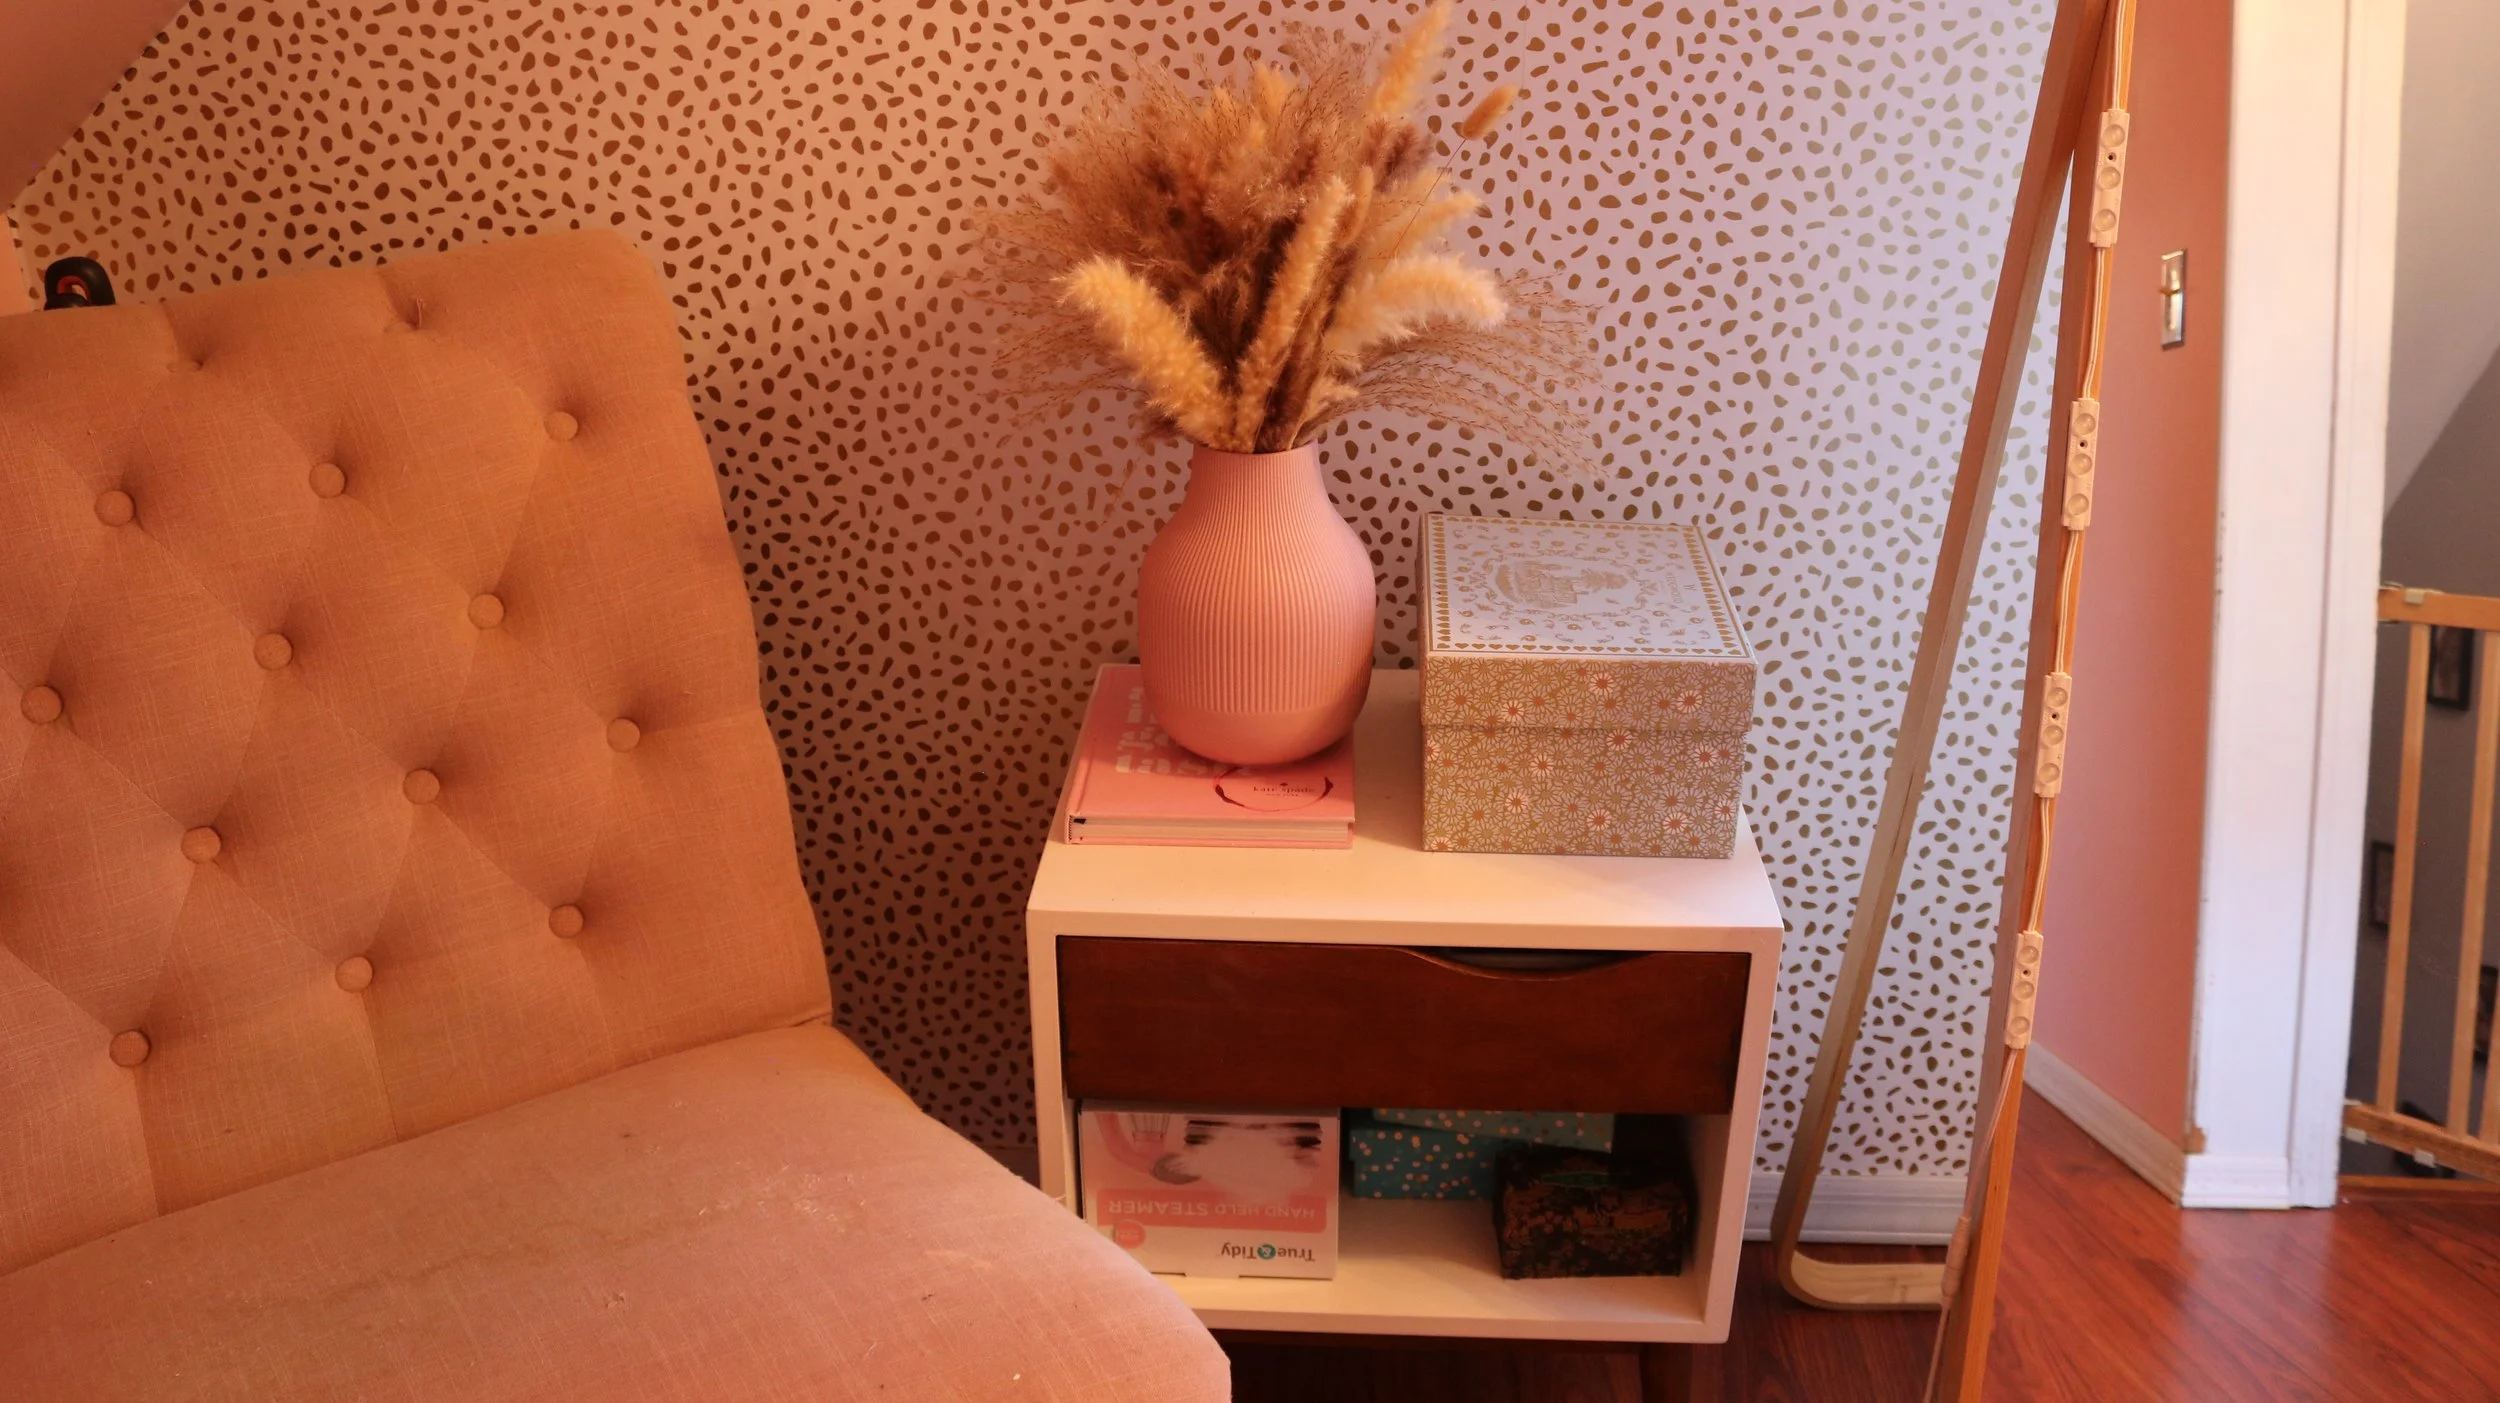
The last thing I incorporated was decor, and trust me when I say my budget was tapped out. All shopping would have to be done within my own home, but that wasn’t a problem. I am a maximalist after all. I was sure to find little things here and there to officially finish off the space.
I chose an Ikea vase I already had tucked away in my bedroom, where it sat unappreciated for quite some time, and added some leftover faux florals from a previous craft project. I added candles, trinket boxes from dollar tree (do not sleep on dollar tree decor), spare coffee table books, more vases with pampas, and an old Wedgewood box from a wedding gift, that still houses my dried wedding bouquet.
The Design Faux Pas I Chose To Make
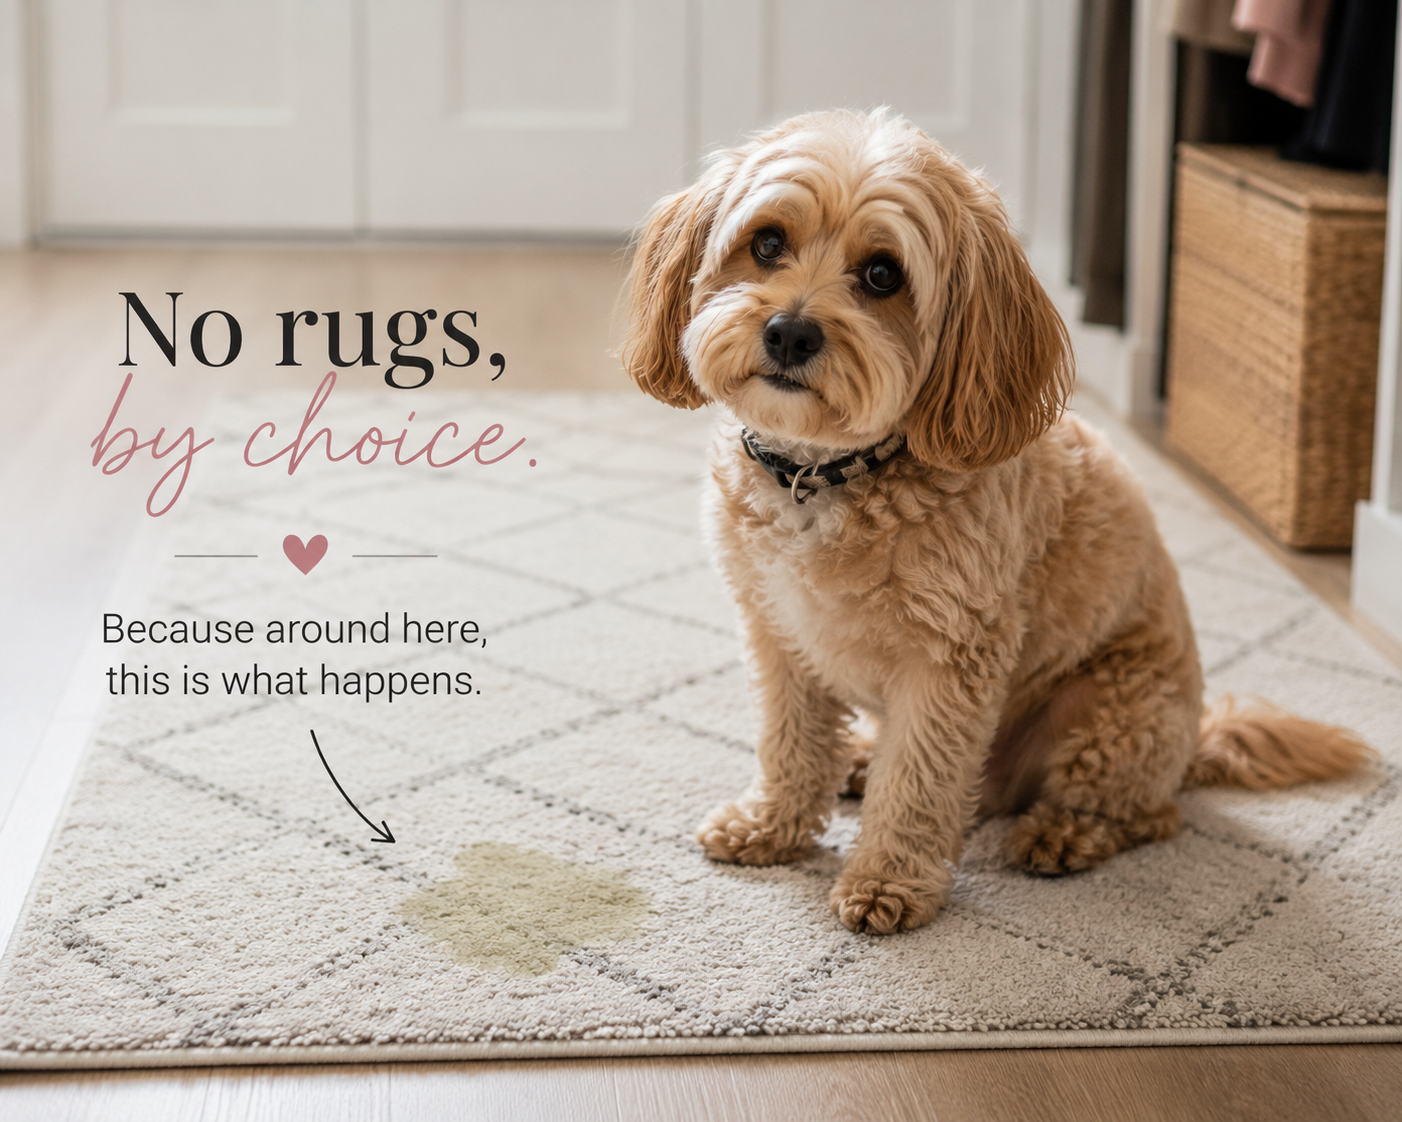
I do want to call attention to the elephant in the room, the design faux pas I am deliberately making. I wouldn’t recommend others skip this step, but part of personalized design is really understanding what works for the space, and not setting yourself up for failure.
In my closet, there is no rug. I wanted a rug, the room would feel perfect if there was a rug. Imagine the feeling of a soft rug under my feet in the morning while picking an outfit to wear. Perfection. However, I cannot have a rug. I have pets, more specifically, one of my dogs, who is little, with a little bladder and even more little of brain, and she is quite convinced that rugs are pee pads. Placing a rug down anywhere in my house is basically what she thinks is an invitation to relieve herself on that very spot. Now I’ve done the washable rugs, and yes, they’re great, but when you have to lift the rug every day to wash it, or spend time on your hands and knees spot cleaning throughout the day, it’s just not worth it. The best thing would be to keep the space rug free, and avoid doggie dribbles near my precious wardrobe.
THE WALK IN CLOSET!
And there you have it! That is how I turned my awkward, non-functioning hall office into a totally functional, and glamorous walk-in closet. This closet houses everything, except for my underwear, bras, socks, and pjs. These all live in the dresser that remains in my bedroom, as that makes the most sense for me. Everything else lives in the new closet. This closet allows me to store everything, hiding the seasonally irrelevant items while keeping every day items at easy reach.
It is so much easier to find what I’m looking for, put together an outfit, and most importantly, to put laundry away. The rod displays my often worn non-basic outfits, along with showcasing my lesser worn but just as fabulous garbs. The every day basics are sorted and easy to find and grab. I don’t forget my accessories and perfume as much now, since they’re staring me right in the face. And while the shoes look great, it’s been eye opening to see which shoes are still display only, and that I haven’t actually worn. This visual method is great for sporadic closet clean outs, to get rid of what is truly just taking up space. It also prevents me from bringing in too much without letting other pieces go, because my visual storage would risk being cluttered. Everything in my closet going forward will be a deliberate choice.
I am so proud of how this project turned out, and the functionality of the space is like night and day. I found a proper use for this room that improved how the rest of my house functions. It also, looks pretty dang good, if I do say so myself!